A bathroom in a wooden house can be attributed to the so-called "problem" places, which bring a lot of trouble to its owners. And, indeed, the high humidity of this auxiliary room has a destructive effect on adjacent rooms, making them unsuitable for permanent housing. That is why reliable waterproofing of the bathroom in a wooden house is a prerequisite for creating normal conditions for living in it.
The complexity of protecting individual elements of wooden buildings from moisture is due to the fact that the use of traditional waterproofing materials (roofing material, for example) is not always effective and does not ensure their complete isolation.
However, with the advent of modern high-tech materials that provide effective protection of wooden structures from moisture, all questions on the organization of waterproofing such a bathroom are quite simple. In the article we will look at ways that not only help to perform high-quality waterproofing, but also transform the look of this room.
Choice of protective material

At the domestic market of building materials now there is a large selection of waterproofing materials, which (in accordance with the technique of their application) conditionally divided into the following groups:
- paint coatings in the form of mastics and emulsions, made on the basis of bitumens and polymers and creating a reliable moisture barrier after application;
- glued materials on the same basis, having a roll or film version (for their sticking on a wooden surface using etsya special mastic being heated);
- liquid compositions based on cement (hot bitumen, tar);
- special coating of water repellent impregnation cement containing chemicals and crushed sand.
The basis for applying waterproof liquid formulations is a pre-laid sheet or roll-type waterproofing with a layer of reinforced fiberglass on top of it. Such a combination of protective materials forms an ideal seamless coating that meets all the requirements for waterproofing.
Impregnating materials, after being applied to the surface of wood, penetrate into the top layer of the latter and make it waterproof.
This type of waterproofing is very rarely used in residential areas.
We also note that when organizing work on the insulation of a bathroom in a wooden house, a separate waterproofing of the floor, its walls and the ceiling is assumed. Consider the order of each of these operations in more detail.
Waterproofing the floor
 Rolled waterproofing
Insulating a bathroom floor with your own hands is the most time-consuming of the procedures included in the complex of waterproofing works organized in a private house. But at the same time you can always use the option of waterproofing, the implementation of which will be quite cheap and simple.
The order of work performed with the above choice, as a rule, is presented in this form:
- first on the wooden floor covering, cleaned beforehand from foreign objects and small debris, as a waterproofing fits a whole piece of PVC film (or the thinnest linoleum), the edges of which are folded with an overlap on the walls, about 15-20 cm;
- in order to align the laying plane in the corners, the material is cut and then poured with silicone sealant. The edges of the linoleum for reliability are fixed on the walls by means of a liquid bitumen composition or mastic;
- then the linoleum is laid with rebar in the form of a fine-meshed mesh, which is then used to make an ordinary cement-sand screed.
 Ruberoid
Floor waterproofing using this method can also be made from known roll materials containing bitumen in its base (from roofing felt, for example, or using a weld roof). But this approach will be more costly, especially if you use modern materials of high cost as the basis.
When using roofing material, the surface of a wooden floor with a roller or brush is first treated with mastic, and then sheets of material are laid on it with an overlap of about 20-25 cm. In a roofing situation, you will need a special burner through which gluing or stitching adjacent sheets. In this case, the used blanks are stacked in several layers so that each of them is perpendicular with respect to the previous one.
It is not recommended to use open fire in a wooden room.
In this case, as well as when using linoleum, it is necessary to make a small overlap of the material on the walls, and carefully cut the cut corners with the same sealant.
Preparing walls for finishing
 Mounting frame
Bathroom walls in a wooden house As a rule, they are laid out either from round logs (rounded), or from a regular bar. When the frame structure of the building, they can be trimmed with edged board or OSB plates, for example. In all cases, except the last, special preparation of walls is required, which is reduced to their leveling with the purpose of subsequent laying on the surface of ceramic tiles or PVC panels.
Before you do this part of the preparatory work, first of all, you will need to prepare a special frame for drywall. Waterproofing measures are reduced in this case to the use of a special moisture-and vapor-proof film, laid between sheets of drywall and a wooden wall.
When decorating walls with OSB, special preparation for applying a waterproofing layer is not required. In this case, the painting method of forming a protective layer with preliminary preparation of the wall surface by sealing the seams formed on the surface is most often used. In this case, the used sealant and the waterproofing material itself should belong, as far as possible, to the same class, that is, to have a similar basis. Protective mastics or emulsions are applied to the finished surface in several layers with alternating direction of movement of the roller or brush (horizontally and vertically).
After they are dried, a completely impermeable waterproofing coating is formed, on which you can put your chosen finishing material.
It is advisable to proceed to the protective treatment of the walls of a shower room in a wooden house only at the end of the waterproofing of its floor.
Insulation of the ceiling
 Water-repellent impregnation
is applied to the wooden ceiling The technique of waterproofing the ceiling in the bathroom is not much different from the already described methods and also depends on the class of material used in its arrangement. So, it will be enough to apply a special water-repellent impregnation on the ceiling of the usual lining; at the same time, a vapor-tight film should be placed under the frame used for covering. In any other way of finishing the ceiling, you can use mastic or special impregnation, used to protect the base from moisture.
 Bathroom design in a wooden house
In conclusion, I would like to note that a competent approach to solving the problem waterproofing a bathroom in a private wooden house will allow you to avoid a number of problems associated with leaks, leading to the appearance of dampness in the basement and the formation of smudges on the walls of adjacent rooms. The method described in the article is not the only one. Depending on what kind of interior you plan for the bath, the methods of waterproofing will differ.
Video
Watch a video about arranging a bathroom and bathroom in a wooden house:
Search
Related Articles
Insert into a sewer pipe - how to make a insert into a sewer pipe
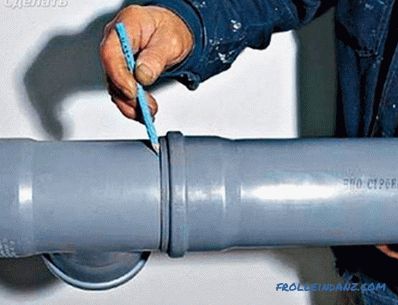
There are times when, during the repair process, it is necessary to crash into the sewer riser. This may be due to the addition of any plumbing fixtures or, in general, a change in the layout of the...
what it is, the characteristics and composition of the material
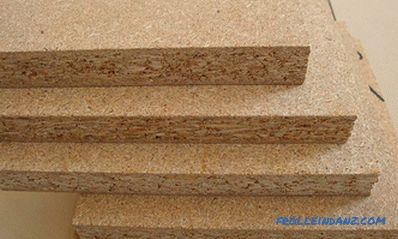
Among the materials used in the construction and production of furniture, chipboard takes an important place. What is chipboard, what types of material exist, what are the applications and level of...
tool for turning, cutting and splitting
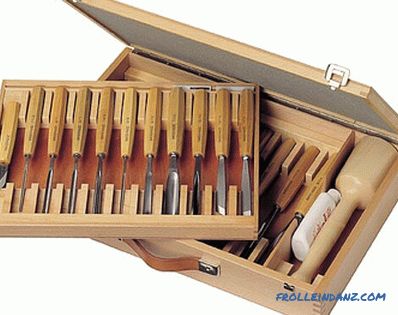
The cabinetry profession has always been sought-after and prestigious. Today, the ability to make beautiful wood carvings can be not only a great way to earn good money, but also an exciting hobby....
in a brick, wooden and frame house
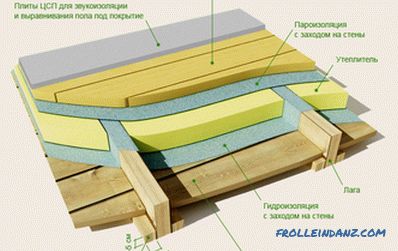
Building a floor is one of the most important tasks for future owners when building a house. The design of the floor may be different. 2 possible options: floor on wooden beams, floor on lags....
Lumber grades: grade differences, calibration
A tree, like any of the materials, has significant differences. They relate to the appearance of the rock and the quality of surface treatment. What is lumber? This is a fairly extensive term, whic...