Many people are increasingly beginning to use drywall in a wooden house, for example in a country house or in a cottage, for wall decoration.

Drywall among finishing materials is gaining increasing popularity. It aligns the walls and allows you to hide all communications.
This allows you to save money and solve several problems at once:
- to align the walls of the room;
- to mask all communications;
- to warm .
Can you install drywall in a wooden house yourself? What materials and tools are needed for this? What is the technology of installing drywall in a wooden house?
What is the need for cladding walls and ceilings?

If necessary, a heater can be placed under the drywall.
Despite all the beauty and warmth of such a natural material like wood, many problems immediately arise when decorating the walls of a cottage or a cottage. To quickly get rid of them and spend on this process a minimum of financial resources, make installation GCR in the house.
The use of drywall in the house allows you to almost perfectly align the ceiling and walls of the room, while creating the desired surface for subsequent finishing. This allows you to paint the walls or pasting them with wallpaper with the lowest cost, and as a result get a beautiful view of the finished room. To improve the energy-saving performance of the house under the installed drywall, you can install insulation, which will significantly reduce the cost of heating in the house during the winter period.
If communications are laid along the walls of the premises being repaired (electric wires, water pipes, etc.), then they can be closed with wooden boxes or baseboards, but this will lead to additional costs. The situation is much simpler when using drywall - its sheets will simply close all these communications when covering the room. That is, the use of this material during installation makes it possible to remove several problems at once with the simultaneous decoration of the entire room: install arches of drywall in the doorways, make shelves of this material, install modern lighting on the ceiling, etc.
Nuances of finishing a wooden house with gypsum plasterboard

The scheme of installing the drywall on the frame: 1 - gypsum saw mastic; 2 - carcass of gypsum plasterboard strips; 3 - marks from strips of gypsum plasterboard; 4 - plasterboard sheets.
When self-mounting sheets of this material, to obtain a smooth surface of the walls and ceiling, you need to take into account some of the nuances. There are several ways to carry out such work - frameless connection and the use of a support frame. The first of these for wooden surfaces is rarely used. The second method makes it possible to choose the material of the frame itself. It can be metal or wood, which will make it possible to create a solid foundation for sheets of drywall, protect walls and close communications. In the resulting voids, you can freely install insulation. During the selection of the frame material, it is necessary to take into account that it is easier to work with a wooden frame, and more practical with a galvanized metal profile.
What is needed in order to make the installation of drywall in a wooden house?
For work, you need to buy a metal profile for the frame, sheets of plasterboard, insulation, screws, putty in the construction market or in a specialized shop. , wallpaper and glue or paint. For work, you need a different tool: special construction knives with replaceable blades (they cut drywall), a hacksaw, an electric drill, a grinder with discs, a screwdriver or screwdriver, spatulas, paint brushes, and some consumables.
The tool must be of high quality and reliable.
Home Finishing Technology (plasterboard installation)
After purchasing the right materials, you are ready to go. The process of finishing wooden surfaces in the house consists of the following steps:

After the installation of the gypsum board, it is necessary to putty on the joints.
- The walls and ceiling are thoroughly cleaned of dirt and treated with compounds that destroy mold fungi, bacteria and protect the wood from moisture. Such processing is carried out in several stages - each applied layer of antiseptic should dry well. Work is done with a brush, spray or use paint rollers.
- The frame should be installed as even as possible - the evenness of future walls and ceiling depends on it. For marking and installation, use a level (normal or laser), plumb.
- Cut the drywall in size, obtained by measuring the walls and ceiling with a tape measure. Where you can put whole sheets, naturally, nothing is cut off from them. Especially carefully it is necessary to cut the drywall in places of transition from the walls to the ceiling, otherwise gaps may appear that have nothing to cover.
- They install the frame to the walls and ceiling of the room with a drill and a screwdriver.
- In the gaps formed by the fasteners, insert insulation over the entire surface of the walls and ceiling.
- Make installation of drywall on the frame with screws.
- Putty is applied to the entire surface of the room. Especially carefully it is necessary to process the seams and joints on the sheets.
- Then the walls can be painted or pasted over with wallpaper, and the ceiling is covered with white or colored paint.
Work is basically completed. The room will get a completely different look. If it is necessary, together with the surface finish, to give it some form, then this is done with the help of a reinforced frame, which has corresponding bends. In this way, you can make a multi-level ceiling and insert halogen lamps into it or make shelves of plasterboard in the walls.
List of tools and materials
- Metal, galvanized profile.
- Sheet insulation.
- Antiseptic compounds to protect the wood.
- Drywall Sheets.
- Wallpaper.
- Glue.
- Paint and putty.
- Screws.
- Power Drill.
- Cordless screwdriver and hand screwdriver.
- Paint brushes.
- Spatulas.
- Tape measure.
- Plummet and level.
- Pencil.
If the finishing of the room surfaces is carried out correctly and qualitatively, then its appearance may change beyond recognition. When using high-quality materials such finishing of internal surfaces of the house will serve for many years.
Didn't find the answer in the article? More information on the topic:
Search
Related Articles
Installation of a ladder for giving the hands (photo)
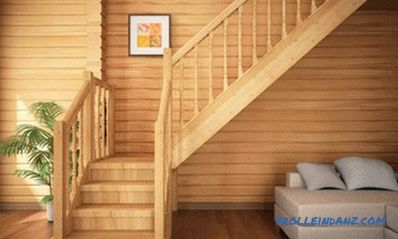
The staircase is the most important functional element of the house. This is especially important at the dacha, where in any case you simply cannot do without a ladder. The process of selecting a...
Water heater for the pool do it yourself
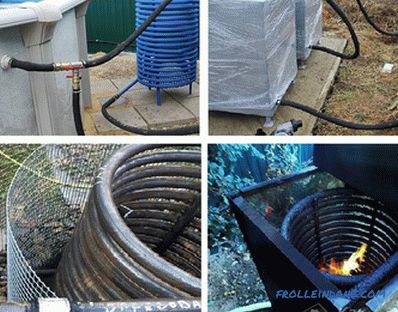
Pouring cold water over and occasionally diving into an ice-hole in some cases can be beneficial for health. But for a long time in such conditions can not swim. To fully enjoy the comfort of bathin...
How to make a children's sandbox with their own hands: photos, diagrams, drawings
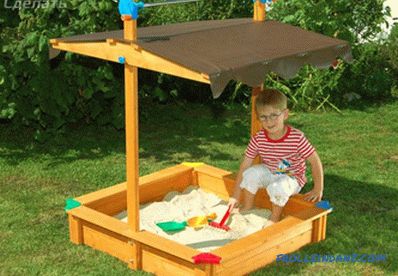
When choosing a design of a small children's sandbox, it is necessary to take into account not only its direct (functional) purpose, but also to pay attention to how harmoniously it will “fit” into...
Do-it-yourself rope ladder (+ photos)
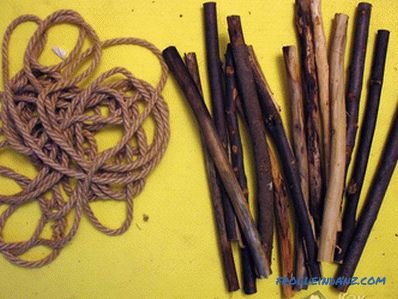
The question of why a rope ladder is needed can be answered in different ways: to clean a well, for a children's tree house, for use in a hike or, for example, for a children's playground. Ladder...
How to make a partition in the room
During repair or when buying a new apartment, many people get an idea about redevelopment. This can be done to increase the area of individual rooms or, on the contrary, to divide one large room i...