The question of why a rope ladder is needed can be answered in different ways: to clean a well, for a children's tree house, for use in a hike or, for example, for a children's playground.
Ladder with steps on nodes
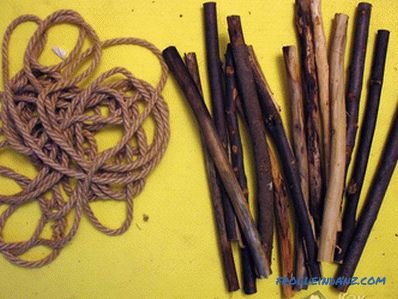 Steps from branches
Ladder on nodes consists of wooden steps, with two sides connected by ropes with the help of knots. For the manufacture of rope ladder you do not need to drill wood.
The steps for the steps should be sanded in order not to get splinters later.
- Prepare all the necessary material for work:
- two coils of polypropylene rope (its length depends on the total length of the rope ladder, taking into account that the ladder will be approximately two times shorter than the original length of the rope) - this rope is not afraid of water and has good strength, durability and low weight;
- cuttings for steps - if you collect the rope ladder "at one time", you can use thick strong branches, cut into segments of a certain length (approximately 30-35 centimeters).
- Having retreated 6-7 centimeters from the edge of each step, make small indentations in them with a knife - they will prevent the rope from slipping.
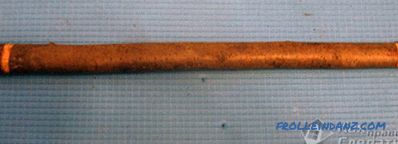 Notches on the steps
- Scorch the ends of the rope so that it does not later started to bloom.
- Take the first step in your hand and tie a rope on it like this:
- Retreat on a rope 25-35 centimeters and tie the second step. Then proceed similarly until your ladder reaches the desired length.
- It is better to tie the second rope (on the other side of the step) after you finish collecting one side of the ladder.
- Do not immediately tighten the knots on the second rope - first make sure that the steps are parallel to each other.
Ladder with holes in the steps
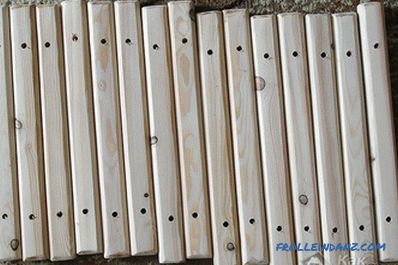 Steps for the rope ladder
This version of the ladder will require a little more effort and therefore is most often used for the manufacture of a product that will be used repeatedly. Such a rope ladder can, to the delight of the children, be fixed on the children's town - it is durable, comfortable and reliable enough to withstand not only the weight of the child, but also an adult.
So:
- Start assembling the stairs by making steps from wooden bars with a cross section of 6 by 4 centimeters, 35 or 40 centimeters long (the size is indicated for an adult-sized ladder; for Children's town can do a little rope ladder already). Three to five centimeters from the edge of the bar, use an electric drill to make holes in the center of about 1 centimeter in diameter (the rope will go through the hole twice, therefore, drill one hole and make sure it fits in size).
- All steps must be sanded thoroughly (can be done manually or using a grinding machine).
- If the rope ladder will be in the open air most of the time, the steps need to be treated with special protective compounds for wood - this will prolong their lifespan. It is best to paint the steps in two or even three layers.
- While the steps are drying, prepare two ropes of the required length. So that they do not start blooming, the ends should be a little singed.
- After the steps are completely dry, you can proceed to the assembly:
- take a step and pass the rope through the hole from the bottom up (leave the “tail” 20-30 centimeters long - it’s then it will be possible to tie a knot in order to “secure” the lower step);
- then flip the upper part of the rope down and again pass it into the same hole from the bottom up;
- tighten the rope strongly.
- Similarly, attach the rest of the steps to the rope, each time retreating 30 centimeters (this will be the distance between the steps).
- Take the second rope and repeat the whole process on the other side of the steps. Do not forget to check their horizontal position.
Staircase without steps
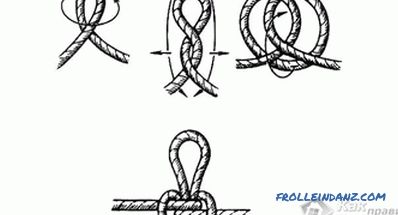 Node-Stage
The easiest An option is a staircase without steps, with foot supports in which are strong knots. How to tie them correctly is shown in this video:
Such a ladder is suitable for use on camping trips, when, for example, you need to climb a tree, and do it in the usual way (along the branches) it turns out. However, only those who are physically trained and familiar with rope climbing not only on TV or from school physical education lessons will be able to use this ladder.
Reader Tips
We often ask our readers to share their personal experiences, talk about their observations and tell us if something needs to be clarified or corrected.In this subtitle, we will post a comment by our reader Alexey Merentsev, who shared his experience. We are pleased to present this material to your attention by slightly editing it:
editing:
"There is a special node for this element that looks something like the photo below.
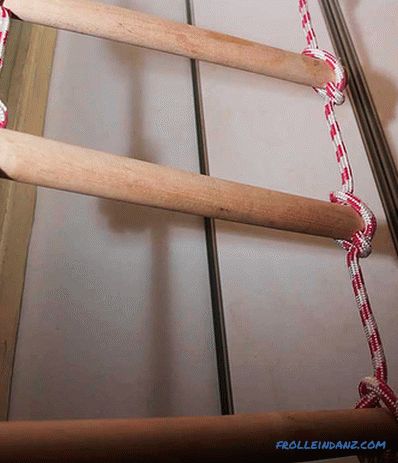 Rope ladder
The knots on each stick are knitted symmetrically, with the top loop inward, so that it does not subside.
The order is :
- the string is punched from the top into the hole,
- then wrapped around the stick with a "loop inward",
- then it is threaded into the lower loop and goes to the next stick.
These nodes, in contrast from any others, they do not slip, they do not tighten tightly and are beautiful in their simplicity. They went on all Soviet DSCs. "
Our explanation: DSK is the Children's Sports Complex.
Photo
Photo instructions for securing the steps of the rope ladder:
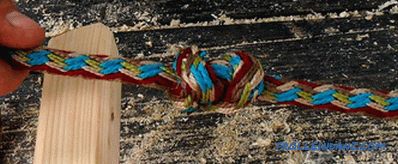 Node-eight
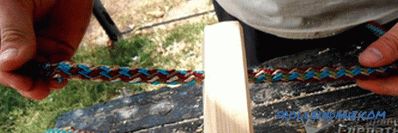 We pass the rope through the hole
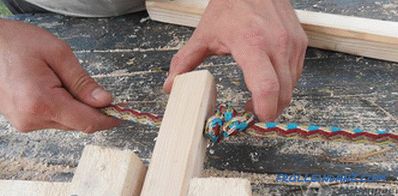 Fix node
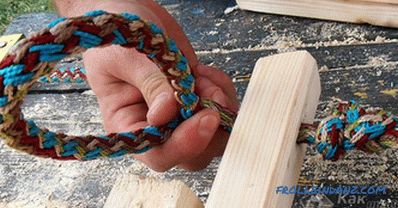 Making a loop
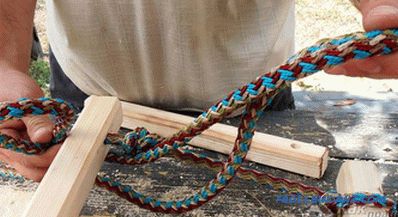 Form the second loop
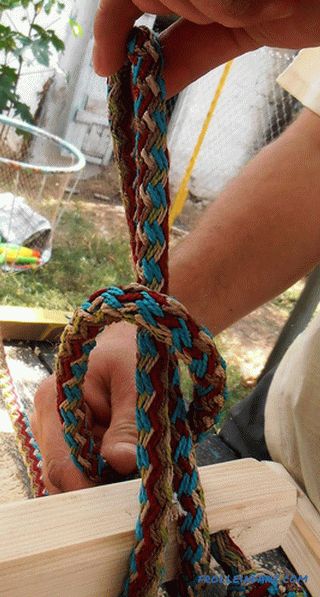 Tie a step
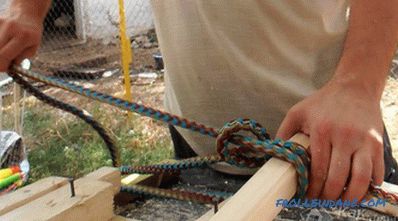 Tighten the loop
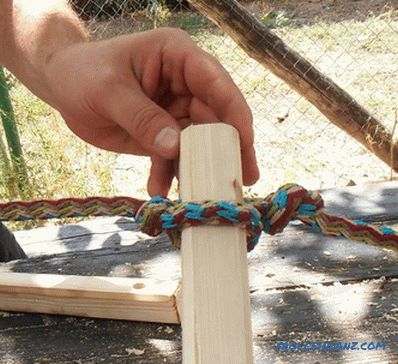 The node is ready
