When choosing a design of a small children's sandbox, it is necessary to take into account not only its direct (functional) purpose, but also to pay attention to how harmoniously it will “fit” into the surrounding landscape.
The most suitable material for the sandbox will be plain wood. Let's look at how to make a sandbox with your own hands.
Basic questions:
- what design to choose;
- how many boards you need to make it;
- how to choose the right color scheme.
Construction and dimensions of a sandbox for a playground
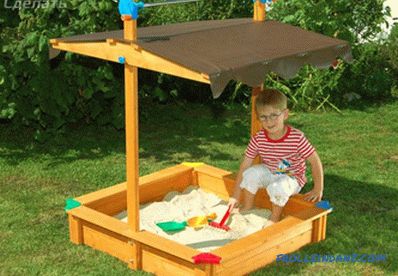 Construction and dimensions of a sandbox
There are no special requirements for the size of children's sandboxes. If there is enough free space on the plot, you can choose any dimensions that are convenient for you (within reason, of course). Most often I make a square sandbox, which noticeably facilitates the preparatory work associated with cutting workpieces of the same size.
Boards can have a length of 4, 5 or 6 meters with a width of about 12 cm. As for the height of the walls of the whole structure, here the optimum size is about 24 cm, which corresponds to a bunch of two boards. Thus, if you have five-meter boards at your disposal, you will need eight of them to assemble the entire sandbox.
The thickness of the boards going to manufacture it is usually chosen to be 30 mm. Blanks of this thickness provide the required strength and reliability of the design and exclude the possibility of cracking. The depth of the sandy bulk layer used to fill the sandbox is chosen to be 15 cm.
Since natural wood is not protected from rotting and parasite attacks, all the material used to assemble the frame must be treated with an antiseptic.
Main stages of sandbox manufacturing: work order
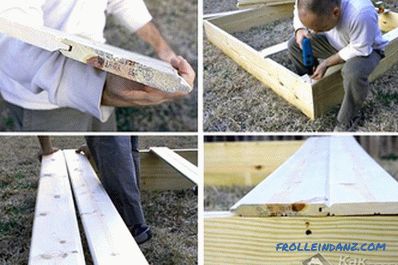 Production procedure
After all the boards are ready, you can proceed to the construction of the frame. To fasten individual structural elements together, you can use pre-prepared metal corners, fastened to the boards with self-tapping screws.
You can, of course, do without corners; but then half of the boards used to assemble the framework should be 6-7 mm longer. In this case, part of the prefabricated boards is mounted on the ends of adjacent blanks using conventional screws on the tree, which allows you to get a fairly reliable and durable frame.
In the conditions of a suburban plot you will definitely have to worry about the bottom of the sandbox; and to approach this question is necessary with all seriousness. To protect the playground from the penetration of it by rodents, in particular, it is possible by laying the bottom with a special agrofiber, the edges of which are fixed on the boards with the help of an ordinary furniture stapler.
Choosing a place to place a structure
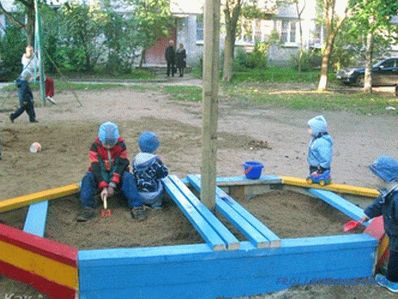 Choosing a place
When choosing a suitable place, proceed from the following considerations:
- the place should not be open to the winds and the sun;
- the place for children's games should be clearly visible from all points of the garden, i.e. it would be "in sight";
- there should be a "visor".
It is best to place the sandbox under the crown of trees or in such a way that the shadow of the nearest building falls on it for most of the day.
As for the color solution, it should be chosen at your personal discretion (to taste). The palette of colors should be quite diverse, as well as bright and saturated. On the sides of the wooden frame can be applied patterns or drawings.
Specialist's Tips
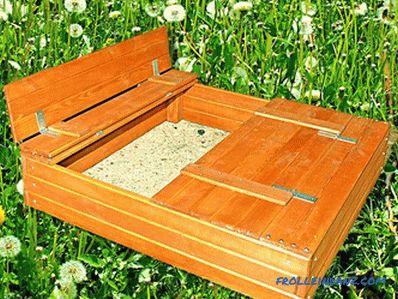 Ladoski
Let's give a couple tips:
- The shape does not have to be square. If you try to move away from the patterns, it is quite possible to imagine a triangular, trapezoidal and even polygonal construction.
- In the sandbox itself, you can prepare some kind of labyrinths, walkways and grooves in which the kid will be interested in arranging outdoor games.
Video
Photos of sandboxes: 14 unusual ideas
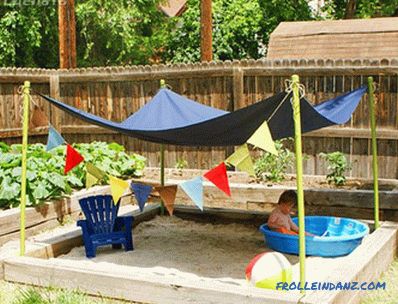 With a canopy
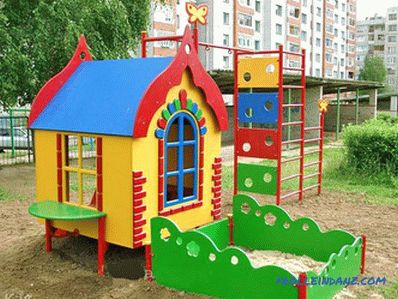 Sandbox with a hut
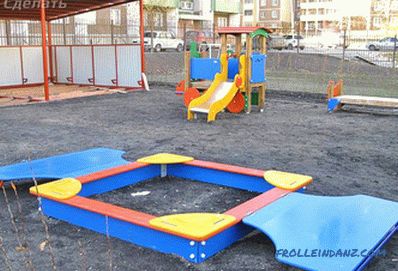 Sandbox closing
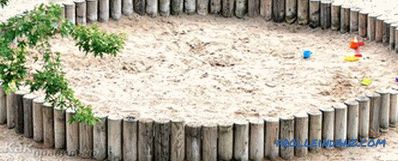 Original idea
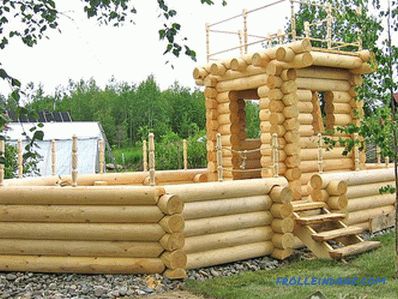 Ship
Ship
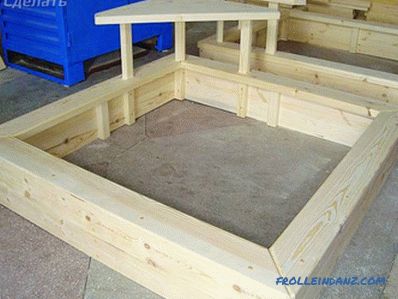 Design with a table
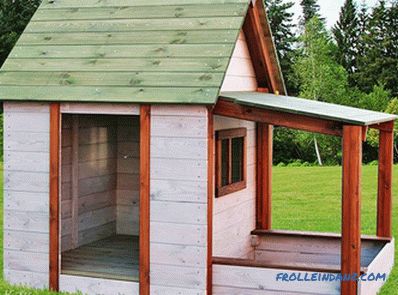 Small house of friends and sandbox
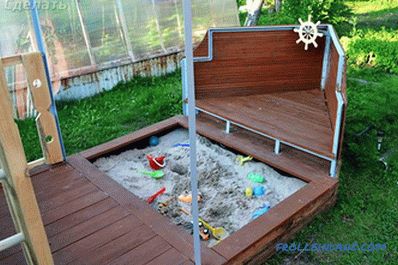 Sandbox ship
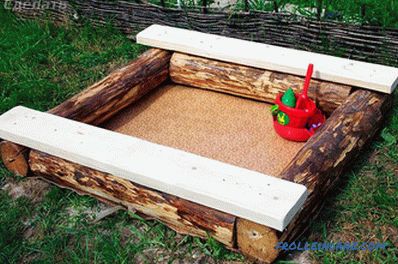 From logs
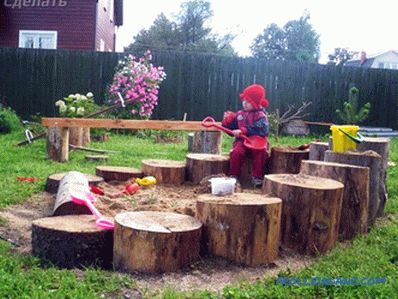 Sandbox ladder
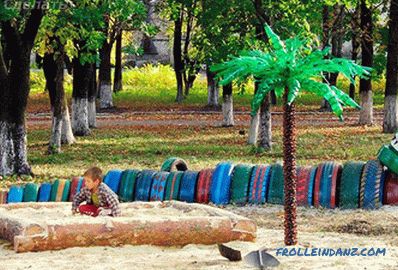 At the playground
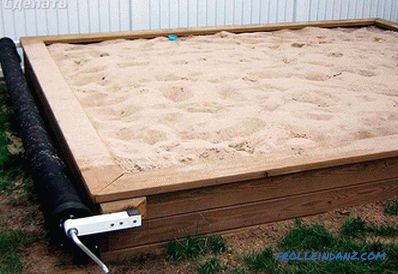 Closing with an awning
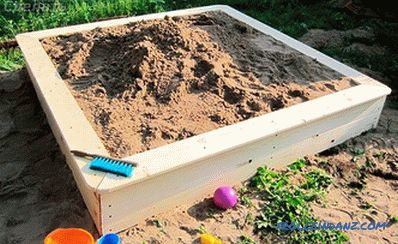 Simple sandbox
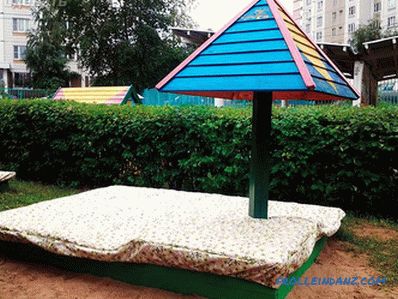 sandbox
Schemes and drawings
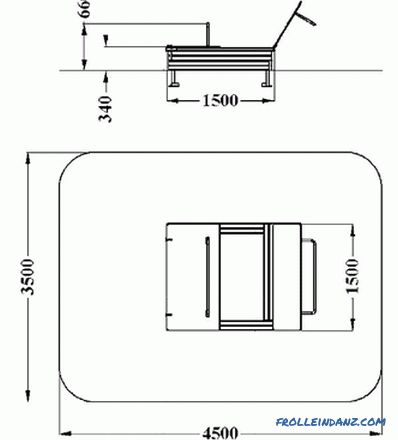 Sandbox drawing
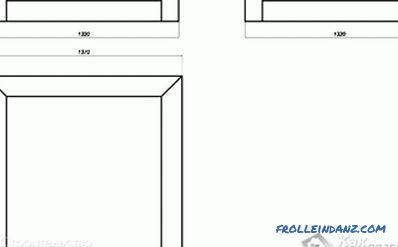 Drawing of the square sandbox
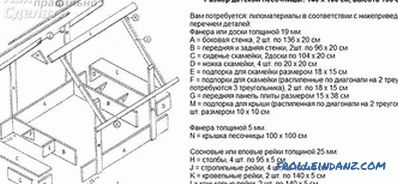 Detailing sandbox
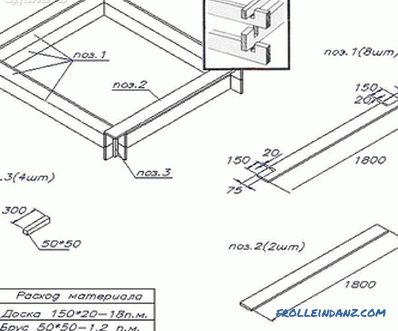 Sandbox construction
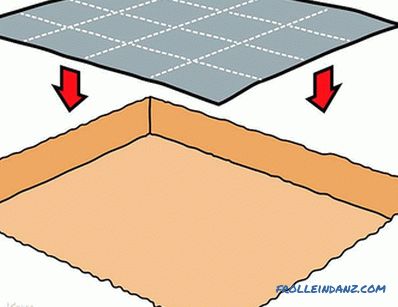 Basis for the sandbox
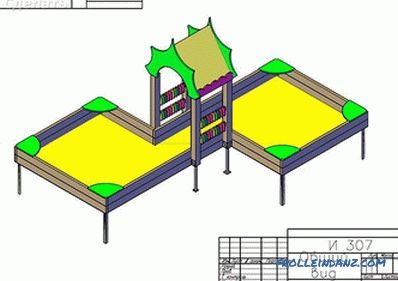 Sandbox
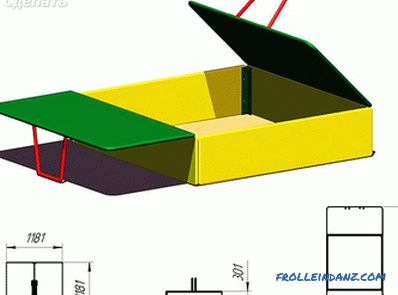 Sandbox with hinged cover
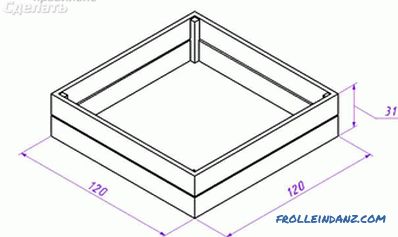 Square sandbox diagram
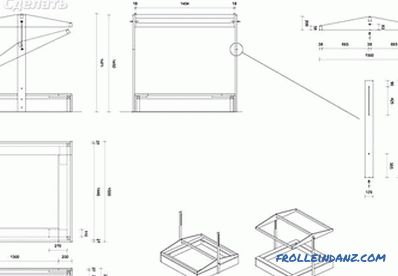 Scheme of sandbox with canopy
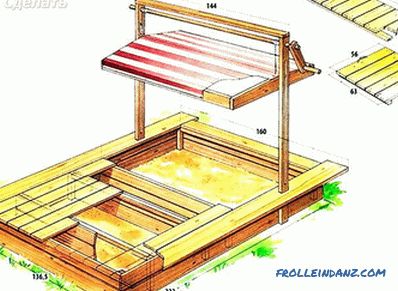 With a canopy and a lid
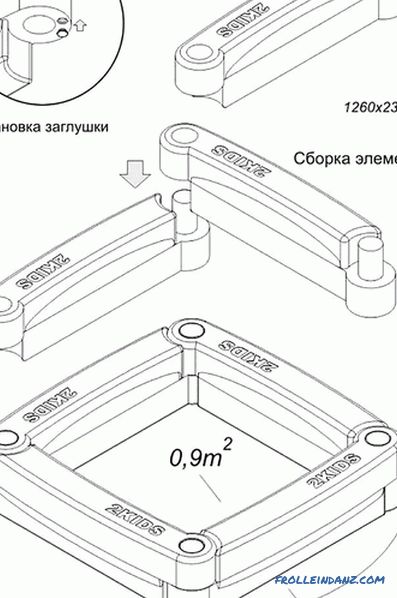 Sandbox assembly
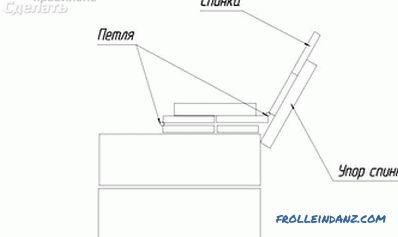 Installing the cover

