Who will deny that not only the theater, but also any apartment starts with a hanger? It is difficult to find a more demanded element of the interior than a hanger. In response to high demand, designers have created models for every taste: floor-standing, wall-mounted, below the ceiling, hangers-screens, classical and art objects, built-in, open, wooden and metal, forged and chrome-plated.
")
The assembly scheme of the hanger in the hallway.
Choose what your heart desires. But not everything is so simple. Small corridors are not always able to fit typical furniture, so you have to equip the hallway with your own hands or take furniture to order. Since the last option is not available to everyone, it's time to try yourself as a locksmith and artist.
Making blanks and assembling triangles
How to make a coat hanger so that it takes up little space and everything fits on it? For the manufacture of such hangers you will need the usual tools:
- a drill;
- drills for concrete and wood;
- a saw;
- ;
- tape measure;
- screwdriver;
- sandpaper or sander;
- brush;
- level.
")
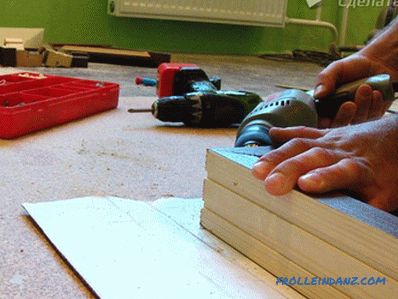
Figure 1. The assembly of the hanger triangles is done by fixing the two planks with a drill at the required angle.
You can set the dimensions of the hanger yourself, taking into account your capabilities and needs. The only thing worth paying attention to is the depth. This model provides a crossbar for hangers, because you need to make such a depth that these same hangers easily fit and do not cling to the wall.
When choosing a material for a future construction, please note that parallel bars with branches are not suitable for these purposes. Over time, the branches will fall out and the skeleton will lose its strength, which will lead to a dismal finish.
From the bars, thicker blanks are made for 2 identical triangles, side panels of the future product. The legs of the triangles are the depth and height of the hanger. Dimensions of the hypotenuse can be found out by attaching the bar to 2 legs and making marks with a pencil. At the same time, it is noted at what angle the edges of the hypotenuse will be adjacent to the legs. Then, having laid the bar in the box, make oblique cuts.
Assembly of triangles is also a simple matter. From both edges of the hypotenuse it is necessary to drill through the hole for the tightening bolts. In order not to form chips, first 1-2 mm are drilled, holding the drill at right angles to the material. After that, it can be tilted under the desired degree (Fig. 1).
The legs are drilled only from one side. Then they are applied to the hypotenuse and fixed with the help of confirmats. The right angle of the triangle is fastened with the help of loop-brackets, on which the shelf will hang. The upper bar is attached to the loop with a long screw, the lower bar with two short screws (Fig. 2).
Installation of transverse rails
")
Figure 2. The upper rail of the hanger is attached to the loop with a long screw and the lower rail by two short.
For transverse slats, a bar is required that is slightly thinner than the material of the supporting structures. The exception will be the front plate, which is cut from the same bar as the triangles. In the ends of the rails drill holes for bolts. It is not necessary that the hole match the length of the bolt. If it turns out a little more, it is rather a plus, since such a hole will save the timber from possible splitting.
Now you can drill holes on one side of each triangle. Tie the design all the same furniture confirmats. It is better to fasten the bar above the bar above the rest to make it easier to remove and hang the hanger.
Between the legs of the triangles that are adjacent to the wall, you must attach 2 spacer bars. On the bottom hooks are attached to clothes.
As a crossbar for hangers, a nog, which is commonly used in the construction of wooden houses, or any rounded piece of wood, even a rod from the back of a chair, if it is thick and durable enough (fig. 3), will be perfect.
Should I remind you that before final assembly every detail needs to be polished. After installation, the hanger is painted or varnished. Then you can mount to the wall. To prevent the hanger from getting sloped, you should use a level when installing it on a wall. Then your caps will definitely not slip.
Model "full-length"
")
Figure 3. Size chart of the hanger.
If the dimensions of the room allow, you can make a hanger in the hallway with a height of your height and more. The tools will be the same as when assembling the previous model.
Required materials:
- slats (platbands can be used);
- thick bars - 9 pcs. ;
- boards for fastening to the wall - 2 pcs. ;
- board shelf;
- metal corners;
- coat hooks.
Begin installation by installing 2 horizontal boards. They are fixed in level to the wall above and below.They are screwed vertically platbands or slats, leaving gaps. It turns out something similar to the village fence (Fig. 4).
On the floor, perpendicular to the slats, 3 beams are put - supports (50x50 mm). They lay the slats, forming a shelf for shoes. After that, the legs of the same material are placed vertically on the supports. Screws at the same time pass through the bottom bar, through the bar and pierce the butt of the leg. To the last metal corners fix the remaining bars, running parallel to the supports on the floor. For fixing these supports near the wall, you also need long screws to fasten them not to the thin slats, but to the board behind them. Again plank shelf of slats, which can be used as a seat. It should be mentioned that all the angle brackets are made with metal corners, and all horizontals are checked by level.
Close the ends of the bench shelves can platbands.
It is easiest to mount them, placing them at a 90 ° angle to each other, but the joint will look nicer if you make a 45 ° cut at the corners.
")
Figure 4. The full-length hanger is ideal for an interior with high ceilings and a spacious room.
It will not be difficult if you use a block.
The next step will be the attachment of the top shelf for caps. For this purpose, fit any board required width, which is planted again on the corners. Cover all stain and varnish. The final touch is coat hooks and the hanger is ready.
But if an artist woke up in you and the standard versions of hangers do not suit you, you can think about how to make the hanger in the hallway exclusive. For example, it is possible to attach halves of hangers to an ordinary board, cut so that metal hooks remain in them and are directed downwards. The hooks look like exotic, which are the branches of trees, polished and coated with varnish or paint. For the same purpose, you can use spoons with curved handles and even paint brushes. The latter are thoroughly impregnated with glue, form hooks from the fibers and leave to dry. Then paint and fasten directly to the wall at different levels.
If there is a fantasy, then the hangers in the hallway can be made of almost anything. Do not be afraid to experiment, and perhaps, instead of an ordinary hanger, you will get a real work of art.
Didn't find the answer in the article? More information on the topic:
-
")
How to make a self-leveling floor on a wooden floor
Recommendations for how to pour the self-leveling floor onto the wooden floor with your own hands. Tools and materials needed for work. Preparation of the basis for filling by solution.
Search
Related Articles
Hex gazebo with his own hands - how to make a hex gazebo + photos, schemes
Which of us does not like to relax in nature, enjoying the fresh air, scenic views, pleasant communication with family and friends? For a comfortable and relaxing holiday in the country can not do w...
Do-it-yourself garage building - overview of work stages
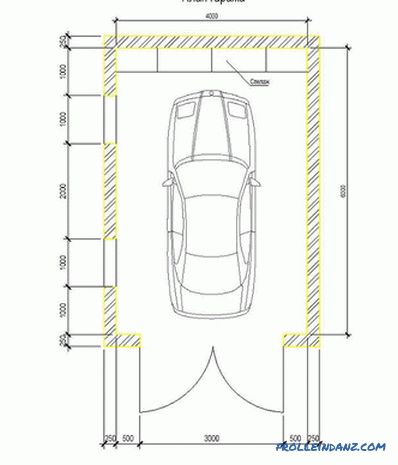
Before you start building your own home for a car, you will have to do a little but painstaking work. It is about designing and determining the optimal location for a future structure. Garage size...
How to hang the door - how to install the door
For most, it may seem that the installation of doors is a complicated process and cannot be managed without the help of qualified specialists. However, in fact, this work can be done independently....
How to make a balcony of the apartment with your own hands (inside and outside) + photo
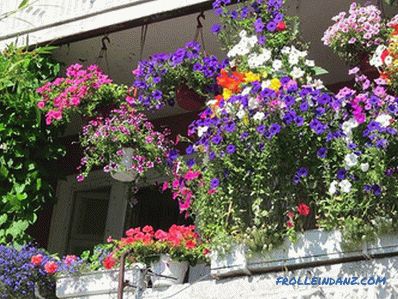
More recently, balconies and loggias did not attach much importance. These rooms were often used as storage rooms, where all unnecessary things were stored, and few people thought that the balcony c...
Wood treatment with stain and varnish: application features
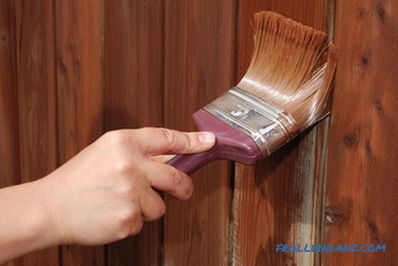
The tree has always been and will be in demand, because it is a natural, living material and no new-fashioned plastics can compete with it in creating an atmosphere of warmth, goodness and comfort...