Chipboard - is the most unique invention of mankind, combining modern technology and age-old traditions of working with wood. There is no such person in the world who would not come across this material, while many even try to do something from it.
A chipboard is perfect for making small shelves with your own hands.
Anyone can make shelves of chipboard with their own hands, but for this you need to know the process in detail.
Preparation and cutting
Tools and materials:
- tape measure;
- chipboard;
- jigsaw;
- sandpaper.

At the initial stage of the construction of the shelf, it is necessary to determine its design.
First, you should choose the option that will be made, because shelves of chipboard can serve different purposes. Some people need them for growing flowers, others for dishes, and some for books. Depending on the goals, the choice is made, and in this case there will be a high wide shelving for the home library.
The choice of chipboard is also quite difficult, because there are different parameters of thickness and density. For books, you can take the average density, and the thickness is stable 20 mm to withstand future loads. If desired, the density can be increased, but in no case does not decrease (with an increase in density increases the safety margin, and with it increases the weight).
When sawing it is necessary to take into account that the average sheet has the parameters 2.8x2.8 m, from which it should be repelled. In this case, it would be optimal to do the following:
- 2.2х2.8 m - rear shield;
- 2.76 x0.3 m (2 pcs.) - bottom and ceiling slab;
- 0.3 x 2.2 m (2 pcs.) - side plates;
- 0.3 x 2.15 m (2 pcs.) - vertical partitions;
- 0, 3х0,89 m (18 pieces) - horizontal partitions.
All measurements should be carried out with maximum accuracy so that it would not be possible to mount the shelf, since they are too short / long. Cut laminated plate can be a circular saw or jigsaw, but in any case, you must carefully consider the laminated surface, so as not to damage it. All cutting is carried out strictly perpendicular to the wood, and after the completion of the work, any surplus is removed with sandpaper or a sander.
Assembly of the whole structure

For the manufacture of a chipboard shelf, a screwdriver, tape measure, level, screws, pencil, angles, etc. may be required.
Tools and materials:
- tape measure;
- chipboard;
- screwdriver;
- pencil;
- furniture screws;
- screws are short;
- corners;
- plugs;
- cant;
- iron.
The initial assembly (drawer) is carried out in the supine position, because in a vertical cabinet will be very unstable. It is most convenient to start from the rear shield, since it covers the entire working area, so it should be laid out on a flat surface so that you can get close on all sides, and mark up future walls and shelves (each 30 cm in height).
The entire installation will be done with furniture screws from the side invisible to the eye, but as support will require aluminum corners with plastic nozzles. In any case, small-diameter holes are initially drilled for screws, and then the coupling is made. If this is not done, then the plate will be split when screwed in.
All further work is carried out step by step:

Scheme of a chipboard shelf with dimensions.
- Two side panels are bolted to the back shield. The mounting pitch of the screws is 20 cm.
- The upper panel is fixed exactly along the edge, while the lower panel is 1 cm away from the floor. If you do not indent, the structure will lose stability. 25 cm mounting pitch.
- Horizontal and vertical panels are interconnected by means of screws cut from the side. These are the only 4 screws that will be seen on the sides.
- The piers are installed. They are fixed below, above and behind. Fixed in this way, they will not give a roll in operation.
- The box is placed in the position in which it will be operated, but is not yet moved to the wall. Despite the solid weight of the structure, such an operation can be done even by a physically weak person, since there is a reliable fulcrum.
- Basic fixation of the shelves is made at the marked places. To do this, first make 3 holes for each, and then from the back side grab. This procedure during the assembly is the longest, because the total need to make 54 holes, and then tighten the 54 screws.
- Shelves from below are grasped with aluminum corners. To do this, you need to correctly calculate the depth of drilling so as not to pierce the plate through.If the drill does not have a depth gauge, then you can use a blue electrical tape that is wound on a drill (no more than 14 mm) and when drilling limits the depth of the drill.
- All screws are closed with special plugs to match the color of the material used, and plastic nozzles are put on the corners. Such a move will provide not only visual perception, but also save books from damage with random hooks.
- All open edges are glued with piping. For this, the piping is applied ideally along the line, after which it must be held several times with an iron. The polymers at the base will grab tightly with the chips.
Summing up
Anyone can make the shelves with their own hands, but you need to approach the process organization correctly.
You should be extremely careful here, since it is important not to damage the surface so that you do not have to redo it later.
All work usually takes 1 day, but if there is little work experience, it can take up to two. Do not rush things, because it is important to achieve exactly the quality of the result.
Didn't find the answer in the article? More information on the topic:
-

Guide to making your own wooden house
How to make a log house with your own hands? Detailed instructions for the construction of a bath room based on wood material. Selection and sorting of logs, laying the foundation and building walls.
Search
Related Articles
How to make a ladder to the attic with your own hands
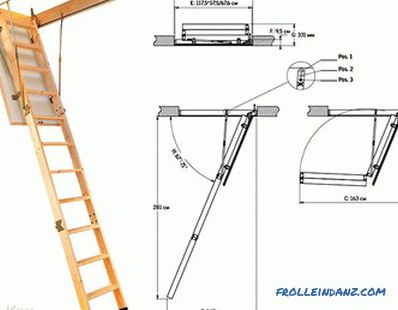
If in the near future you intend to retool the attic under the functional room, then it is worthwhile before work to consider where to install the ladder and how to manufacture it. A ceiling door or...
Design of gypsum ceiling 50 photos

The interesting design of the ceiling was not only a pleasant addition, but in fact an indispensable part of modern interiors. Designers today are not limited to a smooth white surface, but use the...
How to cut the thread on the pipe with your own hands
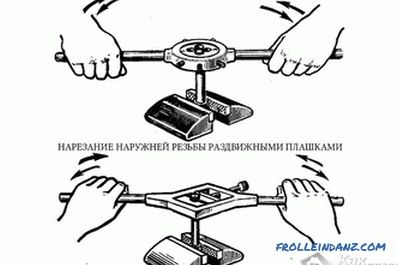
Independent threading on pipes of a different class requires from the performer certain skills and knowledge of all the subtleties of this procedure. In this article we want to acquaint you with how...
composition and plywood alignment technology (video)
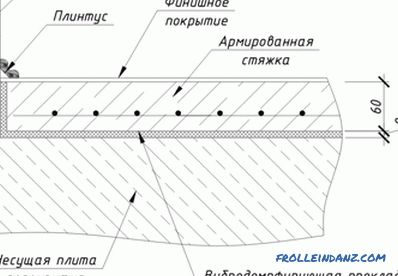
The durability and quality of the future topcoat depends on how well the surface preparation is made. To do this, it is important to know how to level the floor under the linoleum, as well as what...
general rules, schemes (photo and video)
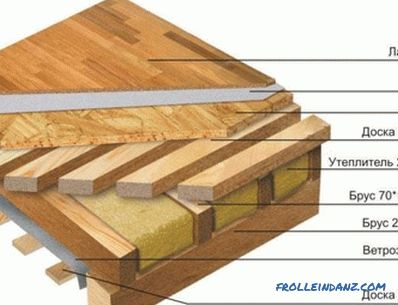
Wood floors are made not only in wooden houses, but also in brick buildings. This floor looks great and helps to create a good microclimate indoors. Laying a wooden floor is easy to do with your ow...