It is simply impossible to imagine a kitchen without having a table that performs two functions at once, one of which is food intake, the second is its preparation. You can buy this piece of furniture in any store of the relevant goods, however, it is not always possible to choose the model that will be suitable for the dimensions and design of a certain room, therefore it is better to make a table with your own hands.
")
Figure 1. Dining wooden table can be made with your own hands, so you can make it the size and shape you need.
In fig. 1, you can see the table construction, which will be considered in the example. For the process of work, you can rent all the necessary equipment for wood processing, to avoid its acquisition. As a result, you can get not only the original, but also a strong table that fits into the interior, decorated in any style.
Tools and materials:
- acrylic composition;
- putty;
- plank;
- furniture stove;
- mounting hardware;
- jigsaw;
- glue for wood;
- clamp;
- grinding machine.
Preparation before starting work
")
Tools for making the table: jigsaw, drill, self-tapping screws, tape measure, ruler, pencil.
In order to make a table with your own hands, you need to prepare a furniture plate, the thickness of which can be equal to the limit of 40-45 mm, whereas its width can vary from 600 to 800 mm, the length of the plate can be any but traditionally it is 1200-1400 mm. As a countertop, it is permissible to use the corresponding element for a kitchen set, adjusting it to the required dimensions. If it is not possible to purchase a solid worktop, then it is permissible to replace it with a set of boards to be glued together.
The legs can be made using a bar that has a square cross-section equal to 60x60 mm or 70x70 mm. Legs can make figured wooden or steel products. The rigidity of the structure will have thanks to the beam, the cross section of which is equal to 40x40 mm, and the length should be such that it was possible to cut around the tabletop around the perimeter. We make the table using fasteners, it can be represented by different models, and fasteners will be needed, namely bolts, screws and nuts.
Table making technology
")
The planks and cant should be marked with the required length and cut into blanks.
Before you make the table, you have to think about what design it will have, what technical solutions will be used in the process of its manufacture, how it will be possible to decorate it later, these components will allow you to get a full-fledged aesthetic piece of furniture. This stage involves drawing up a sketch for certain dimensions of the structure.
For the table it is necessary to choose the type of table top, which will be the easiest to make for the master, and the one that will look most harmonious in the interior of the room. There are two types of worktops, one of which is simple, the second - a high degree of aesthetics and originality.
If you prefer for the table a tabletop made on the basis of glued laminated timber, then it will act as the simplest version of the design, excluding the tabletop based on the finished furniture plate.
In order to make the tabletop out of a bar, a saw is to be used that can be replaced by electrical equipment: jigsaw, sawmill, etc.
")
For fixing the legs use the corners.
The bar should be cut into blanks, giving it the required length. And then you can make a thorough processing of the mating surfaces. This procedure may involve grinding.
The ends of the blanks must be covered with glue for working on wood, having been strengthened with clamps on a flat base until it is completely dry. Once the tabletop is ready, its surface must be carefully polished by hand or using a grinding machine, then chamfered around the perimeter and rounded corners.
The second type of countertop can be decorated with tiles that can give a product a high aesthetic and consumer qualities. In the manufacturing process, it is permissible to use solid wood, which can be replaced with a solid furniture stove. The inner part of the tabletop needs to be removed to a depth that is equivalent to the thickness of the tile, while it should be noted that the adhesive layer also has its thickness, which will manifest itself when laying products. In order to achieve even greater aesthetics, it is permissible to form a curb located around the perimeter of the tabletop, equal to 70 mm. To more accurately calculate the size of the border, taking into account the dimensions of the tile. Work on the elimination of the layer of wood can be done, for example, with a chisel or using a manual milling method.
It is possible to lay tiles on the formed base with the traditional adhesive “Bustilat”, and its height must match the height of the border. As soon as the glue dries, you can continue the process of manufacturing the structure.
")
Self-tapping screws or special accessories are used to connect the legs of the table and the table top.
At the stage of attaching the legs of the table, you will need to use mounting hardware. In advance, the legs need to be drilled holes, the diameter of which must be 1 mm smaller than the corresponding size of screws. Now it is possible to fix fittings on legs.
The next step will be to increase the rigidity characteristics of the future structure, for this, using the self-tapping screws on the inner side of the tabletop, secure the prepared bar, which will serve as the king of the table. The installation of the timber should be carried out after the marking, providing sufficient space for the legs. Then you can pair the legs and mounting accessories to the tabletop and the tsarg.
Surface design of the table
")
Applying a tile on the countertop.
Making the table with your own hands, at the last stage you have to finally decorate the structure. Before this process, all the elements have to be carefully polished to get rid of the most minor roughness. The final finish allows you to also show the unique natural wood structure.
Before you make a table with your own hands, you need to choose the right wood, which should be of high quality, be well dried using the right technology. Otherwise, the design will eventually change its linear dimensions. This can occur when wood with a high moisture content has been used. Over time, it will evaporate and deform the table. But even well-dried wood must be protected from external negative factors, because the kitchen is characterized by conditions with high humidity. In addition, the table is often used for cooking, which may be accompanied by exposure to substances harmful to wood on the table top.
The table with your own hands after the completion of the manufacturing process must be varnished, which can be replaced with wax. Wood is not always devoid of flaws or knots that need to be treated with putty, and then sanded and decorated with an acrylic composition.
The surface of all table elements itself will have to be varnished in several layers. The more of them, the more attractive will be the appearance of the finished product.
After all the wood sawing work has been completed, the workroom should be carefully removed, especially when it comes to painting or varnishing. After all, dust can cause poor quality staining. The next step will be drying, which should be carried out in a warm room. You can choose a varnish that will be able to give the wood the desired shade and type of valuable species. In addition, it will provide good protection of elements against damage and imminent wear.
Making the children's table
")
Drawing with the dimensions of the children's desk-desk.
Before you make a table with your own hands for the nursery, you should prepare a solid array that will form the basis of the tabletop. You will need blanks for the legs of the timber with a cross section of 40x40 mm. At the heart of the power frame will be 4 bars. The model of the children's table may be equal to 500 mm or higher.
The connection of structural elements should be made on the principle of "groove-thorn", for this reason, through the end mills you need to form the grooves in the attachment points of the legs. For what it is necessary to mark places for the grooves, combining the paired elements, and then in the right place should be equipped with a blind hole. Its diameter should be equivalent to the thickness of the groove, while its depth is usually equal to 1/3 of the body of the workpiece. Now you can fix the workpiece legs in the clamp, and then, using an end milling cutter installed at low revolutions of the electric drill, proceed to the selection of wood before the formation of a groove of the desired size.
The ruler will measure the grooves obtained and mark the spikes on the bars for the power frame, which can then be formed. Now you can make a test build. Measuring tools will allow you to check the angles between the elements. Then you need to mark the workpiece and disassemble the table. Joiner's glue will help fix the mating elements. After waiting for the frame to dry, it is necessary to strengthen the tabletop to it. Why in the center of the legs you need to drill a blind hole for a furniture pin. Next, you need to mark the position of the spikes on the back of the tabletop, drilling through the holes.
In this case, you also need to make a preliminary fitting, only then the parts can be processed with glue and attached.
Any of these tables can be adjusted to the size of a nursery or a dining room, the main thing is to make accurate measurements and make a strong mate, then the design will serve its owners for a long time.
Search
Related Articles
How to roof a professional flooring with your own hands
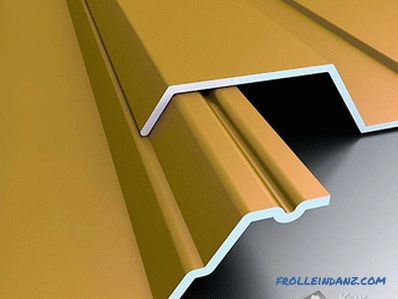
Profiled sheeting is a universal material made on the basis of galvanized metal sheet, widely used in modern construction practice. Elegant and attractive forms of roofing, made of profiled sheets o...
Bottom connection of radiators of heating - the scheme of the lower connection of a radiator
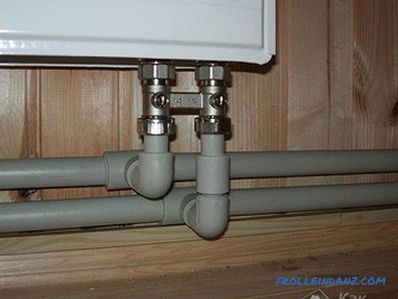
What should I do when the heating system spoils the look of the room? If you can also hide cast iron batteries behind the screen, or install more modern ones - bimetallic or steel ones, instead of t...
Kitchen made of wood with their own hands (photos and videos)
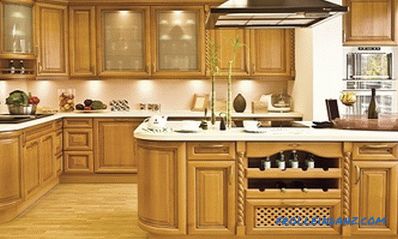
Making furniture from natural wood allows you to equip a room or kitchen with things that are not powerful over time. This furniture will not go out of fashion, will not lose its relevance after th...
How to choose a drill - what happens drill

What is a drill? How would you answer this question? For many, this is an ordinary metal rod that has wave-shaped grooves that are interconnected at its very top, designed to be drilled. Part of the...
Wood scaffolding do-it-yourself: calculating the size and installation
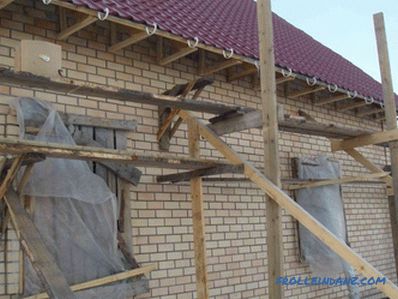
Wood is one of the simplest and most inexpensive in the processing of building materials. Making wood scaffolding with your own hands is quite simple. The production of scaffolding will consist o...