The well-known modification of domestic stoves called "Swede" can be used both for heating country houses and for cooking. Differing in relatively small size, furnaces of this class have a number of advantages, among which are:
- quite high efficiency;
- excellent heat transfer;
- relatively small sizes.
It has been practically confirmed that with a small occupied area such furnaces are able to effectively heat household rooms with an area of up to 40 m².
To obtain a higher heat output from the furnace, increase its size.
Before you make a stove, you must be completely sure that you can cope with this task. In the event that there is no such confidence, we advise you to invite an experienced stove-house counselor as an assistant. In this article we will look at how to do a swede oven with your own hands.
Materials used in the manufacture of the furnace
 Material for the furnace
For the manufacture furnaces of small sizes you may need the following materials:
- Clay;
- Red and chamotte bricks;
- Doors of various types (blower, furnace, inspection);
- Gate valves;
- Cooking cast-iron stove;
- Grate;
- Steel corners and strips;
- Mortar.
Preparatory stage
 Oven scheme
For the success of the masonry works you should first examine the scheme, which indicates the order of the rows of bricks (the so-called ordering scheme).
After that, it will be necessary to organize a test laying of bricks (without mortar) in compliance with the ordering scheme used. Such an operation will allow you to avoid any errors possible during the final installation of the Swedish furnace. In addition, thanks to this, you can determine the required number of "incomplete" bricks (halves or smaller parts).
As the mortar used in laying the kiln, only special clay mixture is used.
To make it, you will need to sift the clay selected for the job and fill it with clean water. In addition, well-sifted sand in an amount equal to the volume of clay should be added to this solution.
Immediately thereafter, water is poured into the mixture in an amount equal to a quarter of the volume of the mixed clay. The resulting mass is thoroughly mixed to a consistency that resembles very thick sour cream in appearance. Before starting laying bricks, waterproofing is laid on the previously prepared foundation, which can be used as a normal roofing felt.
Useful tips
 Furnace door on the front side
Before starting the masonry work We advise you to familiarize yourself with the following recommendations of specialists:
- Bricks must be moistened with water before laying, which excludes the possibility of their absorption of moisture contained in clay.
- Brick laying on the bed is made by pressing it into the mortar, the surplus of which is then removed using a trowel. In the process of laying all the time should control the thickness of the seam, which should not be more than 5 mm.
- The furnace door is best placed on the end wall of the structure, which will considerably facilitate the laying of the log in the combustion zone.
- To securely fix the doors that are installed during the laying of bricks, the latter are reinforced with a wire, the free end of which is then embedded directly into the brickwork.
Furnace Laying

The classical scheme for a consistent stowage of the furnace looks like this:
- The first two rows fit on a plane bases with exact repetition of its configuration.
- Starting from the third row, space is provided for the camera, as well as the blower and inspection doors.
- The fourth formable row should completely repeat the third, after which the cast-iron door is used, which is used to clean the furnace from the combustion products (ash).
- Then you can go to the tab of the so-called combustion chamber, partially laid out from fireclay (refractory bricks). At the same time, a gas outlet channel is formed that is offset to the rear wall.
- After that, according to the above scheme, the overlap is made between the back wall of the oven and the gas exhaust channel.
All subsequent operations should be carried out in full accordance with the above ordering scheme (of course, taking into account the characteristics of the premises you are building). It should not be forgotten that all cast-iron and metal elements embedded directly into the masonry should be securely fixed in it using steel wire (previously well annealed).
At the final stage of manufacturing the stove, the upper flue ducts are completely blocked (except for the chimney hole) and due to the expansion of the masonry, a small ledge of about 5 cm is formed.
Video
This video shows how a Swedish oven is built.
Search
Related Articles
House of aerated concrete do-it-yourself + photo
Are you dreaming about your own home where your family will live? Then you should learn about the new approach to construction. It is about building a house of aerated concrete. Such a home will ser...
Laying plywood on logs: step by step instructions
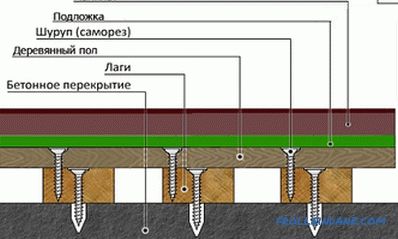
Plywood is often used to make floors in residential and office premises. Laying plywood on logs for the manufacture of subfloor is a fairly reliable method of installation. With this method of layi...
Kitchen in modern style - 50 interior design ideas
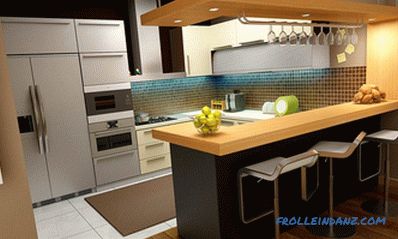
A modern-style kitchen has always been very popular among interior designers. Perhaps the reason for this lies in the fact that this style is compatible with almost anything. This allows the homeown...
Installation of adjustable floors - a sequence of actions (video)
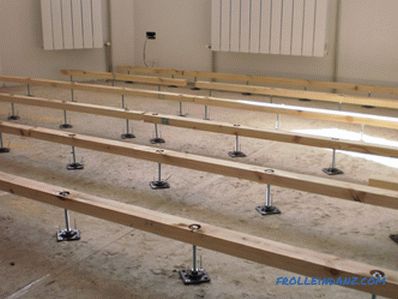
Innovative base leveling methods were developed in order to optimize the speed of finishing work and reduce labor costs. Recently started installation of adjustable floors. The design provides owne...
Do-it-yourself workbench: stages of work
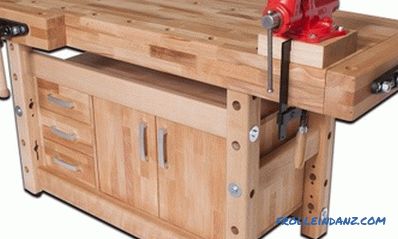
A home craftsman who prefers to do all the housework on his own, needs a comfortable and safe workplace. The best option would be a workbench. Thanks to this simple design, the work will be signifi...