Many home craftsmen eventually begin to make furniture, but it is optimal to start such work with the manufacture of stools with their own hands.

Drawing of a folding stool.
This interior item is in demand in any house or apartment, and the process is fairly simple.
Complete workflow

Stool with your own hands drawing.
Tools and materials:
- screwdriver;
- jigsaw;
- tape measure;
- edged board;
- timber;
- chipboard;
- aluminum corners;
- furniture screws;
- glue for wood;
- shkanty .
Before you start making stools, you need to prepare a drawing, and then proceed to the choice of material. As a material, 3 options most often appear:
- Edged board. Most often used in country houses for full styling. Their quality is the highest, but it takes a lot of processing time, especially considering the expectations (protective compositions dry for a long time). The material is inexpensive but interesting.
- Laminated chipboard. Here the workflow is extremely fast, because there is no need to spend extra time.
- Fiberboard. It is rarely used, but in the manufacture of furniture based on aluminum structures, their use is justified, because all the same, the outside will have to form upholstery.
Diagram of the connection of the legs to the seat.
A wooden and edged board is almost always used as a supporting system, but sometimes you can use modern materials. It should be borne in mind that the aluminum construction will not last even 1/2 of the life of the tree, but it looks much more elegant.
Now you need to turn the following products:
- Legs (4 pcs.). Usually, a height of 40-50 cm is used, but with a large height of the hosts and a high table, you can make up to 60 cm (in this case 46 cm).
- Prostates (4 pcs.) And tsargami (4 pcs.). They are made of slats or edged boards, and are always completed with a contraction in any form. If desired, you can create a pattern that will significantly strengthen the design.
- In the legs at the same level (1/3 of the height), 4 nests under progresses are cut out, and then 4 more in the upper part under the lid itself under the tsargs (main stiffening ribs).
- At the very end, a cover (seat) is cut, which, by its length in each direction, exceeds the distance between the legs by 10-15%.

Stool design.
Glue is usually used as a fastening material for the supporting system, but if you wish, you can make a hole with a drill, after which you can expand the outlet under the head with a chisel. In this way, it is possible to additionally fix the structure with a threaded joint.
For fixing the cover, the perimeter dowels are used (2 pieces on each edge), and aluminum furniture corners should be used for tightening. When forming a threaded connection, you also have to use a drill, which is drilled 2/3 of the shield. For fixing the depth of drilling, you can use a depth gauge, or wrap electrical tape on the drill at the right level.
Completion of work

The scheme of the cloak on the stools with his own hands.
Tools and materials:
- PVA glue and sawdust;
- furniture plugs;
- upholstery materials and stapler;
- chipboard tape and iron;
- wood stain, varnish and flat brush.
After the stool production is completed, you can begin to bring it to a respectable state. To do this, you need:
- Paste the open sections of chipboard with a special tape. This is done with the help of an ordinary iron (a tape is applied to its place, then it must be held several times on it with an iron, after which the polymers will melt and grab with chips).
- To coat the structure with paint and varnish. At this stage, you can externally give the appearance of any wood species.
- To uphols those furniture items that require it.
The following procedure is used for upholstery:
- Foam rubber or batting is placed on the chosen pad (foam rubber is better to use for chairs and stools).
- A fabric cover is formed from above, and its dimensions exceed the area of the chair by 8-12 cm in each direction.
- With a special stapler, the fabric is fixed at the bottom of the seat. The fixation step is best done zero in order to achieve maximum quality.
There is one more factor to be remembered about - these are the open metal caps of the screws, which must always be hidden from the general view. To do this, you can use special furniture plugs, and you can mix the sawdust with PVA (improvised putty on the tree of the desired grade) and close it from above. These actions are carried out strictly with the tree (not chipboard or fiberboard), and to cover the stain or any other protective composition.
The process of making stools is quite simple and fascinating, and the output is an object that can be used for many more decades.
The main thing with this is to spare no effort to work, which will ultimately be justified.
Didn't find the answer in the article? More information on the topic:
-

Built-in closet: do-it-yourself installation
You can make a built-in closet with your own hands. Today you can buy almost any material for this purpose. You will only need to get acquainted with the technology of work and proceed to installation.
Search
Related Articles
The foundation in the swamp do it yourself

Marshy soils are subject to seasonal fluctuations to a greater degree than all the others. They are oversaturated with fine particles and therefore often form fluids. In the winter, they freeze and...
Shelf in the bathroom with their own hands
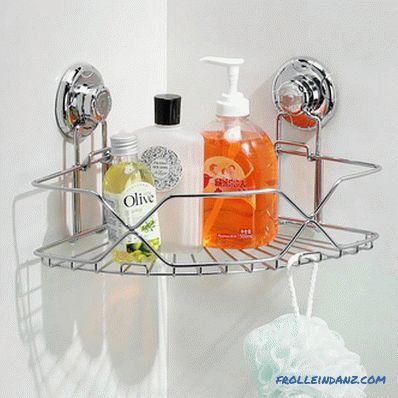
It is extremely difficult to imagine life without various trifles, which allow you to improve your home with comfort and coziness. For this reason, when creating an interior, it is extremely importa...
Decoupage the table with their own hands without much difficulty (photo)
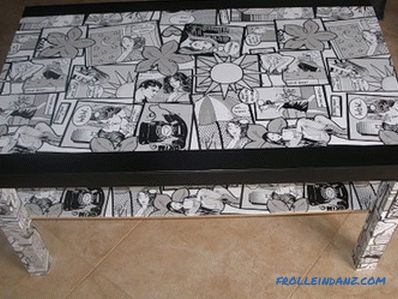
Most often, ordinary tables purchased in a store look inconspicuous. This is largely due to the fact that such furniture is manufactured in series, it is intended for mass consumption, piece proces...
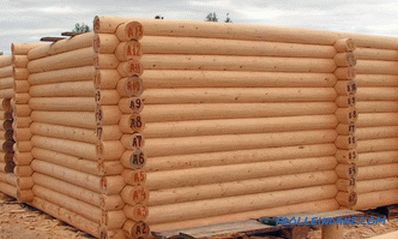
Build a house from a timber by yourself: instructions
Wooden houses are always very popular, especially for those who want to build their suburban housing. The material is environmentally friendly, affordable. But the main thing is that the timber is...
How to assemble a log house for a bath: preparation, technology of joining logs
The demand for environmentally friendly materials for the construction of various structures by private customers today is quite high: natural wood is aesthetically pleasing, inexpensive and has go...