If there is no place to put books, then you can get creative and make a bookshelf with your own hands. A thing created by itself will always be highly appreciated and will fit in the interior in an original way. A classic option for storing books is a shelf with glass, as it protects books stored inside from dust and burnout in the sun.

For those who like to read, sometimes there is a need for a shelf for books. It can be made of wood with their own hands.
Before you start making a bookshelf, you need to accurately determine its purpose, location and appearance, as it must fit into the existing interior and hang in a convenient place. Having chosen the place where the shelf will be located, its size is calculated in order to know the quantity of necessary materials for manufacturing.
Selection of materials for the manufacture of

Thin and light boards should be used for the multilevel shelf for books.
The classic material for the manufacture of furniture by hand is wood, since it is accessible and easy to process. If the shelf is single-tier, you can use thick and heavy boards that look very solid in the interior. And if a multi-tiered design is planned, like a small suspended rack, it is better to choose a thinner and lighter wood so that the shelf does not fall under its weight.
The bookshelf can be made from glass. With respect to wood and plastic, glass does not benefit either in terms of strength or in terms of lightness, but it looks much more refined. Work with glass is complex and requires a lot of time and accuracy. It is best to glue the glass with epoxy resins, and to give strength to bends, you can lay a thin aluminum profile. The greatest difficulty is the drilling of glass for the installation of fasteners, so for a beginner it is better to do without it. Ordinary window glass is not suitable for making a bookshelf, so you will have to purchase a thick impact-resistant glass.
How to make a wooden bookshelf?
To create the simplest wooden structure, you will need:

For trimming boards at construction of shelves for books the electrofret will be necessary.
- boards or furniture panels;
- varnish or stain, brush or roller, you can stock up on acrylic paints for drawing patterns and ornaments;
- saw-handsaw , electric jigsaw;
- pencil, measuring tape, construction level;
- sandpaper or grinder;
- screwdriver and a set of self-tapping screws on wood of small length.
It will be necessary to make 3 pairs of blanks from a standard board 200x20 mm. The blanks should be 200x20x400, 190x20x260 and 195x20x1200 mm, each size by 2. To saw off the board accurately and smoothly, you need to use a measuring tape and a pencil for marking, and then cut it exactly along the intended line. The cut will be clean, if the handsaw and jigsaw are sharp, it is recommended to change the blade before work.
Grinding of blanks is an obligatory stage of processing after sawing according to size.
The number of emery paper is chosen depending on the state of the blank boards. For very rough and splintery surfaces, a large pelt is needed, which can then be changed to a smaller one.
Assembly of parts for the shelf

Schematic of the assembly of the bookshelf.
Vertical elements fasten the longest blanks, which are shelves. The shortest boards are added between them, also placing them vertically between 2 bases. These boards serve as partitions and additional supports, as long shelves under the weight of books can sag and deform the structure. Secure each cut with a pair of screws, placing them at the ends of the blanks. If the shelf will be used for very heavy things, you can fasten not with 2, but with 3 self-tapping screws, and add corners for greater strength.
Finishing
After sanding, to make the product more attractive, you can slightly round the corners or even cut small patterns on the surface. If you have a burning apparatus, you can create interesting motifs inside and out. And if there are only paints and a brush, the wood must first be primed, applying 2-3 layers of PVA glue or special primer to the surface. After that, the work of the brush will go easier. It is better to choose acrylic or tempera paints, but you can paint with oil, if you have patience until it is completely dry.
Wooden products need at least impregnation with varnish, stain, or waxing for their preservation. Untreated wood cracks and cracks, deforming at the same time. A good option are several layers of yacht varnish, which perfectly protects the wood.Since there will be a lot of unpleasant smell when working, it is better to move this stage to the balcony or to the garage, or at least to the stairwell. If the pattern is varnished, it is sometimes important to choose a varnish that does not give yellowness. Yacht varnish in this case is not suitable, it is better to take a car or acrylic, but the latter is not too resistant to various weathering.
Didn't find the answer in the article? More information on the topic:
Search
Related Articles
Finishing a wooden house inside and outside with their own hands (photos and video)
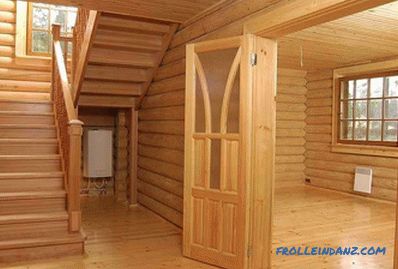
After you have made the foundation, erected the walls and installed the roof, you still need to solve a problem such as finishing a wooden house inside and outside. If you built your own wooden ho...
Installation of a suspended ceiling Armstrong do it yourself
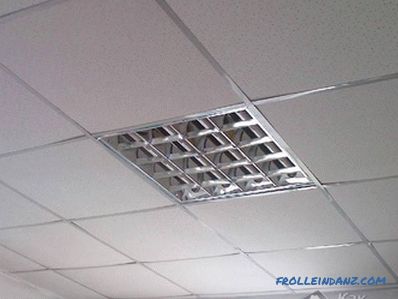
Armstrong ceilings belong to a class of suspended ceilings, which have become very popular. Most often they are found in various office spaces. It is not recommended to install ceilings of this type...
DIY drilling (+ diagrams)

Each country site needs a water source. To get a water resource, it is necessary to equip a well or a well. In this article, we will describe the technology of drilling a well with our own hands, co...
Swimming pool in the country with their own hands + photos, schemes
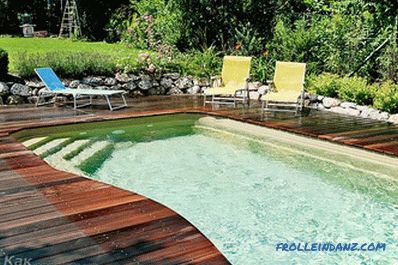
In the warm season, the townspeople go to the country not only to harvest and make harvesting for the winter, but also to rest. The pool is a great alternative to any body of water in the hot summer...
Construction of a log house with their own hands (video and photo)

Construction of a log house involves the use of various technologies. A log house can be erected from a chopped log (manually cut) or from a log, rounded on a special machine. Various technologies...