The rapid development of the latest lighting technologies has led to the emergence of original techniques that allow you to completely change the visual perception of the volume of residential spaces. You can transform your home today by updating the room lighting system by organizing LED ceiling lighting with your own hands. Nowadays, LED devices (so-called LED emitters) of the following known classes are used to illuminate living rooms:
- linear LED lamps;
- spot ceiling lamps;
- LED strips with controllers;
- LED emitters of the floodlight type.
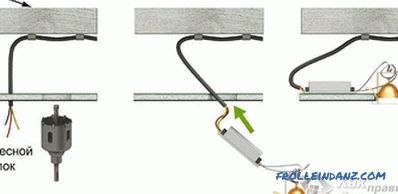 Installation of point led lights
First-class illuminators are used, as a rule, in those cases when it is necessary to organize the illumination of the linear sections of the rooms (dead walls or hidden from direct perception of sub-ceiling areas). LED devices of the second type are mounted in such a way that the lamp body is recessed into the wall or ceiling, and only the front part with the radiator is visible on their surface. Due to the low temperature of the working areas of these lamps, they can be freely placed both on stretch-type ceilings and in special plastic or wooden decorative structures.
LED lighting of room ceilings in an apartment can be organized with the help of directional lights (like floodlights) placed on the walls of the room. Such lamps are usually produced in color (RGB) or white versions and have good protection from moisture and dust.
Special LED strips (in conjunction with control controllers) are designed to produce dynamic color effects with an arbitrary combination of colors in the RGB palette.
Development of the project of the backlight
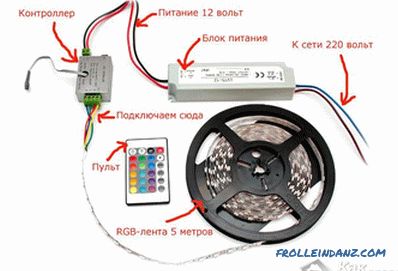 The sequence of connection of the LED tape
Development of the household project, allows you to organize LED ceiling lighting with your own hands, includes a number of the following preparatory plan operations:
- choice of LED illuminator model;
- counting the number of required fixtures (length of strip illuminators);
- selection of the optimal switching scheme for luminaires and ribbons;
- mounting of all the lighting elements.
 Connection scheme
For rooms with a usable area of up to 17 square meters. meters the most suitable option may be the organization of the backlight LED tape do it yourself. Focusing on this choice, consider in more detail the general procedure for the implementation of such a project.
- First of all, you should decide on the zones of ribbon placement from the LEDs, which will provide the required effect to illuminate the room.
- Following this, you can (taking into account the chosen placement location) decide on a suitable product model and the required length. At the same time, one should not forget that such a tape is designed for a multiplicity of cutting of 5 cm.
- Next, taking into account the operating parameters of the model chosen by you, it is necessary to choose the power supply unit suitable for this sample and the controller controlling the operation modes. The calculation of the parameters of the lighting chains and the preparation of their connection scheme can also be carried out independently using the instructions attached to the product.
- After completing all these operations, you can proceed to the direct installation of the backlight.
Video
The following video shows the installation process of the LED strip:
Mounting the
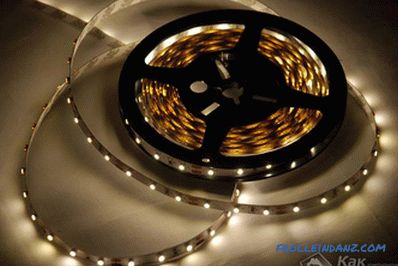 Led tape
At the place of its placement, the tape is attached using an adhesive mounting layer applied to one of its surfaces. After removing the adhesive protective coating from the tape, it is necessary to attach it to the attachment point and press lightly.
Before sticking products from LEDs, it is necessary to prepare well their place of attachment, for which the mounting surface is cleaned of dirt and degreased with technical alcohol.
At the final stage of the work, you should connect the LED strip that is built into the interior of the room to the controller, observing the polarity and connection order indicated in the diagram. The controlling controller itself is connected to the supply transformer in accordance with the above diagram.
Thus, to arrange the LED backlight in the room, you will need to stock up on the following components:
- LED strip 10–15 m long;
- an RGB controller (supplied usually with remote control;
- wires, connectors (special connectors) and shrink tape;
- mains supply transformer.
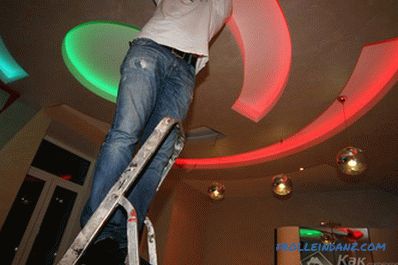 Colored LED illumination
In conclusion, it should be noted that the performance of the room lighting in A wide range of different colors will look much more spectacular than simple (monotonous) LED lighting.This light allows you to change at will the basic color characteristics of the illuminator (brightness and color saturation), which contributes to the creation of a festive and cozy atmosphere in the room.
Video
We suggest to get acquainted with how to connect the LED strip to the controller:
Photo
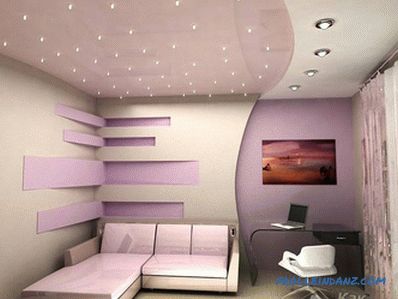 LED backlight option
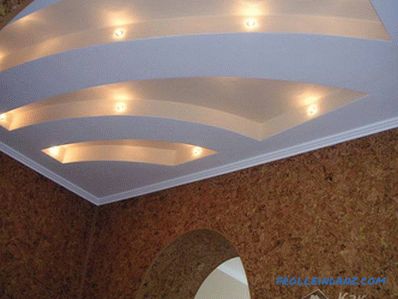 Spotlights
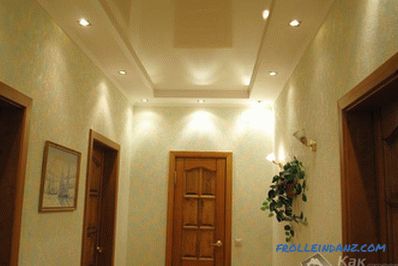 LED illumination of the corridor
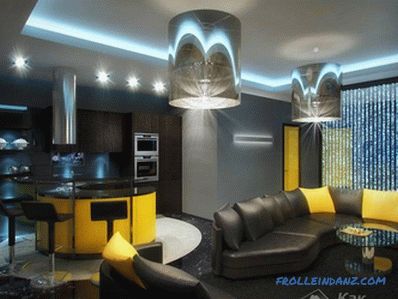 Ceiling led
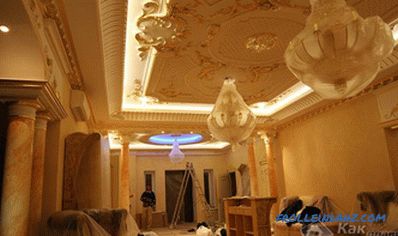 Illumination of the ceiling with stucco
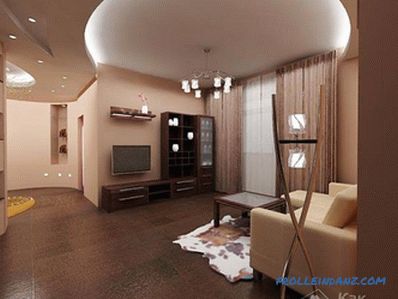 Using the LED backlight
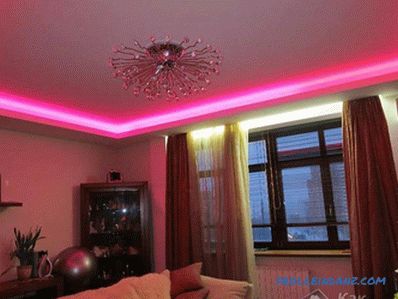 Ceiling color lights
