The technique of plastering the outer and inner corners of rooms has its own characteristics and requires careful preparation of the adjacent wall surfaces. The main attention is paid to the quality of the corner joint in compliance with all the indicators stipulated by the standards.
Nowadays, there are two ways of leveling corners in the joints of walls, the order of use of which is determined by the type of subsequent decoration of the walls of the room. In the case when the walls in the room are supposed to be covered with wallpaper with the selection of the picture - you can level the corners by level. When they are planned to finish with decorative plaster, they usually resort to leveling the plane.
Material and tool preparation
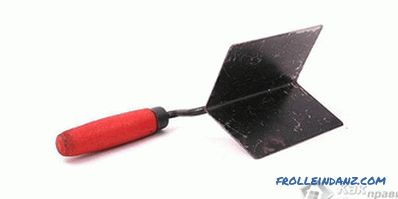 Angle trowel
Before plastering the corners walls you will need to prepare the appropriate materials through which you can align the corner zones by applying several layers of coatings (without the so-called "subsidence").
We recommend that you purchase only high-quality ready-mix, produced by reliable and proven manufacturers. In this case, the best option is considered to be plaster, prepared on the basis of gypsum (it is also called starting putty).
The corners can be treated with a special deep penetration primer, which noticeably improves adhesion to the plaster.
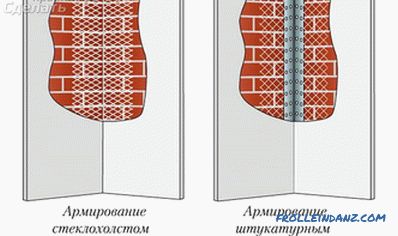 Reinforcement of corners
To organize the plastering work, you will need to prepare the following accessories and tools:
- plastic bucket;
- electric drill with a whisk;
- rule and a set of spatulas;
- special "grout";
- sandpaper set of different grain.
Plastering of internal corners
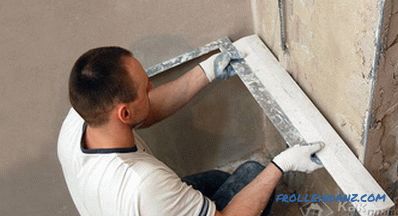 Aligning the internal angle with beacons
To align the angles of this type, control beacons are installed directly in the corner. For a smooth and imperceptible "tightening" of the corner to be drawn, you should use the rule of the largest possible size (length).
Preliminary preparation of the surface of the corners is reduced to removing (knocking) from it noticeably prominent bumps and protrusions, which will allow you to save on the volume of putty putty. After leveling, the surface is primed with a deep penetration compound, which further strengthens the treated area and improves adhesion with the layer of putty. Priming is carried out over the entire width of the rule used in preparing the corner, or even slightly more.
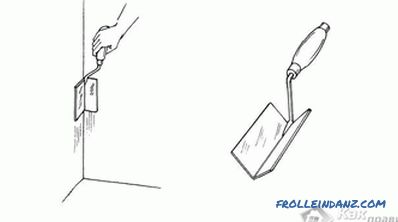 Using the angular trowel
After the applied soil has dried, you can proceed to the preparation of the corner beacon, which is performed in the form of a five-centimeter strip of gypsum plaster. For its preparation, a plaster mix is used, which, first of all, is thoroughly mixed to avoid the formation of lumps.
After that, the finished mixture is applied to the corner areas, and then aligned in a vertical plane using the rule. Upon completion of leveling the mixture and its complete drying, it will be necessary to prepare another beacon, which should be placed on an adjacent wall.
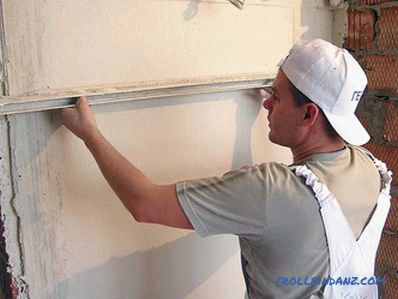 Plastering of the inner corners
After the beacons are prepared, you can proceed to “tightening” the walls in the area of the corner joint produced by the same rule. When applying plaster to the wall for the entire length of the rule, one of its ends must rest on the beacon installed earlier, while the other one is conducted along the wall while simultaneously cutting off excess material. The layer of putty removed with the help of the rule cannot be reused, since dried fragments of the solution will break the plasticity and homogeneity of the finished mass. To eliminate ("clogging") visually distinguishable grooves or scratches, it will be possible to apply another layer of the mortar and "broach" the corner surfaces using the same rule.
Plastering of external corners
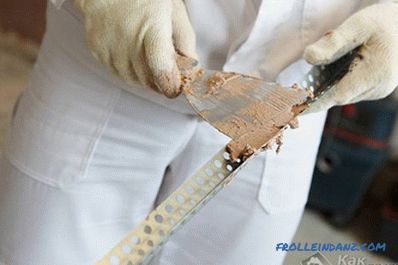 Plaster corner for an external corner
Before plaster the corners of the walls from the outside you should knock down all the growths and protrusions on it. Only after that you can proceed to the priming of the surface prepared for plastering. For high-quality plastering of external corners, it is recommended to use special profiles, which are perforated metal strips of a certain length, made in the form of angles.
Being essentially ready-made beacons, such profiles are fixed at the corners by pressing them into a solution already deposited on the surface of the walls. After that, you can remove excess plaster mix and check the vertical structure in both planes.
The final grouting of the outside corner, made with the help of “classic” abrasive tools (construction mesh or the so-called “sandpaper”) should be done after a certain time when the layer of applied plaster dries out completely.
We advise you to read:
- how to properly glue vinyl wallpaper;
- how to glue the ceiling plinth.
Video
We offer to watch the following video about interior plastering:
