In order to take a comfortable bath in a bath, it is necessary to install shelves, observing certain standards. Material for flooring, too, must be chosen wisely. In this article we will explain how to make shelves in the bath with your own hands, give a step by step guide, as well as drawings, photos and video instructions.
Material for the shelf
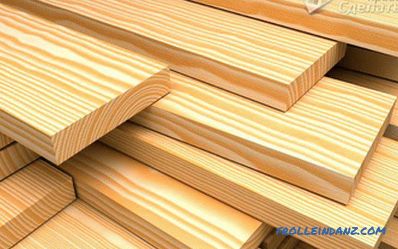 Edged board
The atmosphere in the steam room is characterized by high temperature and moisture, this combination can not stand every material. Traditionally for the bath flooring is used wood. A suitable type of wood should have certain properties:
- low thermal conductivity, which guarantees a comfortable flooring temperature for a person;
- moisture resistance;
- the minimum amount of resin in the wood structure.
Experienced craftsmen recommend linden, aspen, maple, poplar, abashi for the regiments. Conifers tolerate moisture well, but at high temperatures, resin begins to protrude on their surface. This can cause burns, so it is better to use excellent pine or spruce wood for furniture in a rest room or washing room.
Linden - when heated, it emanates a special aroma and healing vapors. The tree dries quickly, does not crack, is easy to process. In a hot and humid atmosphere, the material changes color from light to dark.
Aspen is a common choice for regiments due to its combination of strength and low price. Boards retain their dimensions during temperature fluctuations and are not deformed. According to pagan beliefs, aspen frees from negativity and cures mental trauma. Externally, the material is stored for a long time, and the inside of the boards is subject to rotting.
Abashi - expensive African wood has a beautiful yellowish or cream shade, retains its appearance of high quality for a long period of time. It has low thermal conductivity, flexible and durable material serves as a comfortable flooring. The high price of a foreign tree makes it available only to a limited number of people.
Maple - shows excellent resistance to moisture and heat.
Location
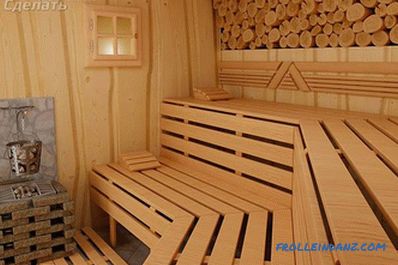 Non-standard location of the regiments
The number of tiers in the steam room you choose yourself , if people will go to the bath a little, 1-2 tiers are enough. Three tiers can be placed in a high room, between the upper flooring and the ceiling should be not less than a meter. Shelves are located along the walls on which there are no windows. The beds are:
- stepped along one wall;
- perpendicularly on adjacent walls;
- parallel to each other on opposite walls, the top row reclines for convenience.
Sizes
The size of the regiments depends on the tier: the top one is 90 cm wide, the middle and bottom one is 80 cm. The length can vary from 150 to 180 cm, it depends on the size of the steam room .
The height of the shelves should be comfortable for a seated person - the upper shelf is fixed at a height of 120 cm, the comfortable height of an average floor is 70-80 cm, the lower one is fixed at 40 cm.
Mounting
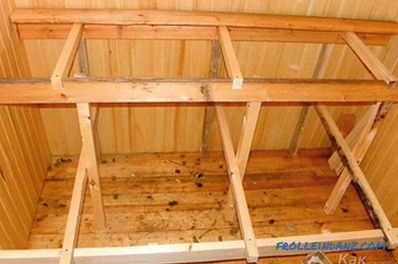 Making the frame
Before you make the shelves, bars and boards designed for they are carefully polished and treated with a special antiseptic on a natural basis. The frame of the regiment is constructed of bars, the supporting posts are made with a section of 50 * 70 mm.
- The position of the rear pillars is marked on the wall, they are fixed to the surface with screws.
- Horizontal beams, forming a frame to which the flooring from boards will be fastened, are fastened with ends to opposite walls. Transverse parts, equal to the width of the shelf, are attached to the walls along the entire length. Between the wall and the adjacent longitudinal bar, it is necessary to attach small workpieces with a thickness of 10 cm, so that there is a gap for water flow. The horizontal plane of the beams is checked by level.
- The rear beam is fastened with self-tapping screws to the vertical posts.
- Front vertical pillars are installed parallel to the rear, under the ends put rubber. The correctness of the installation should be checked using a level.
- The front beam connects to the uprights.
- Grooves are cut in the beams for fastening cross-pieces, at a distance of 60 cm from each other.
- The crossbars are laid into grooves and fixed with self-tapping screws.
- For reliability, the vertical uprights are connected in the middle of the bars.
- The length of the boards used is equal to the length of the shelf, 120 mm wide, 22 mm thick. They are screwed to the frame of the flooring on the back side or the heads of the screws are sunk into the tree. Screwing places cover with special mastic to prevent burns. Between the slats left a gap of 1-2 cm for draining water.
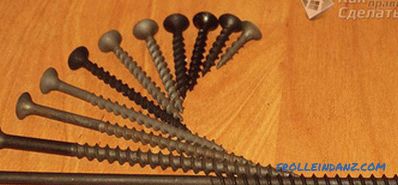 Wood screws
Using screws instead of nails allows you to securely fasten the structure and leaves the ability to disassemble shelves to dry or replace an item.
This is how the bath shelves are made, if you are going to make several tiers, they are performed according to a similar pattern: the frame for the upper one is assembled and the base for the lower shelf is attached to it.
Video
Watch a video containing a detailed description of the assembly of the steam shelf:
Photo
This collection of photos and drawings helps you more clearly present the order of work:
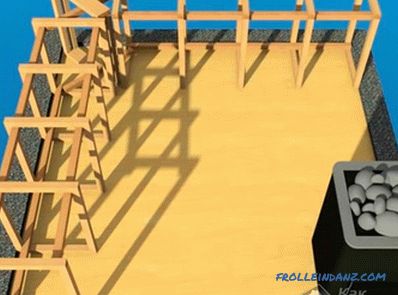 We begin to make the frame
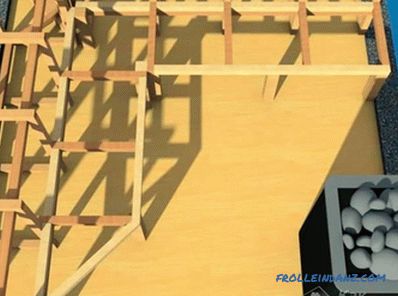 Making the bottom row
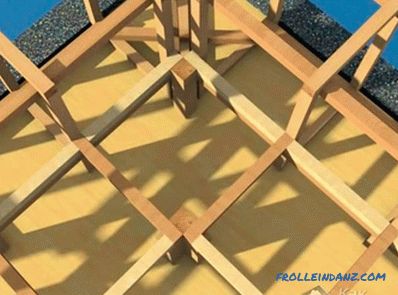 Frame device
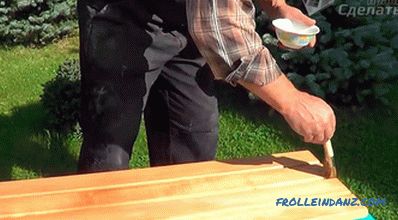 Impregnation of wood
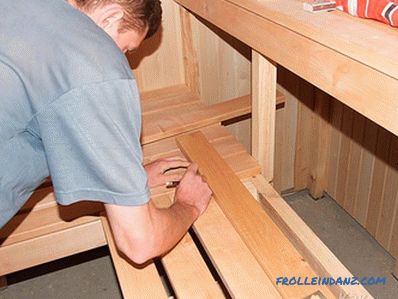 Fitting and fastening
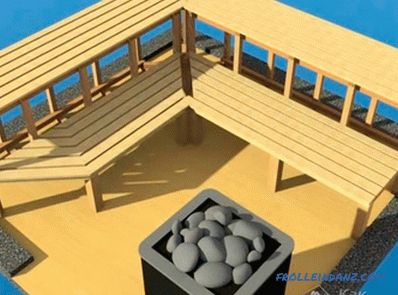 The flooring of the boards is ready
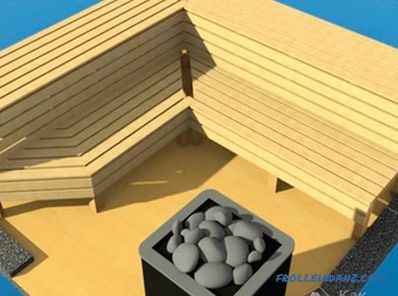 Final Finishing
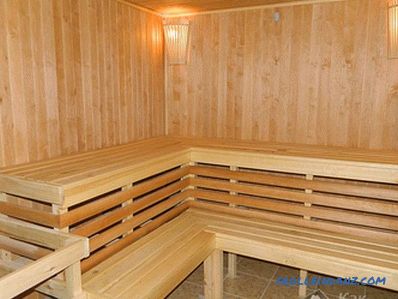 Work completed
Drawings
On our proposed The drawings indicate the size of the regiments and their design:
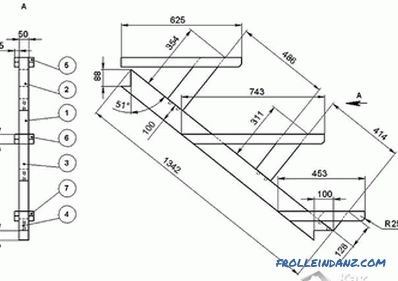 Drawing of the shelf support
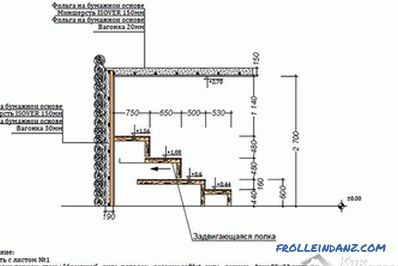 Location of the regiments
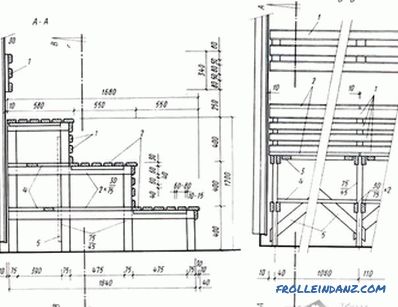 Drawing of the three-tier shelf
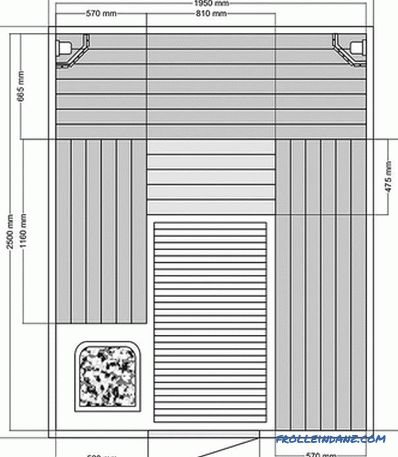
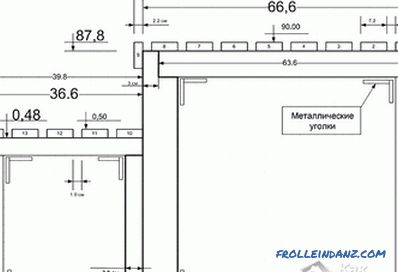 A variant of drawing shelves in the bath
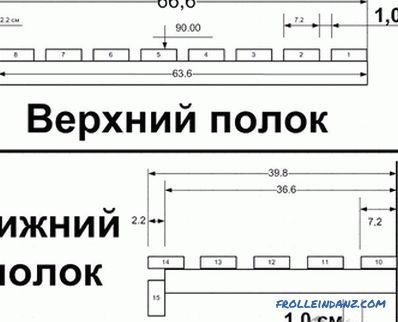 Top and bottom shelves
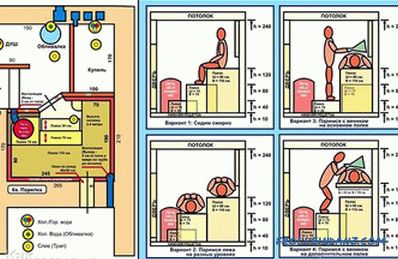 Layout of shelves and benches
