It is well known that plastering walls and floors involves the mandatory installation of special landmarks (the so-called "beacons"), allowing you to control the level of the applied composition. That is why you can begin to work on plastering surfaces only after becoming familiar with how to install beacons on the wall.
The guides used for arranging wall beacons are made, as a rule, from metal strips or corners of one or another size; moreover, their parameters are selected taking into account the thickness of the working layer of the plaster subsequently applied. Sometimes the lighthouses after leveling the mortar are not removed from under it, which is often practiced when plastering walls prepared for subsequent tiling.
Materials and tools
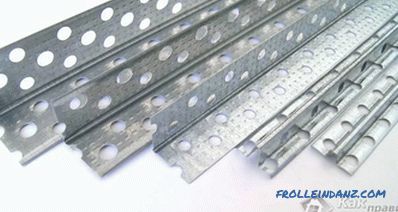 Beacon profile
To install wall beacons you can the following materials and tools are required:
- putty used to fix beacons on the wall;
- a spatula of a suitable size;
- a bucket of water;
- rule with a base length from 1.5 to 3 meters;
- profile level with a base about a meter;
- tape measure;
- marker.
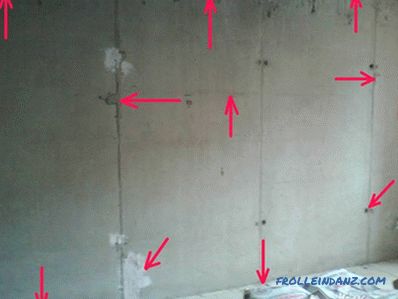 Applying the markup for installing beacons
Preparing walls for plastering consists in applying to them vertical marks indicating the location of future lighthouses.
During the marking operations, the width of the rule with which you are to work should be taken into account.
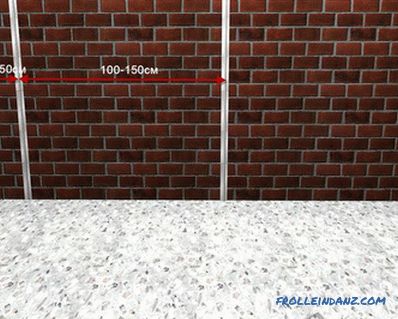 Correct installation of beacons for plaster
The number of metal strips needed to prepare the guides, It should be chosen with the expectation that in addition to the main marking, in some places of the surface to be plastered, additional (intermediate) beacons will be required. Their location is usually chosen at points that are equally spaced from the installation sites of the main beacons.
Fixing beacons on the wall
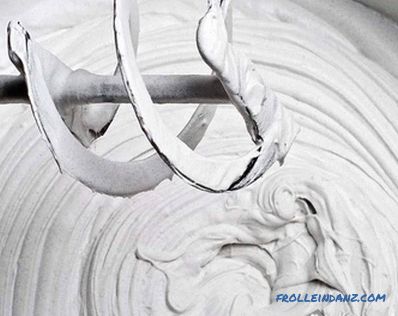 Preparing a putty
Fixing metal beacons on the wall is done using putty, which you will need to prepare in advance. This solution is prepared on the basis of standard building mixtures, by mixing them with water in classical proportions.
In addition, ready-made putties that are sold in standard packaging can be used to secure beacons. When choosing a mixture, pay attention to the area of use of your composition. Of the variety of existing materials, preference should be given to mixtures intended for the filling of walls of brick or concrete.
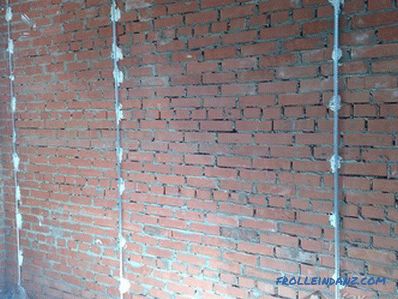 Installing beacons
The procedure for fixing beacons on a wall is extremely simple and consists of the following:
- First of all, a section of the wall with vertical marks on it indicating the locations of the beacons should be cleaned of dirt and dust.
- After that, it should be thoroughly moistened with water and treated using a normal soil composition.
- Then, using a spatula on the markup, apply a few small "stains" of the finished putty.
- And in the conclusion on these islands of a solution the indicators themselves are installed (buried in them).
Alignment of installed beacons
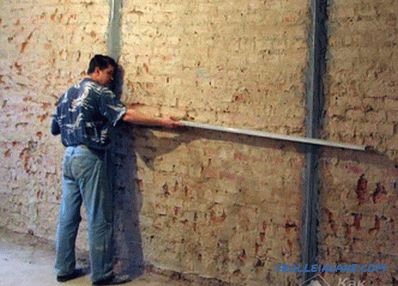 Check by level
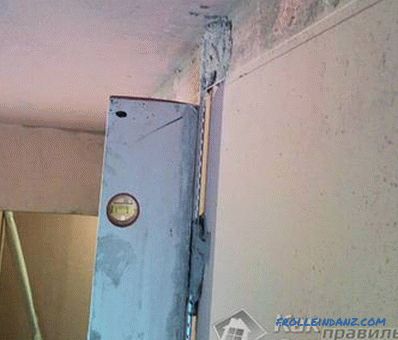 Vertical alignment Before installing beacons on a wall, be sure to evaluate the degree of verticality of the surface that serves as the basis for their application. To conduct such an assessment, you will need a special rule with a level embedded in it or any other (similar to this) measuring tool.
Thus, focusing on the readings of your measurements, you can change the thickness of the “spots” under the beacons installed at various points on the wall surface.
After fixing the beacon on the wall, do not forget to once again check the installation accuracy and correct its position (if necessary). To do this, you will need to attach the level to the beacon and, gently pressing it down, to achieve the vertical position of the guide. Upon completion of the alignment of the lighthouse, do not forget to remove all excess solution from it.
Before plastering the surface, it is necessary to make a pause in the work, during which the beacons will be able to firmly fix in the putty.
Installation of intermediate beacons
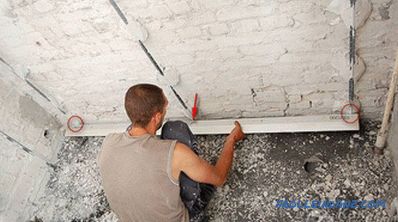 Installation of intermediate beacons
In the case of the impossibility of using a long rule for the installation of beacons - it will be necessary to reduce the distance between control points by installing additional (intermediate) landmarks.
To prepare them, you should divide the distance between adjacent beacons into two equal halves and apply the appropriate markings on the wall.Immediately, we note that this can only be done after the putty used to fix the main beacons has dried.
Then a “spot” of the solution is applied to the vertical markings, after which an additional beacon is pressed into it. To align it, you can use the same rule that was previously used for arranging the main beacons.
Video
Beacons can be set in this alternative way:
