The ceiling plinth has several functions. Firstly, it gives the design of the walls and ceiling a special charm and beauty. Secondly, the plinth can hide some defects (for example, minor irregularities of the walls). In the article we will tell how to glue the ceiling plinth of foam plastic on wallpaper, stretch ceiling and putty, as well as how to glue it in the corners. What should be taken into account and what nuances to know?
We select the suitable plinth and glue
The ceiling plinth or fillet is made from different materials. It may be wood, foam, plaster or polyurethane. Therefore, in the first place, it is worthwhile to choose a suitable plinth for your case.
Foam and polyurethane products are most frequently purchased. They have many common characteristics. Such fillets are made of polymeric compounds, have low cost and are fairly light.
The cheapest option is foam. But such a plinth has disadvantages. Polyfoam badly bends. If you need to go around large irregularities or glue over the corners, then such a plinth just burst.
Polyfoam does not like moisture, therefore, it is not recommended to glue it in the bathroom.
 Polyurethane
Polyurethane is more flexible and is not afraid of moisture. It is not much more expensive than foam products, but the quality is significantly different.
Polyurethane can be bent quite easily over large radii. It does not crumble and does not break.
 Gypsum
Gypsum or wooden fillets are quite expensive. In addition, they can not bend.
Such baseboards are glued only in rooms with absolutely correct geometrical dimensions and even surfaces. And, of course, the interior itself must fit.
 Plinth made of wood
If you have decided with the choice of material, then you should calculate the right one quantity. It is enough to measure the perimeter of the room. Then this figure is divided by the length of one fillet. Skirting boards can be produced in different lengths, but, as a rule, they are 2 meters.
Do not forget to determine the width of the fillet.
If you have low ceilings, it is better to choose narrow baseboards. Also look at the texture and illumination, it should be suitable for both the design of the walls and the finish of the ceiling.
 Glue
Glue
Now let's talk about the glue. Acrylic and polymer adhesives are available. Each of them has its own characteristics. So, acrylics do not have a pungent smell (they are recommended by experts to use when repairing a children's room), which cannot be said about polymeric materials. But the latter can be used in rooms with high humidity. Choose glue known and well-established brands, as well as in accordance with the recommendations of the manufacturer of plinths.
Preparation
Before you glue the baseboard to the ceiling, you need to do a little preparatory work. Firstly, the fillets themselves must be kept in the room for at least 24 hours. So they adapt to the environment. Secondly, the ceiling itself must be clean and smooth.
The ceiling plinth can be mounted before pasting walls with wallpaper and after this work. The first method is the most time-consuming, but it is also more preferable. First, in this case, you can not change the fillets when changing wallpaper. And secondly, you will have the opportunity to seal the gap between the wall and the plinth, which can greatly spoil the appearance.
 Trimming the exterior and interior corners
Experts recommend starting to glue from the corners. If in these places everything is done neatly and beautifully, then straight sections will pass quickly and efficiently. But to glue the corners is a special job. To do everything right, it is better to view the video with detailed instructions.
We glue the baseboard in the corners
 Cutting with the help of the sheet
In order for the corner not to spoil the appearance of the entire decoration, the baseboard plates should be joined at a 45 degree angle. This can be achieved by using a mousse. This is a special device that allows you to cut at the right angle. You can also use the decorative corners. They are glued to the place of the joints and cover the cracks and seams formed.
 Joining methods in the corners
Often apartments do not have the correct geometric shapes that very noticeable when gluing the cut baseboards at an angle of exactly 45 degrees. In this case, the cut angle will have to be aligned in place.
 Verifying the correctness of the corner of the room
How to properly glue the fillets
Now let's talk about how to properly glue fillets. Glue is applied to the back side of the plinth using a trowel or construction gun. If you have a stretch ceiling, then glue is applied only to those areas that will be attached to the wall.
Then the fillet presses against the wall and against the ceiling (if it is not tensioned). Immediately hold for a long time is not necessary, let the glue dry a little. After a short time, press the strip tightly.
 Gluing
The glue sets quickly, so adjust the strip position in advance. Fingerprints and dirt may remain on the light background of the plinth in order to avoid this, wash your hands more often during work.
If the protrusions of the adhesive mass appear, they should be immediately removed with a cloth.
 Putting the putty on the plinth
Instead of glue, you can use a finishing putty to add PVA glue. Excess of this material often remains after repair. You can use the material of any manufacturer, there is no fundamental difference.
 Excess putty should be removed
If you use putty, the surface (where you will glue the fillets) need to moisten. Then a layer of putty is applied to the back side of the plinth using a spatula. Now press the plate against the ceiling and wall. Wipe off any excess putty with a cloth.
How to glue the baseboard on the wallpaper
 Glue over the wallpaper
As already mentioned In the article, the plinth is best glued before the wallpaper is glued, but it happens that for some reason it did not work out. In this case, you will have to glue the baseboard on the wallpaper.
Before starting the pasting work, make sure that the wallpaper is well glued to the wall (or ceiling). If this is not the case, then first glue the PVA glue on the wallpaper, let them dry and only after that glue the baseboard.
The process of gluing the baseboard on the wallpaper itself is not much different from gluing it directly to the wall. The main difficulty is not to stain wallpaper with adhesive mixture. To do this, you can attach the plinth to the place where it will be glued and outline its edges with a simple pencil, leaving a barely noticeable line. The plinth is removed and the wallpaper near the line is taped with masking tape, which can be easily removed from the wallpaper. Now you can glue the plinth. After gluing, excess glue is removed and then the masking tape is removed.
Hiding the joints
Very often after gluing the baseboards, the joints can become noticeable, this problem can be easily solved. Such gaps can be sealed with white (or the color of your fillet) sealant.
There is another way. To do this, prepare a liquid putty. Using a brush to paint all the skirting. After drying, walk on them with a fine sandpaper. Thus, the baseboards and ceiling will become one, and the gaps between the strips will be difficult to make out.
 Staining
If white plinths are installed in the room, then it is advisable to paint over them. This will keep the color much longer. For this procedure, water-based, latex or acrylic paints are used. Often use the first option. But if you use nitrokraski, the surface must first be primed.
Painting can be carried out a day after installation of the plinth. So you give the glue to finally grab. When painting, be careful. It is better to use a small brush, otherwise there is a risk to paint over all the space around the fillets.
Photos
 Gluing on the wall paneling in the bathroom
 Fitting the angle without the trunk

 Gluing on the stretch ceiling
 Cutting wallpaper near the baseboard


Search
Related Articles
How to glue the ceiling plinth

The modern market of building and finishing materials represents a huge range of baseboards for various surfaces. The choice of these finishing elements is so great that it can satisfy the most dema...
Installation of plastic windows according to GOST instructions with photos
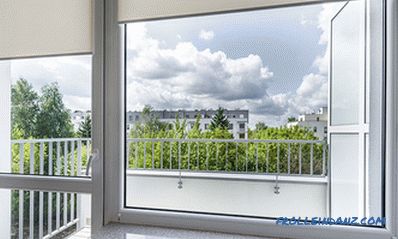
Metal-plastic windows are designed for long-term operation for 10–15 years. In order to avoid any problems with them, it is necessary to very carefully approach the choice of the structure itself an...
Types of polycarbonate, sheet sizes, structure and color range
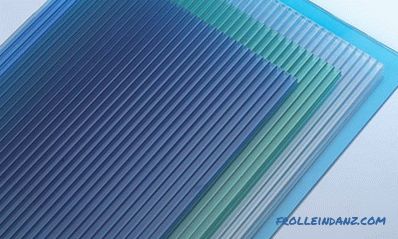
Polycarbonate is one of the new building materials that appeared on the market about twenty years ago. This polymer from the family of thermosetting plastics looks very decorative and has good stren...
Do-it-yourself picnic table (folding): production procedure
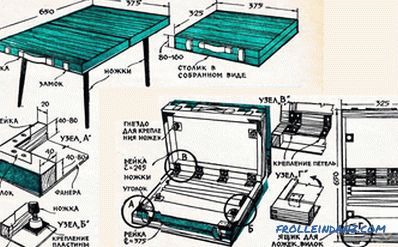
The need for a table that you can bring to a picnic, and there you can quickly assemble and disassemble yourself, is great. Making a picnic table with your own hands is not too difficult, and not m...
general rules, schemes (photo and video)
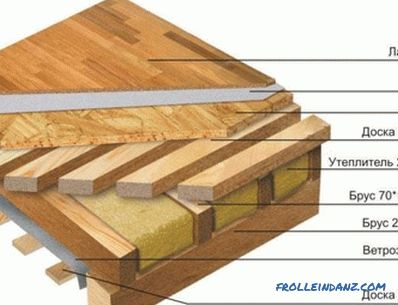
Wood floors are made not only in wooden houses, but also in brick buildings. This floor looks great and helps to create a good microclimate indoors. Laying a wooden floor is easy to do with your ow...