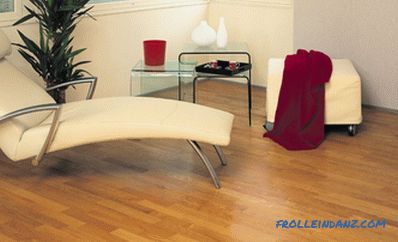
Tile is a very durable type of coating with a waterproof surface. The tile favorably differs from other types in the universality and magnificent operational characteristics. For example, ceramic tiles on the floor easily withstand multiple movements of heavy furniture and large dynamic loads resulting from the fall of heavy objects.
Even a novice can make a high-quality tile installation. Of course, with some theoretical basis and knowledge of the technological sequence of work.
Required tools
 Tool
Tool
Before you start laying, you need to purchase suitable tools and quality materials, as well as prepare the base surface. Undoubtedly, the choice of the tile itself is of great importance. It should be chosen taking into account the operational features of the room for which it is intended.
For facing works the following is necessary:
- serrated half-feet;
- level;
- tile cutter or Bulgarian;
- drawing pencil;
- tape measure;
- dividing crosses;
- spatula;
- special scraper equipped with a rubber tip;
- primer;
- special adhesive mixture;
- dry color mix for sealing seams.
Preparation of the foundation
 Primer walls
The surface must be pre prepared for laying. This involves bringing it into a stable, dry, solid and even condition, as well as removing all contaminating layers from it, which reduce the adhesion of the adhesive to the base: dust, dirt, lime, paint, grease and oil, bitumen. After their removal, it is necessary to grind large irregularities with the help of special tools (a grinder, a sanding grid, or an emery sandpaper). Minor irregularities are perfectly removed by a layer of adhesive.
If the tile is laid on a surface with enhanced moisture-absorbing properties, it should be pre-treated with a special water-repellent primer mixture that forms a protective film. This is extremely important for the surface, which includes gypsum.
High-quality waterproofing of the veneered surfaces is extremely important for high humidity areas. In the places of joining the walls with the floor, you should stick a special fixing tape, which will not allow the seams to deform. Then a layer of waterproofing is applied, after which you can begin laying.
Marking the surface
 Marking the walls
For successful tile laying you need to think carefully its location. This is done by marking the surface, which is needed mainly for maximum ease of installation, as well as for a better visual perception of the lining pattern.
With the help of the building level, a vertical line is drawn from the middle of the longest wall of the room. Then a horizontal line is laid along the center of the shortest wall. As a result, two perpendiculars are formed, which divide the entire surface of the room into four equal parts. Laying on such small sectors greatly facilitates the whole process and avoids displacements and distortions of tile arrays.
Adhesive composition
 Tile adhesive
The adhesive should be selected according to the type of facing , features of the surface on which the tile is mounted, and conditions of operation of the room. For each type of tile uses a different glue. Some adhesive solutions are ideal for walls, others for flooring. The right choice of glue is a guarantee of durability of the coating. Of course, there are universal adhesive mixtures, but it is much safer to use specialized ones.
For example, for facing a stable, solid wooden surface, it is recommended to use an adhesive mixture with the addition of an elastic emulsion that enhances the adhesion of the adhesive to the wood surface.
The adhesive solution is prepared as follows. The dry mixture is poured into clean cold water and stirred until smooth. A large amount of adhesive mass is mixed with a special construction electric mixer, and a small amount of glue can be easily brought to the desired consistency manually. On the packaging of dry adhesive mixtures, manufacturers always indicate how long the mixture should be stirred, and for how long after that it is usable.
Laying the tile
 Laying the tile
The adhesive mortar is evenly distributed in small sections all over the plane. Here it must be remembered that an insufficient amount of glue, as well as an uneven distribution of the adhesive solution, will not give reliable adhesion to the surface, because of which the tile will begin to fall off soon, and the seams will crack.
After applying the adhesive, the tile is laid on the place reserved for it and tightly pressed to adjust. In this way, the whole tiled arrays are laid out along the previously marked approximate marking lines. It is recommended to start laying from the center of the surface, gradually moving along the above lines to the door jamb. This method of laying will create the necessary symmetry.
After finishing the lining of a small section, it is necessary to check the correctness of the geometry of the masonry (verticality and horizontal lines of the tiled array) with the help of a level. At this stage, it is easier to correct the arrangement of the laid tiles, and when the entire surface has been laid out, it is almost impossible to do this.
Cutting tiles
 Cutting tiles
As a rule, the laying process will necessitate the cutting of the tiles. There are many modern tools for cutting tiles - from the usual glass cutter to a special electric tile cutter with a diamond coating, which greatly facilitates and speeds up the work. Previously it should be marked with a marker cut line on the tile, on which then and make the cut.
If it becomes necessary to make a hole in the tile, use a regular drill for this. The main thing is to put the tile on a hard surface to prevent it from splitting.
Grouting joints

The final step is to begin grouting. To do this, use a special mixture to cover the seams between the tiles. It has decorative and water repellent properties. The grout is applied with a narrow trowel, and the angle between the surface of the tile and the trowel should be approximately 45 degrees. Excess grout left on the surface is removed with a rag or sponge.
After the tile is completely dry and grouted, wash the lined surface thoroughly with soap and water. And then - enjoy the result of their own work.
Video
Photo
 Floor tiling scheme with ceramic tiles
 Laying scheme
 Floor marking
 Tile cutting
 Cutting
 Cutting the tile
 Layout
 Applying glue to tiles

 Laying system
 Laying tiles on the wall
 Laying the mosaic on the table
 Grouting tools
 Grout for a mosaic tile
 Glitter with glitter
 Mosaic tiles
 Extended tile
Search
Related Articles
wood moisture table, moisture determination
No matter where the intended use of wood raw materials - in construction, in the manufacture of furniture or joinery blanks - its humidity will be the main indicator of the quality and durability o...
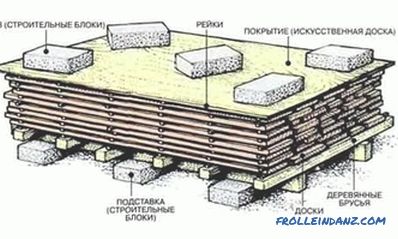
Laying floorboard: preparatory and installation work
Laying of floorboard is made on an even and dry basis. The floorboard deserves people's love due to the fact that it has an aesthetic appearance and is easy to install. Parquet boards are...
How to make a foundation formwork with your own hands
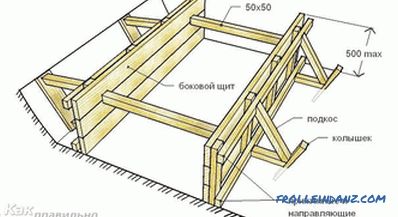
Formwork for the foundation is quite simple. Although there are some subtleties that must be taken into account. Before starting work, you must read the instructions for its installation. The instru...
House for a well with their own hands

The presence of a natural water source not far from the house (a well, for example) is a prerequisite for comfortable living in areas deprived of centralized water supply. Owners of private housing,...
Arbor polycarbonate do it yourself to give
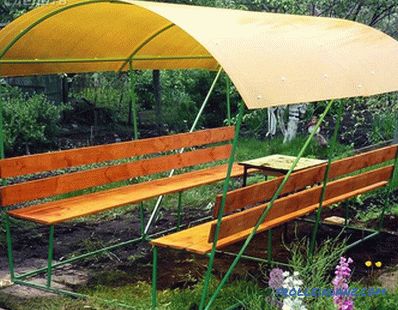
Arrangement of the yard or suburban area implies the creation of a certain level of comfort. For example, it may be the presence in the pool, a small garden, a shed with barbecue or gazebo. As for t...