Breathing is the source of life, not only for people, but for all animals. It is known that even plants that, due to photosynthesis, emit oxygen, at night, when there is no sunlight, they breathe, that is, they consume oxygen. Oxygen is needed not only by those on the surface, but also by those who dwell under water. Therefore, it is important to know how to make a pond aerator for yourself.
Water aeration
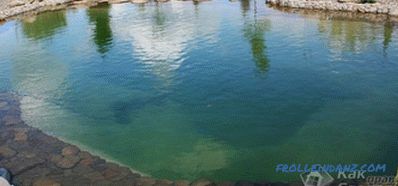 Water may stagnate in ponds
In natural conditions, where ponds flow into one another, water is saturated with oxygen. Continuously spouting sources replenish reservoirs with microelements. But ponds may require forced aeration. The need for this is due to several reasons:
- Seasonal and daily temperature drops. The warmer the water, the faster the metabolism of the inhabitants of the flora and fauna. This leads to more oxygen consumption.
- Too much sludge. This sediment interferes with normal oxygen exchange.
- Surplus of vegetation. If the pond is not cleaned in time, the algae occupy a large area and impede free gas exchange.
- Excessive number of inhabitants. The more representatives of the fauna, the more active the livelihoods and the more allocated its products.
- Rare precipitation. Rainwater is also a source of minerals and makes it possible to increase the oxygen content.
- The need to mix layers of water to prevent stagnation.
- With aeration, the temperature is normalized.
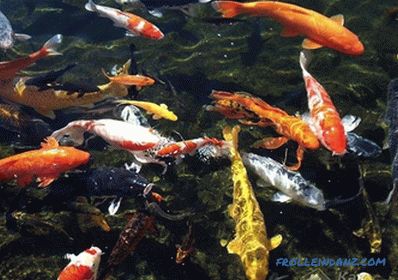 The fish may not have enough air
In order to determine if your If you need to install an aerator, it is enough to watch a little about what is happening in the pond:
- If there is a fish, does it rise constantly to the surface to swallow air? about stagnation?
- Observe snails. If they move freely on the stones, then everything is fine, if they are all on algae and try to climb as high as possible - there are reasons to worry.
Types of aerators
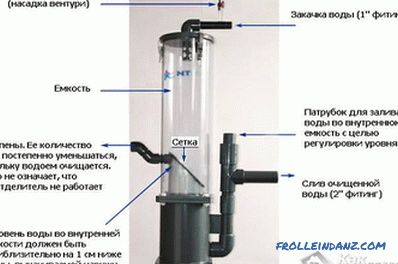 Design scheme of the aerator
If you have defined that it is necessary to urgently save livestock in your pond, then special devices that allow you to do this - aerators, come to the rescue. They are divided into two large groups:
- stationary;
- mobile.
The first ones are mounted and used constantly. The second option can be applied on several reservoirs. There are aerators and ways of location.
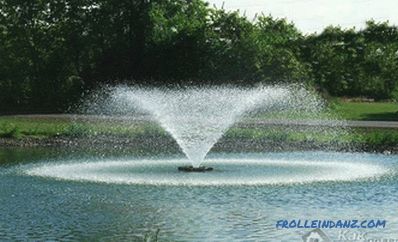 Aerator-geyser
Surface. These include units that move freely around the surface of the water. Their principle of operation can be gushing. The pump draws water into itself and throws it out as a geyser above the surface. Water, being in the air, is saturated with oxygen, ionized. When water gets back to the pond, it passes the air to the inhabitants of the pond. In other embodiments, an ejector method of aeration is used. In the design of such a device, an engine with blades can be provided, which, striking the surface with great force and speed, lead to the formation of air bubbles and mixing layers. In other cases, a pump is used that draws water into itself, mixes it with air and returns it back to the pond.
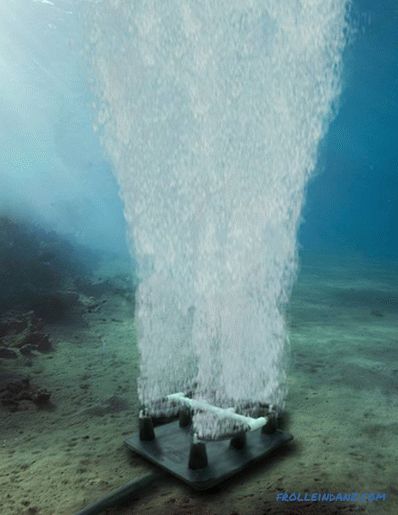 Bottom
Bottom or shore. This species is the most effective. The principle of its work comes down to the fact that there is a compressor on the shore near the reservoir. Its purpose is to supply air through pipes to special diffusers, which are mounted in several places at the bottom of the pond. Passing through the bubbles, the bubbles saturate the entire water column with oxygen, and the layers are mixed and the sludge is raised for further filtration. In order to prevent the reverse flow of fluid and its ingress into an electrical device, a valve is installed.
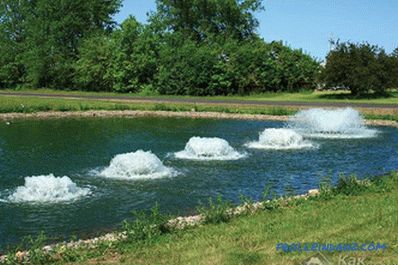 Combined
Combined. Most often they are classified as superficial. Here, as in the previous version, there is a compressor unit, which is located on the coast, it supplies compressed air, which is dispersed into the upper layers of water through a floating head. In another embodiment, the pump is installed. Through the moving module, water is taken, it is mixed with air and fed back from the shore in the form of a fountain or waterfall.
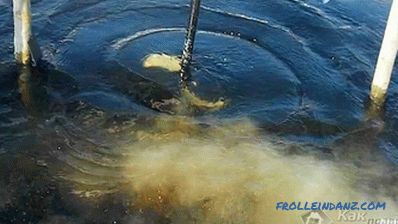 Wind
Wind
Wind aerators. Represent a floating or mounted on a support structure. The wind drives the blades, which transfer the torque to the underwater part, it creates a current, as a result of which air bubbles form on the surface.
It is not always worthwhile to dwell on the version that you personally liked.It is necessary to take into account the characteristics and needs of the inhabitants of the pond, including plants. Some of them do not like noisy falling jets, so you have to take care of the bottom options.
Do-It-Yourself
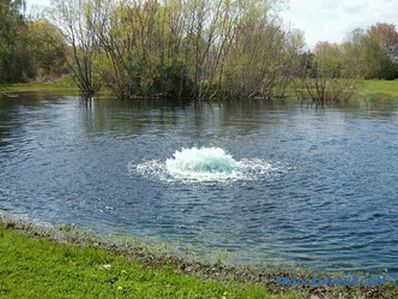 Ejector Type
In most cases, you can save without buying a finished device. Enough to look around in your garage, and you may find that you have all or part of the necessary components for self-assembly. First, we will assemble an ejector type aerator. To do this, we need:
- drainage pump;
- sewer pipe with a diameter of 32 mm - 2 m and nozzle at 30‒50 cm;
- tee angle at 45 °;
- corner at 45 °;
- double-braided wire.
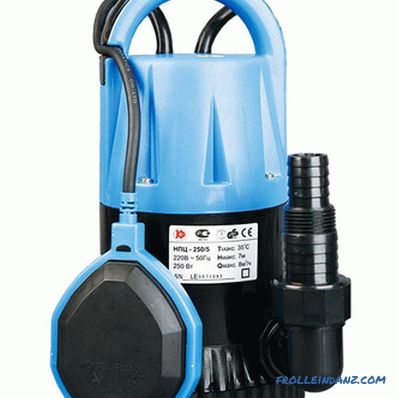 You need a drainage pump
The pump does not need to take the most expensive and powerful, in this just not necessary. The cross section of the cable for laying the flow line is selected in such a way that the power of the consumed current is maintained with constant operation. Assembly does not take much time.
- Included with the pump is usually an angled elbow and fitting for the hose. In the sewer tee insert rubber seals. We connect it with the fitting. To do this, simply press them tightly against each other. To play it safe, silicone sealant can be applied to the inner wall of the tee.
- On the other hand, in the tee mount a short pipe.
- In the upper bend we establish an angle of 45 °, and attach a pipe of greater length to it.
- Now we connect the angular adapter from the pump and the entire assembled structure.
- The electrical wire is connected. In order to make the connection more tight, it is advisable to cut the plug. Next, the wires are twisted together, covered with several layers of electrical tape and placed in a sealed sleeve with glands or filled with polymer composition. If there is no desire to cut off the plug, so as not to lose the warranty, then you will need to make an extension cord, and place the socket with the plug turned into several layers of polyethylene, then wrap it with tape.
- In order for the pump to be kept at a constant depth (0.7‒1 m will be enough, but so that the pipe for the intake can be above the water surface), it is necessary to install a mast. It can be made of metal pipe, which is simply clogged in the ground at the bottom. The unit is simply secured with a wire.
- Well, if the pump is placed in a grid container with small windows, then you can be sure that no animal will suffer.
- Next comes the voltage.
If you wish, you can make some changes that will improve the performance of the aerator. To do this, you need to replace the angle connection from the pump with a straight pipe, also in the pipe that is on the surface, you can install a non-return valve with a soft spring. So the reverse current will not occur.
Perhaps the question arose, why can't a tee with an angle of 90 ° be used? In fact, everything is very simple - at an angle of 45 °, the air is drawn in and moves with the flow, mixing with water. If we take a tee with an angle of 90 °, there is a high probability of air reversal.
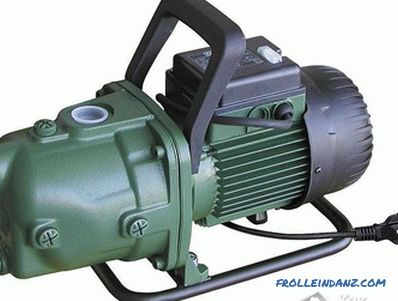 Self-priming centrifugal pump
The following possible method of manufacturing an aerator is not only useful, but and improve the aesthetic look. We will need:
- Centrifugal pump (better if it is self-priming) or pump.
- Reinforced hose or HDPE pipe.
- Connection fittings.
- Cable for the supply of electricity.
- Wild stone for decoration.
 The operation scheme of the aerator from a centrifugal pump
The number and diameter of fittings is selected depending on specific landscape solutions, as well as in accordance with the diameter of the pipes. The sequence of work is as follows:
- If a centrifugal pump was selected, then it can be installed directly on the shore. It is not necessary for him to dig a hole, it is enough to provide a convenient place for its storage (for example, a metal box or a canopy, where it will be protected from precipitation). It is desirable to place the pump in a cube of metal mesh and immerse it in water.
- The supply hose is connected and connected to the pumping device. Do not forget to put a check valve on the fence, as well as a grid, which will prevent the ingress of large particles on the impeller.
- Next, a hose is connected through which output will be carried out.
- In the selected area of the pond, a hill of natural stone is being constructed. The hose comes to her.
- To make the draining of water more spectacular, you can find a vase or another beautiful vessel, make a hole in its lower part and fix a hose in it, the rest of which will be covered with stones.
- The electrical connection is made.
- In order to facilitate the first start-up, it is better to fill the intake hose with water through a special hole in the pump.
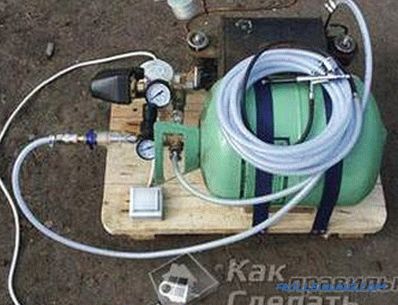 Homemade compressor At home, you can also build a bottom aerator. This is easy to do if you have a car compressor with a receiver. So, we need:
- Compressor.
- High pressure hoses.
- Tees.
- Clamps.
- Sprays.
You can make the latter yourself. For this, for example, you can take several plastic bottles with a capacity of 0.5 liters. Holes are made in them with the help of awl. In order to leave the bubbles were even smaller, you can wrap the vessels in foam rubber.
How to make the compressor yourself using the compressor from the refrigerator, see below:
- The compressor is placed in a convenient place for you.
- A discharge of the central hose is laid from it.
- With the help of tees and hose clamps, a branch is made to the required number of aerators.
- In order to fix the hoses to the bottles, it is necessary to purchase a herringbone connector with an external thread of 1/2 ". It is fixed in the neck using a two-component polymer resin or in another convenient way. The hose is clamped on the Christmas tree.
- Aerators are fixed on the bottom. This can be done by gently placing them under a cobblestone or by attaching it to a clogged rod.
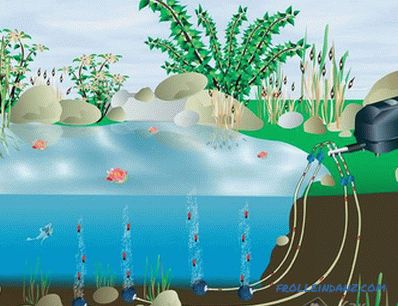 Aerator Operation
Before the first start, it is better to set the pressure to a value less than the average. You can add it as needed. One of the weeks The statuses of such a system will be the impossibility of its continuous use, as well as noise.
If you do not have a compressor, you can replace it with a motor from a conventional vacuum cleaner. In this case, it’s better to use not high pressure hoses, but ordinary ones corrugated. It is also necessary to correctly calculate their length so that the flow can calmly push them through.
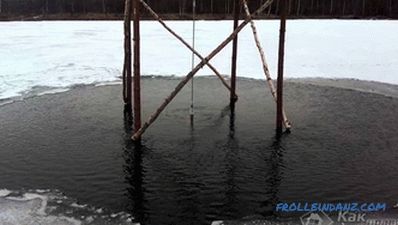 The wind aerator is good for winter
The next type of adaptation will be especially relevant in winter, when engines do not feel so well. It also does not require the supply of electricity and operates completely autonomously. For manufacturing, we will need:
- a metal corner or a square with a size of 30 * 30 mm (more),
- a reinforcing bar round without ribs with a diameter of 20 mm;
- bearings whose inner diameter will correspond to the external size of the reinforcement, it is better to take a closed type;
- 2 metal strips from 2 mm thick (their width should be 20 mm larger than the bearing size);
- plastic barrel ;
- fastening material;
- Bulgarian;
- tape measure;
- welding machine.
- a propeller from a car radiator or something similar.
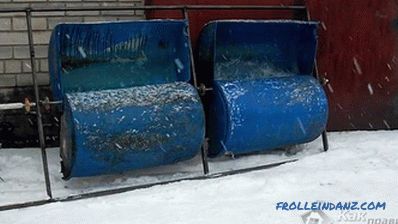 The wind turbine
The assembly process will be as follows:
- Dimensions are selected for specific conditions and depth to which the product should be lowered.
- With the help of the grinder, 8 equal lengths of material are cut.
- Two identical squares are made of them.
- A crossbar is welded into each square of metal bars. It is necessary to cut a hole in the middle of the outer diameter of the bearing and install it inwards, fixing it with tacks.
- With the help of four jumpers, these squares are interconnected so that a cube or parallelogram is formed. The centers of the bearing holes must be strictly in the same plane.
- A bearing rod is mounted into the bearings. In order for it not to slip, it must be secured with tacks to the inner ring.
- The barrel is cut into two parts, they will serve as blades, catching the wind and rotating the shaft.
- They are attached to the fixture with metal hinges.
- Next, support legs are welded.
- A propeller from the radiator is installed at the shaft end.
- The whole structure is lowered into the water.
The wind spins the blades, through the shaft the force is transmitted to the propeller from the bottom, which creates turbulence, saturating the water with oxygen and preventing it from freezing in winter.
Blades can be made from any sheet metal or other material. Most importantly, arrange them so that they can catch air flow. The platform itself can be made floating. To do this, use foam, plastic barrels, old bottles or bottles. So that the construction does not swim far away, it is tied with a cable to the shore.
Based on these solutions, you can build a structure that will fit your needs. We are interested to know what happened to you personally. Share your ideas in the comments.
Video
The following video shows how to assemble an ejector aerator from available tools:
How to assemble a wind turbine for a wind aerator, see below:
See also:
How to make a pond at the cottage
Tips for cleaning the pond
