The clamp, which can be seen in the figure below, is a special type of clamp that is commonly used in the process of fixing various parts; this tool can be used to press the elements tightly together. The clamp is indispensable in the process of sawing, dilution of the teeth of the saw or its sharpening; this method helps a lot when gluing different elements. The clamp with his own hands can be made only if the master is familiar with its device.

Clamps are considered to be a simple auxiliary tool, but they are indispensable in cases where you need to apply force and at the same time work carefully, for example, when gluing or sawing.
This tool consists of: main frame, clamping jaws, mobile element and lever component. The movable part with the help of a thread is capable of changing the pitch between the clamping jaws, and the lever is responsible for how strongly the clamp will be made. There are other types of quick-clamping tools, among which is a lever device designed for fixing. Its design is based on levers and eccentrics, but it is difficult to make such a device on its own.
Tools and materials for the manufacture of a wooden clamp:
- threaded studs;
- slats;
- plywood boards;
- nuts.
Technological process

Basic materials required for the manufacture of clamps.
To make a clamp, you should use 2 studs that are threaded, their length should be 200 mm, and diameter - 5mm, you will need to use 2 more studs that have the same cross section, but length equal to 120 mm. It is necessary to prepare and suitable for the size of the nut; plywood boards, the size of each of which is 15 * 150 * 200 mm, as well as 2 slats with dimensions of 20 * 40 * 240 mm. It is preferable to use in the work of the bars, made of solid wood, is perfect for the manufacture of these elements ash, birch, oak or beech.
Similar wooden clamps are fixed to the work surface. In the bars, which act as fastening of the clamping part, it is necessary to form 2 holes, this is necessary so that the stud and nuts can press them together.
The stability and reliability of the device will ensure the location of the lower bar flat and the upper bar - edge to the bottom of the working surface.
Then you should install plywood boards and attach a bar to them that attaches to the table top. The bottom edge of the plywood should be 3 cm below the bar itself. Three blanks should be drilled, and after the need to insert the studs.

The handsaw for metal before modification and clamps obtained from it (after modification).
Next, one board is to be fixed to the lower bar, and the second plywood will act as a clamping element. Such clamps produce the capture of the movable plywood strip. Short studs must be applied to fix the tool to the surface of the table top, and long ones will determine the working stroke of the device. The nuts will act as a lever that fixes the moving part and adjusts the clamping force.
If you make your own clamps with your own hands, you should take into account that such tools are somewhat less reliable than those that were purchased in the store. Clamp is permissible to receive by applying the hacksaw body, designed for working on metal. What is necessary to use a sliding tool body, 2 studs, which also have a thread, as well as nuts. It will be necessary to insert the studs into the clamping connectors of the hacksaw.
Nuts to be fitted on the inside of the device. Such a clamp will have two sizes, as the steel hacksaw frame is capable of folding into 2 positions. For the reason that the body is able to fold out, it will break in two in the process of clamping nuts. This can be avoided if the folding part is securely wrapped with tape. The versatility of such a device is that it can also be easily turned back into a hacksaw if necessary. Steel fasteners can also be used as fastening the sliding part of the hacksaw; this will be much more reliable. In fig. 3 you can see the hacksaw before modification, and in fig. 4 - after.
You can make a clamp at home, but you should not use the tool at the limit of its capabilities, otherwise it will not last long.
Didn't find the answer in the article? More information on the topic:
Search
Related Articles
Lay laminate on wooden floor: preparation, installation
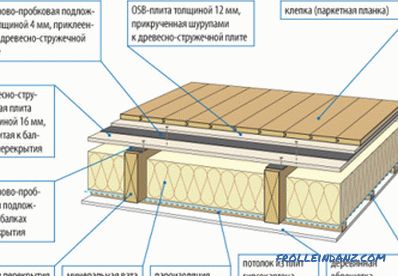
How to lay laminate on wooden floor? Should I do this? Scheme of preparing the base for laminate. Most homeowners remove the old flooring and lay the lamellae on the concrete slab before l...
How to install a toilet with their own hands
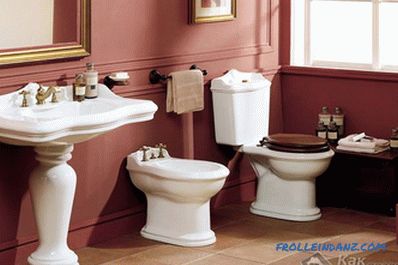
Installing the toilet yourself is not very difficult, if you look into some of the details of how the system functions. Before you put the new unit, the master will have to do the work of dismantlin...
Calculation of wooden beams: the cross section of the timber
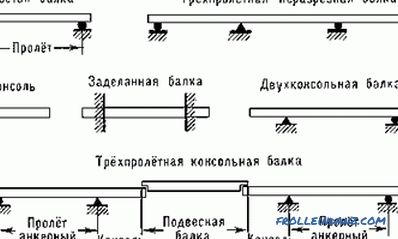
Calculation of wooden floor beams is in demand both for residential attic floors, second floors, and for unexploited attics. Low fire safety, resistance to fungus infestation of wooden structures i...
How to install a sidewalk curb - installing a curb
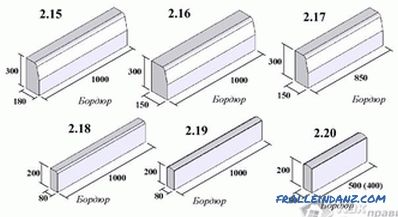
When laying paving slabs, you need to know how to install the curb. That he will bring the appearance of the track or platform to the desired state. To achieve this goal it is necessary to follow a...
features of its installation (photos and videos)
Mauerlat is an important part of the roofing system, with a log or timber in its role. Its functions include a uniform division of the load on the walls and the fastening of the roof with them....