Children's products, despite their smaller size, as compared with ordinary ones, are expensive. Almost every young family seeks to save money when buying home goods. And with the advent of baby spending in the family becomes extremely much. That is why the acquisition of expensive furniture is better to postpone and make chairs for the children's room on their own.
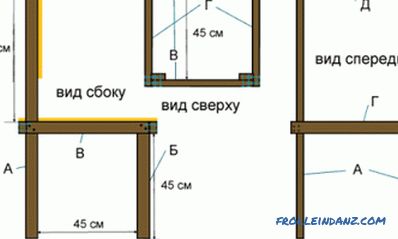
Figure 1. Scheme of homemade stool.
It is worth remembering that the main difference between children's furniture is not only in the proper dimensions, but also in the safety of the structure. The environmental friendliness of the material that will form the basis of the furniture is also important. In fig. 1 you can see the chair, which can be made with a home set of tools.
The most suitable material for such a design will be an array of high-quality wood glued together. hoofed glue. This composition can be considered environmentally friendly, due to the lack of artificial resin and other harmful elements. Resins are not useful, which is why for the manufacturing process it is preferable to choose solid beech. In order to make such a chair, you have to buy two furniture panels. The material, as a rule, has a standard size equal to 800x400x20 mm. For sawing it will be necessary to use an electric jigsaw.
It is necessary to prepare blanks with the following dimensions, each of which must be sawn in 2 copies:
- the side of the chair - 450x400 mm;
- the seat and backrest - 340x340 mm .
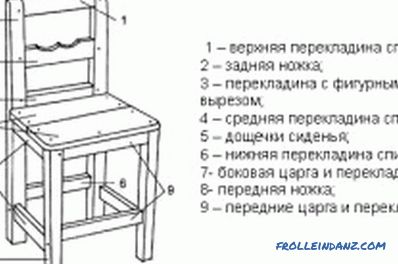
Figure 2. Elements of a self-made children's chair.
The seat and back can be left in its original form - rectangular, and the sides should be curly, this will not only make the piece of furniture more elegant, but also safe. Circles for pens can be depicted with a compass or with the help of kitchen items of suitable diameter. The curvature of the sides can be marked, for example, using the cover. Handles can be formed by a narrow file that can be inserted into a jigsaw, it will be easier for her to overcome turns. The best option will be a 4 mm sawn for finishing wood cutting.
In order to place the file in the shape, you need to create a hole inside the contour, placing it as close as possible to the line, with the hole and you can start drilling.
Tools and materials
- electric jigsaw;
- varnish;
- solid wood;
- confirmatics.
Machining parts and assembling a structure
The ends of the parts, with the exception of the joining parts, must be machined with a manual mill.
The cutter will allow you to get round edges faster than sandpaper, in addition, this method will help to "flatten" the fiber in cross sections.
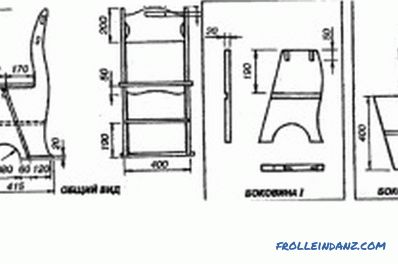
Figure 3. Assembly diagram of the transformer highchair.
Sandpaper should be used for sanding parts. As soon as the cross-sections are polished, they can be varnished, leaving the parts alone before drying. Used varnish should be made on the basis of turpentine, not acetone and its derivatives. Despite the fact that turpentine varnish dries longer, it is harmless to health.
You can make a chair with your own hands by pulling the parts with a single tie. In the role of the most suitable option is the confirmatte 5x70 mm Through fasteners in the plane need to drill through holes with a diameter of 8 mm, in the ends of the elements of the holes should have a diameter of 5 mm, the depth of the hole - 55 mm or more. It is preferable not to install plugs for confirmatics, as they may interest the baby as something edible. Once the construction is ready, it can be sanded and varnished.
The second version of the high chair
High chairs are different, and it is not necessary to make one, the example of which is presented above. You can take as a basis the sketch in fig. 2.
The scheme will allow to prepare parts for the design (all dimensions are in centimeters):
- the upper crossbar (1) 1.9x4.1x16.5 - 1 pc. ;
- rear leg (2) 3x3x55 - 2 pcs. ;
- carved crossbar (3) 1,4x4,1x16,5 - 1 pc. ;
- average crossbar (4) 1,4x2,9x16,5 - 1 pcs. ;
- elements of the seat (5) 1,4х10,5х26,3 - 2 pcs. ;
- bottom bar (6) 1,4x2,9x16,5 - 1 pcs. ;
- lateral crossbar and tsarg (7) 1,4x2,9x17,7 - 4 pcs. ;
- front leg (8) 3x3x30,5 - 2 pcs. ;
- front crossbar and tsarga (9) 1,4x2,9x19,5 - 2 pcs.
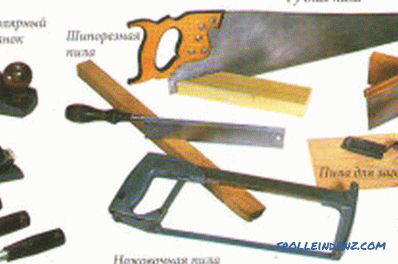
Tools for making a high chair.
For the manufacture of the rear and front legs, pine bars should be used, the cross section of which is 3x3 cm. From the seat upwards, the rear legs should be narrowed to 1.9 cm. This is necessary for the parallelism of the arrangement of the inner edges of the legs, which will contribute to the simple installation of the tsar and crossbars.
At the upper crossbar, the front edge should be rounded, while the carved element may have any pattern. The middle crossbar must be mounted so that its bottom edge is level with the seat.
First you need to glue the rear legs, and then it is permissible to proceed to the crossbars. Then you can strengthen the front legs and the crossbar, connecting them to each other through the tsar and crossbars.
Gluing places should be compressed with clamps, however one should not forget that it is necessary to monitor the observance of right angles, for which a joiner's square can be used. Last allowed to install seat plank. Their reliability is important, for this reason it is necessary after the glue dries to strengthen the parts with additional dowels for which holes are required. The ends that will be protruding can be removed with a chisel.
Manufacturing of a highchair transformer
In fig. 3 you can see the version of the chair, which is able to transform.
For manufacturing, the following parts are to be prepared (dimensions are indicated in centimeters):
- legs 39 - 4 pcs. ;
- corners - 4 pcs. ;
- crossbar 22 - 2 pcs. ;
- crossbar 34 - 2 pcs. ;
- crossbars 30 - 3 pcs. ;
- 20x30 base - 1 pc.
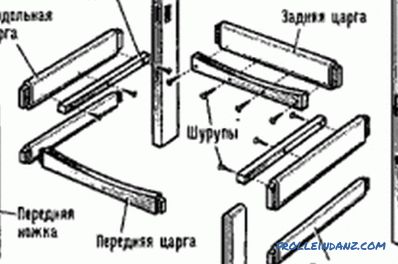
Wooden chair assembly scheme.
Blanks for the table:
- legs 50 - 4 pcs. ;
- trims 41 - 4 pcs. ;
- crossmembers 34 - 4 pcs. ;
- worktop 45x38 - 1pc.
For the manufacture of the table top and the seat, you can use plywood, which is 1.8 cm thick, while the rest of the parts should be made of a bar, whose cross-section is 2x4 cm. equal to 2 cm.
In the manufacture of the frame, the elements need to be strengthened with glue and by means of wooden dowels 2x5 cm. They can be prepared from 8 mm plywood.
For dowels, grooves must be fitted at the joints. Drill need to drill the ends in a place where it is supposed to lay shkant, and after the chisel, you can choose the groove itself. Before mounting the joint, it is necessary to lubricate it with glue.
This is how the side elements of the chair are assembled, after the part it is necessary to tighten them with clamps, observing the right angle, and leave them until dry.
The back and the seat should have dimensions of 25x30 cm, these elements should be made by gluing together 3 sheets of plywood among themselves. Angles are worth rounding. On the workpiece in the area of the angles you need to glue the foam and close the cover of matter. Before mounting the corners on the frame they need to be interconnected with steel brackets.
The assembly of the chair must be started by means of slats that will help to join the finished sidewalls. Fixation should be carried out by the above method. The seat will mate with the slats, and in order to fix it, it will be necessary to use cylindrical dowels. Then you can begin to install the lower slats and the rear slats, on which to mount the backrest. After stool should be left alone to dry.
The table can be supplemented with an oversized table top. In particular, this element will be convenient for feeding or games. For the process it is necessary to prepare plywood from which to cut a tabletop of the desired size. It should be fixed to the armrests by means of glue and dowels. If you want to be able to dismantle it, if necessary, the mount must be made on the screws.
Whichever sketch is chosen as the basis, the correct dimensions and fixing strength must be observed during the manufacturing process.
Didn't find the answer in the article? More information on the topic:
-
How to make a ceiling in a wooden house
Information on types and requirements for flooring in a wooden house. Advantages of the beam and girderless ways to device floors. Recommendations for the selection of wooden beams.
