The tandoor oven is a multifunctional device. And most importantly, not only experts can build it. Independent construction of the furnace is also possible.
What is the tandoor
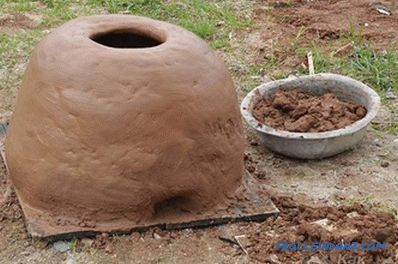 Of clay
- Tandoor is a large earthen pot, turned upside down, in the bottom of which there is a small hole.
- The clay part of the furnace on the outside is lined with brick, and the space between the brick and the edge of the vessel is filled with clay, sand, or salt. They contribute to the retention of heat in.
- The design of this is such that in its lower part there should be a hole for inflation.
How it works
A small amount of fuel — wood or branches — is enough for such a furnace. In Asia, saxaul is most often used for kindling. It is placed on the bottom, set on fire and allowed to burn to coals. After the firewood has burned down, you can start baking bread or cooking.
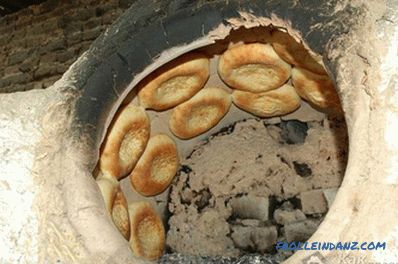 The process of cooking
During the kindling, all the heat is absorbed by the walls - and the clay pot , and a kind of layer, and a brick wall. Having heated up, the furnace begins to give off heat. This provides a long-lasting uniform temperature, which contributes to the excellent preparation of dishes, both baking and longing.
What is needed for the construction of
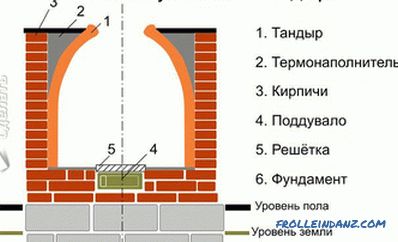 Device Layout
In order to make such a furnace, you will need:
- bricks - refractory and facing;
- sand;
- clay;
- cement;
- grate.
This tandoor is made a little from other materials, but in modern conditions the listed components are best suited for this.
Assembly technology
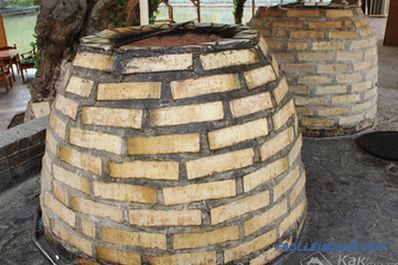 From the brick
Initially, the type of tandoor is selected - ordinary ( ground) or earthen, horizontal or vertical. The most common ovens are vertical.
The assembly technology of ground or earthen type is different.
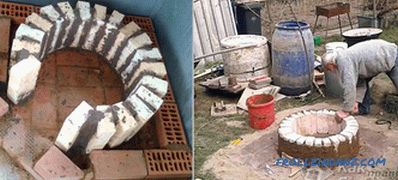 Laying the first row of bricks
The ground structure is constructed like this:
- Initially, it is necessary to prepare a place, preferably with a canopy.
- Then you need to equip the foundation of a concrete solution that could support the weight of the tandoor. To do this, it is necessary to prepare a recess in the ground to the size of the foundation, lay a sand and gravel pad on the bottom of the recess in the ground, and then pour the concrete solution to the desired height. If the foundation will act above the ground, you need to build a formwork of the boards. The prepared foundation should dry for several days.
- The height of the furnace is from 1.2 to 1.3 m. On the foundation is drawn a circle of regular shape, whose diameter is 1 m. The first row is laid out of the bricks, in which there is a hole for blowing. The second row of bricks is already laid out entirely, without holes between the bricks.
- The grate fits into the second row. Approximately up to 8 rows the tandyr is assembled strictly vertically, with the obligatory shift by half a brick for more structural strength. Further rows should form a dome, which means that they will have to be laid very carefully, carefully calculating a suitable shift of bricks inwards so that the walls are sloping, forming a less or less flat plane. And if the diameter of the foundation is 1 m, then the very top of the dome is 50 cm.
-
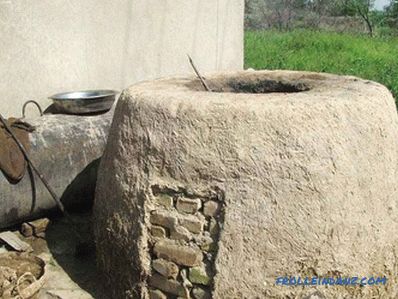 Claying After laying the brick, the whole building should be carefully coated with clay, and then leave it to dry.
 - After a few hours, it is necessary to fill the internal volume with brushwood and allow it to burn. This will harden the clay and make the tandoor ready for use.
- After cooling down, it is necessary to overlap the furnace with a strictly vertical outer layer of brick. Great attention should be paid to filling all possible voids between bricks. When the solution is set, you need to fill the space between the outer lining and the furnace itself with a mixture of sand and clay.
Construction of a vertical tandoor photo:
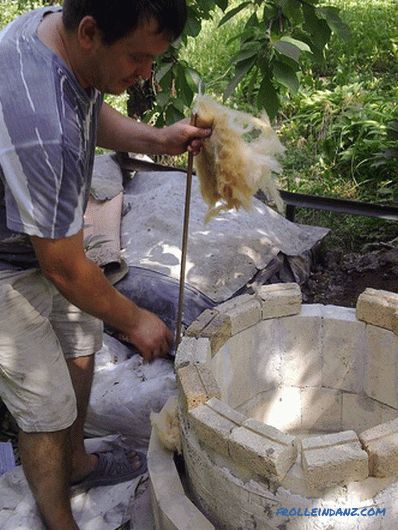 Insulation of glass wool
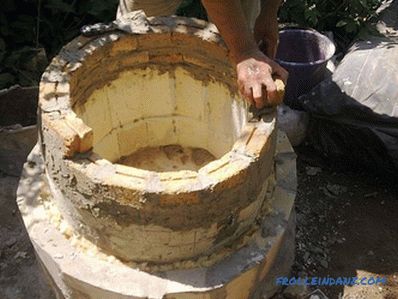 Construction of the vaulted part of the refractory brick
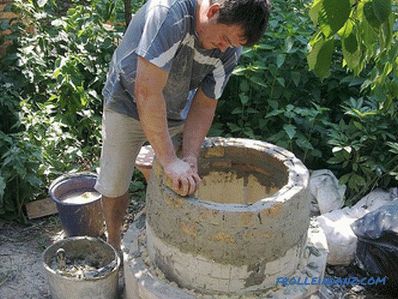 The arch should taper
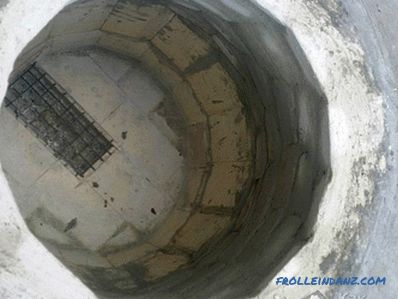 This is how the firebox looks inside
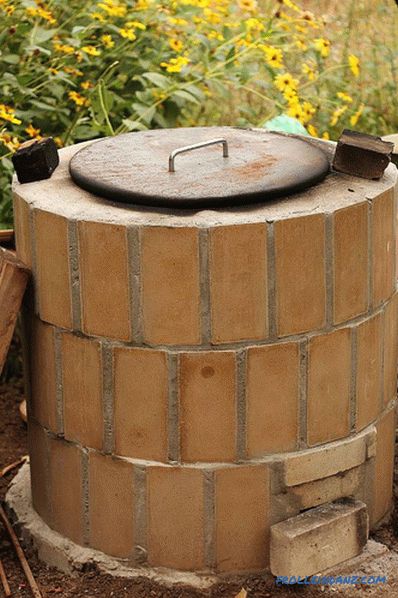 There is a cover on top
Video
Another tandoor construction option is presented in the video:
The earthen tandoor is going to be as follows:
- It is necessary to prepare the pit for the furnace, assuming that the height will be 1.2 m plus the foundation. The bottom, or foundation, is laid out of brick in a single layer. Asbestos-cement pipe is brought to the prepared foundation, which is a kind of blowing. The edge of the pipe should be located among the bricks of the first row.
- From above the masonry must be covered with clay.The tandoor is assembled in a similar way, except for the external facing of the brick. The soil will act as a lining here.
The walls of the furnace itself must be laid out of refractory bricks, with the bricks shifted inwards to form an upper cone-shaped dome. Outside, the masonry should be plastered with clay, and after it dries, the space between the soil and the walls should be carefully covered with clay and sand. The stove must also be hardened with the help of fire.
Construction of earthen tandyr photo:
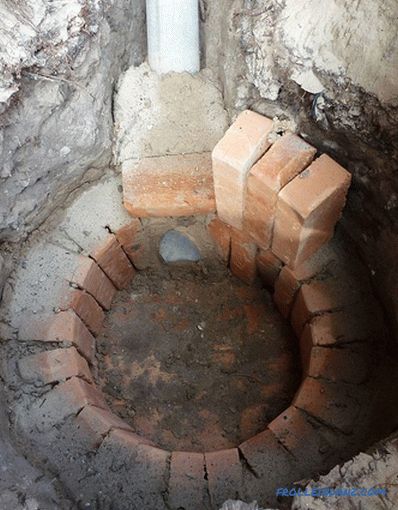 The bottom is lined with bricks
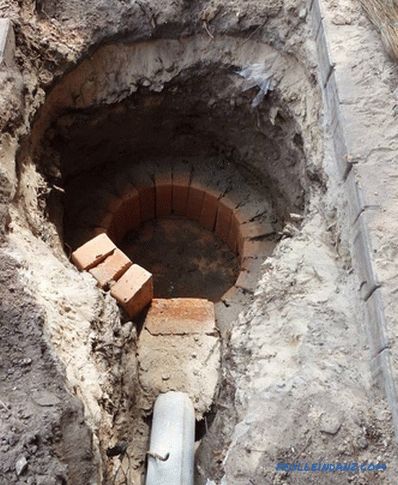 Asbestos-cement pipe
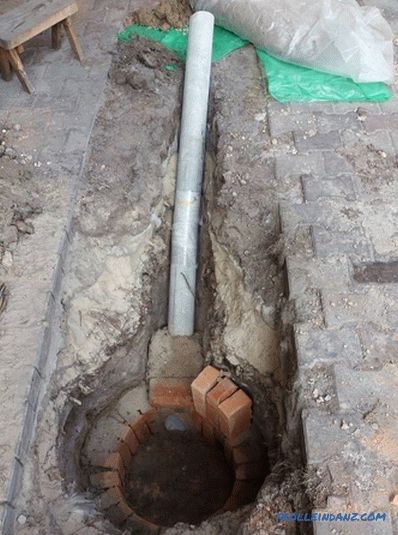 is brought to the foundation The first row of bricks
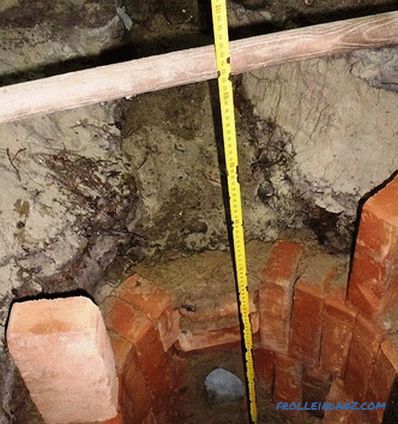 The height of the pit
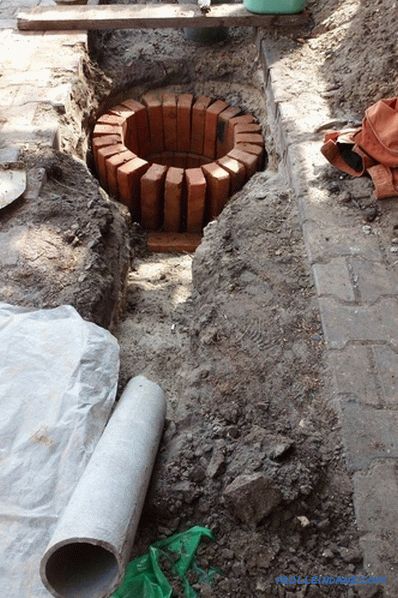 Laid out the third row of bricks
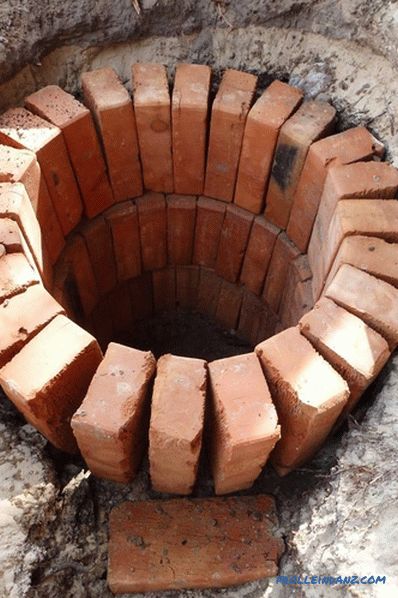 The pipe is laid
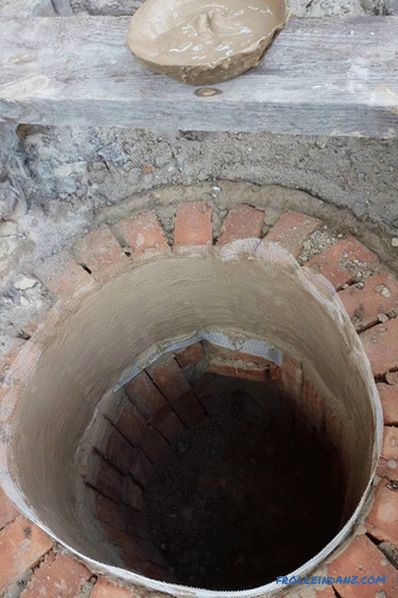 Reinforced with a mesh
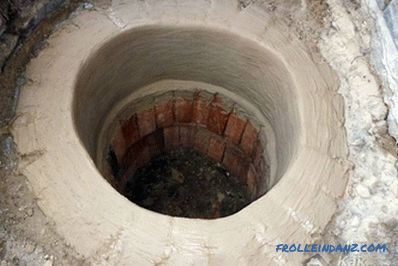 Top cover with clay
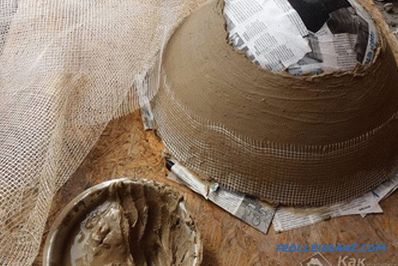 Production of ground clay parts
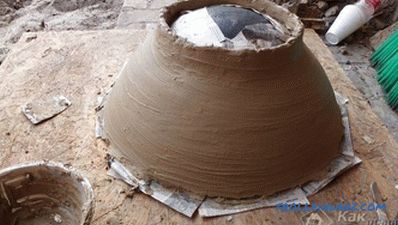 Form dome
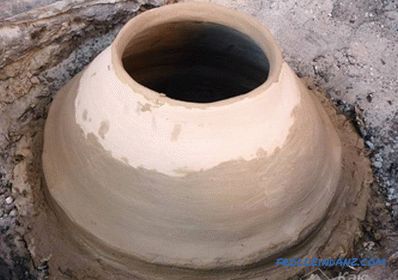 Establish the vaulted part of the tandoor
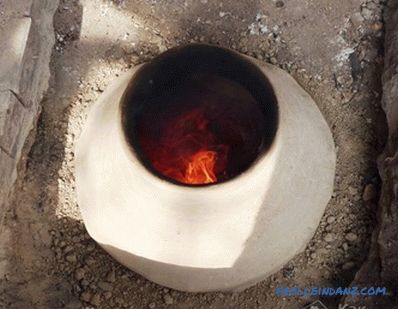 Housing g
