There is not a single home craftsman who would not want to assemble a wooden table with his own hands, and this desire does not depend on gender and age. It is important to observe many aspects in order for the result of the work to be truly qualitative.
")
Figure 1. The scheme of a wooden table with legs in the form of crosses.
At first, the tree was
Initially, the type of the table was selected, and then the material with which the work would be done. Tables are different (Fig. 1.2 and 3), and in each case different materials are used from each other.
Chipboard among all the cheapest and easiest to work, therefore, enjoys the highest popularity. Thickness is usually bordered by 1. 5-3 cm, the color gamut is limited only by fantasy, and density depends on preferences. But the chipboard also has its drawbacks: low strength characteristics, all colors of artificial origin (even if desired, cannot be styled as original wood), as well as harmful chemical emissions from unsalted places.
The array, in turn, is the least popular because of its high cost. In this case, the work is quick and easy, because the slice just needs to be shaped to get a worktop, after which you can mount it, and the shapes can be from simple to the most intricate.
")
Figure 2. Scheme of a coffee table.
Edged board and timber are the main elements that are present in most cases as a supporting structure, but sometimes they are used as the main material, which makes the work much more difficult, but the result is many times more interesting.
It is a table from a board and a bar that will be considered as an example, since starting from a complex one can easily learn how to make simple.
Working activity
Tools and materials:
- jigsaw;
- grinders;
- screwdrivers;
- tape measure;
- bar;
- bar;
- edged board;
- rail;
- steel angles;
- furniture plugs;
- stain and varnish;
- brush flat.
Initially, you need to decide on the dimensions of the future table, and after that start cutting. Let the table have a standard 110 cm height, 90 cm width and 150 cm length, although any of the above data can be changed depending on the desire. And after a precise definition, you can start cutting:
- timber 75 * 75 mm - 4 pcs. 105 cm each;
- bar 45 * 80 mm - 2 pcs. 75 cm and 2 pcs. 135 cm;
- edged board 50 * 150 mm - 6 pcs. 135 cm and 1 pc. 90 cm;
- wooden lath 10 * 40 mm - 5 pcs. on 145 and 2 pieces. 85 cm each.
After the cut is completed, each work element must be carefully sanded with a sander or emery paper and zero, and any remaining dust must be collected with a barely damp sponge. From above, the wood is covered with an antiseptic solution from moisture and insects, and only after complete drying can work be continued.
")
Figure 3. Scheme of assembly of a round table.
To begin with, a support structure is formed of bars and bars. To connect them, the bars will have to be rounded at the ends by 2. 5 cm, and at the very top of the beam, make round holes with a corresponding diameter to a depth of 2. 5 cm. They should dock with some application of force, but it is advisable to pour glue over the wood inside ( at the very bottom for a few drops).
The tabletop is made much more difficult, because first you need to cut the board 90 cm lengthwise in half lengthwise. All the remaining 2 sections are laid alternately. The result is a formed tabletop, but not yet concatenated.
In the front and rear boards, 6 wide holes are made to a depth of 2.5-3 cm, and all the holes should be located exactly in the center of those boards that are on the other side. After this, a thin drill is made full holes to the depth of the screw, and if this is not done, then it is likely to split the wood.
Galvanized screws are used for the hitch, since they are not subject to rusting, and for wood it is very important. From below, the rail is screwed to all the joints, with fixation being made in a checkerboard pattern with a step of 20 cm in the longitudinal, and in pairs on each board in the transverse. Thanks to this countertop nothing is scary.
At the very end, it remains only to combine the legs and the tabletop into 1 structure, for which we use pins and steel furniture corners. At the junction on the dowels, you will again have to use glue, and then press down the table with a load of 20-30 kg for 5-6 hours so that everything is fixed in this position. Corners, in turn, will fulfill the role of control fixation.
At the very end, the caps of the color of interest are put on the caps of all visible screws.
Completion of work and additional aspects
After you have managed to assemble the table with your own hands, you need to completely cover it with varnish and stain. What is especially important in this case is the possibility of imparting the appearance of any breed. The lacquer dries 30-36 hours, so after the coating you need to leave the finished work at this particular time. It is often misleading that after 4-5 hours there is no smell, and the fingers completely cease to stick, but the harmful chemical compounds still continue to be released into the environment.
For the formation of large-diameter holes, special drill bits and crowns on the drill are used, and they allow not only to form the inner contour, but also to cut the outer one.
Before you make a wooden table, you need to allocate 1-2 free days for the whole process, because it will be very inappropriate to be interrupted. Sometimes errors and omissions occur during operation, but this is within the normal range, so you need to have a supply of all materials of 10-15%.
In total, when the arm is full, the table is made in 1 day, after which it is dried, and you can start using it.
Didn't find the answer in the article? More information on the topic:
-
")
How to repair stools with your own hands
Do-it-yourself stool repair: basic repair options for individual parts. Repair legs: installation with glue; thread restoration and improvement of the old thread. How to repair a seat.
Search
Related Articles
Shutters for the sanitary cabinet in the toilet
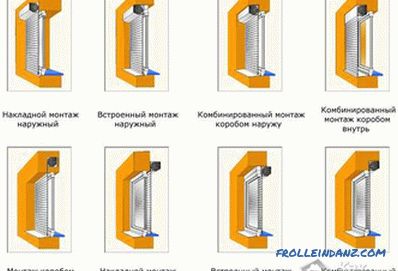
We are accustomed to meet with a similar design solution on windows and doors, but roller blinds for the sanitary closet in the toilet will not only complement, but also improve the appearance of th...
Summer shower do it yourself + photo scheme
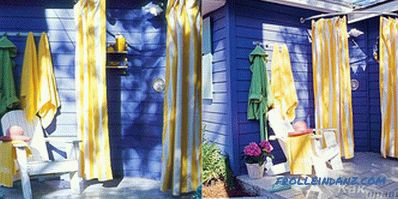
Perhaps, all gardeners know that it is just impossible to do without a shower at the site. This is especially important in the summer, when, after a day of work on the beds, it is necessary to take...
How to drill a drill - metal, concrete, tile
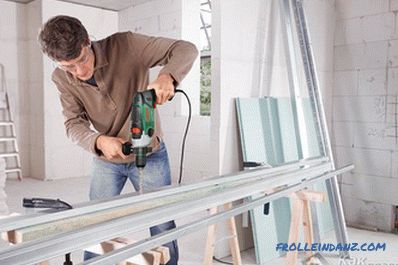
In this article we will tell how to drill various materials correctly with a drill: metal, tile, concrete, glass, wood. Work with wood, metal, concrete and tiles has its own subtleties. If you follo...
What tile to choose for a bathroom
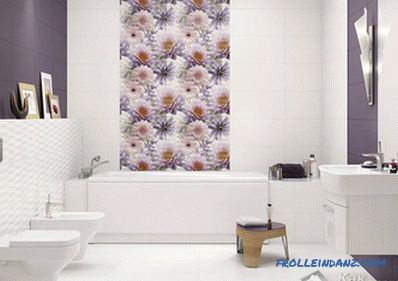
For many years, tile has been considered the best option for finishing bathrooms and sanitary facilities. Thanks to innovative technologies, manufacturers can produce high-quality materials with hig...
Caulking iron houses: tool for caulking iron (video)

Houses from a bar are durable, strong, beautiful, warm, not very expensive. But they need an exterior finish. When building between the bars there are very small gaps. No matter how hard you try to...