Mauerlat is an important part of the roofing system, with a log or timber in its role. Its functions include a uniform division of the load on the walls and the fastening of the roof with them.
")
The mounting scheme of the power plate to the wall of blocks.
The fastening of the mauerlat will require tools such as:
- timber with a cross section of 150 x 150 mm;
- waterproofing (roofing felt);
- nails, bolts;
- drill;
- wrench and wrench;
- level;
- hammer.
For fastening the mauerlat to the wall, a bar is used, which must be treated with an antiseptic to prevent it from rotting and protecting against insects. Humidity of wood should not exceed 22%, it is desirable to use pine. The best installation option is to mount the entire element around the perimeter of the wall. Laying of individual bars is performed by a direct lock, the dimensions of which are influenced by the dimensions of the beam. Nails are hammered into the lock, which helps to form joint bars that provide a solid system. Later attached to her rafters. Bars are placed closer to the inside of the masonry, leaving at least 5 cm to the outer edge.
There are several options for installing the power plate:
- using wire;
- anchors;
- construction studs.
Fastening with a wire
")
Fastening the power plate to a brick wall.
Wire fastening is the most affordable way. It is performed by means of steel wire, the diameter of which is from 4 to 6 cm.
This method of installation is performed as follows: 4-5 rows to the end of the laying are placed in the middle of the wire segments, leaving 60-70 cm between them. (25-30 cm) lift. If the structure is not plastered, the outer part of the wire is masked in solution. After it hardens, the ends of the wire need to be twisted over the bar with the attraction to the wall.
In small buildings, cottages, you can use wooden cork, the size of a brick. They are pre-treated with antiseptic, wrapped in roofing felt. Corks can be made on the basis of a beam lubricated with bitumen. They are placed below the level of support for the rafters or under it, keeping a distance of 500-700 mm. The elements are fastened with metal brackets.
Fastening with anchor bolts
")
Fastening of the power plate to the expanded clay concrete.
With this method of mounting the mowerlat, the tab of the anchors threaded into the reinforcing belt should be provided in advance. At the same time, it is necessary to ensure that they are put along the line as smoothly as possible. The number of anchors must be equal to or greater than the number of rafters.
To attach the mauerlat, make holes in it, the diameter of which will be 1-2 mm larger than the outside diameter of the anchor. The cut holes must be aligned with the anchor bolts. Fastening is performed by tightening the anchor bolt nut, use a wrench for this.
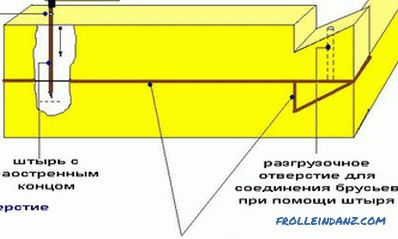
Sometimes instead of a reinforcing belt monolithic concrete pads are used, the length of which is not more than 400 mm. As a rule, they are satisfied with the brick walls. They represent the pits in the masonry with a metal structure made on the basis of fine reinforcement bars or rods. The threaded rods with a pitch of 20 m are inserted into the concrete that has not yet seized. The rod must be 3-4 cm longer than the thickness of the mauerlat. Then the product is put on the rods and tightened with nuts.
Fastening with studs
Construction studs must be embedded in a masonry to a depth of 450 mm. They are placed vertically on the wall, above the mauerlat they should be visible not less than 30 mm. Installation is also possible on support pads. However, their length should be no more than 400 mm, and height - 220 mm. Before pouring, glue the tape to the threads so that it does not get clogged and does not interfere with the tightening of the nuts.
Make holes in the mauerlate, use a pen drill for this. To make the marking as accurate as possible, the product is applied to the tops of the studs, and the top is hit with a heavy hammer. So you get the mark in the necessary places. Make sure that the studs are placed along its edges. On the wall is placed waterproofing material, imposing on the studs. Then you can proceed to installation.
Features of mounting the power plate
")
The mounting pattern of the power plate to the armored belt.
- Before mounting the mowerlat, waterproofing must be performed between concrete and wood. This rule must be observed necessarily, since in places of contact between brick and wood, the latter may rot. To do this, under the mauerlat stack 2 layers of roofing material, polyethylene or other material.
- When installing with the help of construction studs or anchor bolts, take care of the required number of holes in advance.
- Having completed the installation of the power plate, you can proceed to the installation of rafters.
You can mount the power plate yourself.
However, taking into account the great importance of the role of the power plate in the roofing system, it is necessary to strictly observe the technology of its installation and the sequence of works.
In this case, you will get a reliable, strong roof that will serve you for more than one decade.
Didn't find the answer in the article? More information on the topic:
Search
Related Articles
Garden furniture with their own hands from wood, pallets + photos, drawings, diagrams
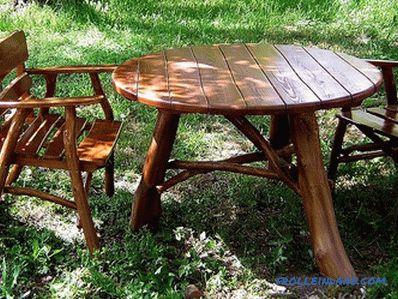
Even the most modern exterior can become much more comfortable if it has garden furniture. Undoubtedly, the country furniture has differences with the pieces of furniture intended for arranging resi...
Fastening timber: practical recommendations
When building wooden houses, fixing issues occur quite regularly. There may be fastening directly to the boards to each other or to any already existing structures (fastening the beam to the wall o...
All types of insulation and their characteristics + Photo and Video
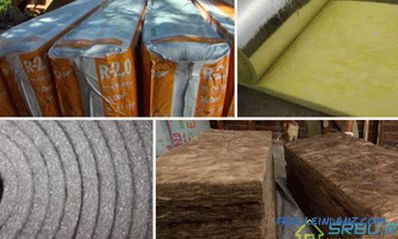
Thermal insulation in any temperature mode does not hurt. If you hold it correctly, in the winter it will become much warmer in the rooms, and cooler in the summer heat. Wall insulation helps to cre...
Fast-growing perennial hedge in the country

For the protection of its territory it is not necessary to delve into the construction in particular. An excellent alternative for many has become a hedge, which can not only hide the owners' proper...
material characteristics (video and photo)
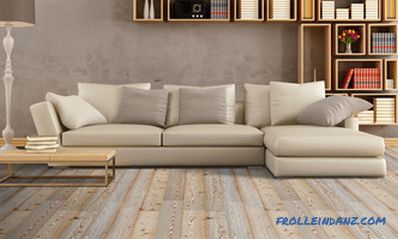
Today the floor covering is the most important part of finishing the room during the repair. After all, the correctness of his choice will depend not only on the decorative appearance of the room,...