For the installation of wooden lining their own hands do not need to be a specialist in wood processing. It is enough to have the skills to use some tools that are often used in everyday life.
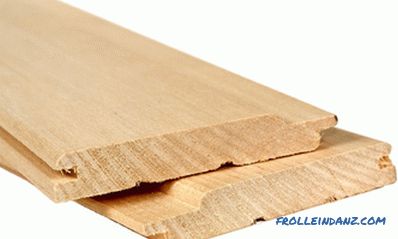
The main advantage of the material is its low price and attractive appearance.
Before installation, you should acquire the necessary tools and materials, such as:
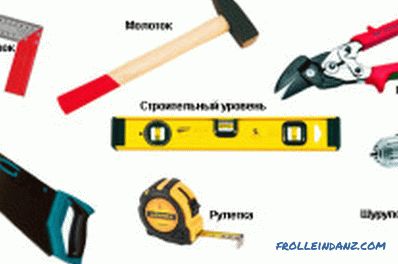
The necessary tools for installing the wall panel.
- punch;
- screwdriver;
- hammer;
- small tooth saw (better electric jigsaw);
- tape measure;
- construction level;
- blades;
- water-based lining varnish;
- paint brush;
- emery paper (fine-grained);
- self-tapping screws;
- screws;
- special galvanized hangers;
- antifungal impregnation;
- pre-dip.
The consumption of the carriage depends on the configuration of the installation. Installation on the diagonal or in the "herringbone" entails more waste. Typically, the size of the waste fits into 10%. If lining is installed in the sauna steam room, then coniferous wood should not be used. Such rocks emit resin when heated. The main disadvantage of wooden paneling is its flammability, so it must be treated with a fireproofing compound.
Preparatory work
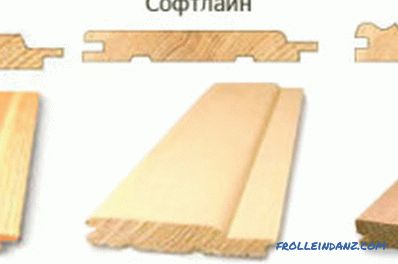
Types of wooden wall paneling.
Mounting the lining with your own hands begins with the installation of the batten. For crates it is better, on the contrary, to use conifers. Needles better tolerate changes in humidity. Wiring must be installed and tested before installation of the batten. If the wall surface is flat and vertical and does not require the installation of electrical wiring or wall insulation, then you can do without crates. But such installation options lining are very rare. The wall before mounting the batten should be covered with a moisture-proof film. The crate is a wooden frame of rails that do not have knots and cracks. Bearing rails are installed perpendicular to the laying of the main board. The supporting surface of the rails on which the paneling is mounted must lie in the same plane. Reiki installed on the sides of door and window openings. The distance between the slats is selected depending on the load on the batten. When laying on the ceiling or with a thicker board, the distance is reduced. Usually this size is on average 50 cm. The frame is attached to the wall with the help of dowel-nails, if the wall is concrete, or long screws, if the wall is wooden.
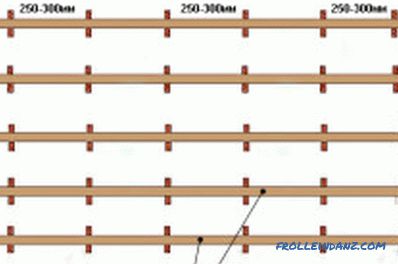
The layout of the wooden batten.
Reiki can also be fixed with special U-shaped galvanized hangers. Reiki should be soaked with antifungal compound. The plane of the frame must be vertical. The bottom rail is placed about five centimeters from the floor in order to be a support for the baseboard later. Before installation, the wall paneling is aged in the room where it is supposed to be installed, for two days. This is done for its acclimatization. Boards must be sorted out for the purpose of external inspection. It is better to postpone the most bent boards for cutting into small pieces in order to use them in door and window openings. When using an electric jigsaw, it is necessary that its base surface is covered with plastic. At contact of metal with lining there can be dark spots.
Installation of wall panel
Installation of wooden wall panel starts from the corner. Board laid spike to the wall, from which the installation. The first fastening is made with a spike screw. Subsequent fasteners made with klyimerov. They are special brackets for fastening over the side of the groove. There is another method of fastening with the help of a screw, screwed into the side of the groove of the wall panel at an angle. Both of these methods provide hidden fasteners. You can fix it by screwing screws and screws anywhere on the lining surface, but then the holes will be noticeable even if the heads of the screws are drowned or nails are pressed in with a doboynik.
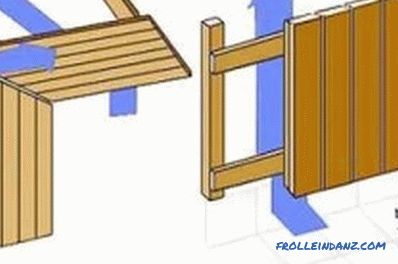
Laying pattern for wall lining.
The next board is installed with the spike drowning into the groove of the previous board. It happens that you have to enter the board into the groove with a little effort. In this case, you cannot tap the board directly with a hammer, but use a small piece of the board as a lining. In this way, damage to the lining surface can be avoided. It is not necessary to immerse the board in the spike until it stops. The size of the spike and groove allows you to leave a small gap at the top of the spike. But you can adjust the vertical position of the wall paneling. In rooms with high humidity, it is better to use copper nails or stainless steel screws.
Finishing work
In the inner and outer corners, the design is applied in the form of metal corners, wooden fillets and baseboards.For a complete view of the inner corner, you can use a rope of jute, attached with studs. After completion of the work, the surface of the wall paneling is coated with water-based varnish Do not apply varnish or paint before installing the wall paneling. This may reduce the gap between the spike and the groove of the wall paneling.
Varnishes for water-based lining are one-component and two-component. The latter include base and hardener. They are preferable because they provide better protection and environmental friendliness. It is better to apply varnish in several thin layers than with a thick one.
When dried, the varnish is sensitive to moisture, so the atmosphere in the room should be dry.
The varnish dries for a long time, at least one day. Lining for a long time will provide the smell of wood in the room, a feeling of comfort and warmth.
Didn't find the answer in the article? More information on the topic:
-
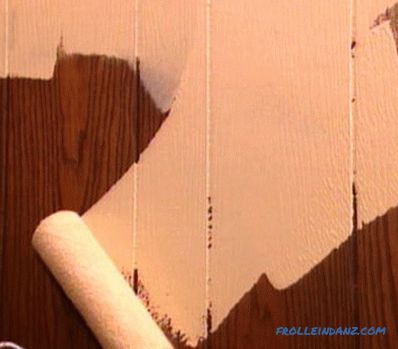
Technology for laying inside the house
Laying lining: preparatory work, the manufacture of frame construction, fixing the insulator and vapor barrier. Installation of lining in different ways to the surface of the frame, painting the lining.
