Making furniture for a home is not only a necessary, but also a very interesting process. Often, it is possible to make such things that it is very problematic to buy in the store, and the quality they never yield to their factory counterparts. In order to make the bed a wardrobe transformer with your own hands, you do not need to be a great professional, but you will have to follow the instructions completely.

A compact and comfortable bed, a wardrobe transformer is an excellent solution for small spaces.
Materials and sawing
Tools and materials:
- tape measure;
- jigsaw;
- bar;
- Laminated chipboard;
- sandpaper;
- flat brush;
- antiseptic solution.

Due to its environmental friendliness, durability and ease of processing, the furniture board is an excellent material for the production of a bed for a transformer cabinet.
Usually, when making such furniture, 2 materials are used:
- Furniture shield. Environmentally friendly material, which is obtained by pressing the bars or boards, and without the use of synthetic resins. It has a very high margin of safety (not weaker than an array) and is very simple in processing. The material has only 2 minuses: it is impossible to get it in many cities of the world, and if it is possible, it is only for quite a lot of money.
- Chipboard. All the factories work with the stove, so almost always you can see a table, a bed, a wardrobe and much more of this material. It has a low margin of safety, a huge choice of colors (none of the existing ones resembles a natural one), and can also differ in thickness and density. The only actual disadvantage is harmful emissions into the environment, which are leveled with the help of special edges. It is this material of average density and thickness of 20 mm will be used.
At the very beginning, you need to cut up the plate for the manufacture of the bed cabinet:
- 40 * 170 cm - 2 pcs. ;
- 40 * 220 cm - 2 pcs. ;
- 20 * 165 cm - 1 pc. ;
- 20 * 210 cm - 2 pcs. ;
- 35 * 165 cm - 1 pc. ;
- 170 * 220 cm - 1 pc. ;
- 82 * 208 cm - 2 pcs.
Along with this, you will need 3 cuts of 216 cm each with a cross section of 25 * 40 mm and a lot of edged board 164.5 cm. The cut lumber will be used at the very end, so there’s enough time before work to sand the material with sandpaper, and then cover it with an antiseptic solution against moisture and insects, in order to extend the operating time.
Basic assembly work

The wide range of LDSP allows you to choose a solution that will allow the future bed to a transformer closet harmoniously fit into the interior of the room.
Tools and materials:
- Laminated chipboard;
- screwdriver;
- self-tapping screws;
- rotational loops;
- furniture plugs;
- cant;
- iron.
Here the process is rather complicated in practice, although the theory is very simple. At the very beginning of the box is going to simulate a floor cabinet. For this, 40 * 170 cm slabs are laid between two 40 * 220 cm plates. A special feature in this case will be the fact that the bottom is indented above the floor level of 0.5 cm, and the top level. Such a move allows you to set the design even on an uneven floor.
All joints are made through the side wall into the edge of the slab. To begin with, 2 holes of small diameter in each edge are drilled under them, and then a tie is produced. If for any reason the holes are forgotten, then you can inadvertently crack, which will result in additional financial and time costs.
Then the bed box is folded, but you have to work a little with it:
- 20 * 165 is laid between 20 * 210 cm plates. The method of fixation remains the same, and this side will be directed directly to the "cabinet".
- On the back side (in the same way), it is screwed 35 * 165 so that the top edge goes flush and the bottom edge serves as improvised legs.
- Both mailboxes are combined into one design. To do this, experimentally selects the depth in the "cabinet", but the height of fixation is strictly 25 cm above the floor. For fixation, rotational loops are used, fixed from 2 sides.

The design that is able to rise and fall is the main part of the future bed of the transformer cabinet, therefore it is very important to follow all the instructions in the assembly.
The result is a structure that can already be lowered and raised. But rest is still impossible, as there are only 2 frames connected to each other. Now you need to mount stiffeners and a mattress pad. The actions will look like this:
- They are laid longitudinally in bed 2 beams exactly in the center of the shields.Fixing them comes from the inside, but the screws do not have to pierce the shield through, because of what you have to use a drill with a depth gauge. If there is no depth gauge, then you can wrap the drill with blue electrical tape at the right level so that it limits the progress. All junction points are measured using the installation level.
- Exactly between the mounted bars another one is squeezed. This beam is also fixed on the screws, but at an angle of 30-45 °. It is especially difficult to make an exact hole here, but you have to make it. For leveling using wooden lath or the same level, if its length is sufficient.
- The edging board of 15 * 150 mm is laid parallel in width with a step of 10 cm. If the step is increased, the mattress will fall into the holes, and if reduced, the bed will become too rigid. All joints are made in the previously described way to the bars, and fixation is done at all 3 points.
According to the results of the work, a construction is obtained which can already be used for sleep. But you need to finish some decorative touches.
Completion of work

The self-assembly of the bed of the transformer cabinet allows you to choose not only the design, but also the materials and accessories at an affordable price and not overpay for the assembly.
At the very end, you need to fasten a 170 * 220 cm slab to the cabinet on the back side. This will increase the strength characteristics, and at the same time close the extra clearance. Under the bed, 2 longitudinal shields are fixed, between which the distance is 1 cm. They will have to be fixed carefully enough to keep even small chips from being let in.
After all this, special furniture plugs are put on the screws, which ideally hide all hats from the eyes, and the edges are glued to the ribs. For fixing the edges is used the most ordinary iron, which is in every home. But here we must remember that in case of uneven fixation, it will be necessary to replace the edge with a new one.
If desired, you can install furniture handles for doors to create an imitation of an ordinary cabinet. Here it is important only to observe the correct level, and also to ensure that their length does not extend beyond the legs, otherwise you will have to redo it.
And now it remains only to put a mattress, fill in fresh sheets and blanket. You can embark on a long-awaited rest!
Working with laminated chipboard is simple enough even for beginners, regardless of whether the table, bed or bookshelf is being made.
It is only important to follow all the instructions correctly here.
Didn't find the answer in the article? More information on the topic:
-

How to make floors in a wooden house
You can make wooden floors as well as other materials for this. If bricks were used to organize the foundation, the beams are placed immediately behind the basement floor.
-

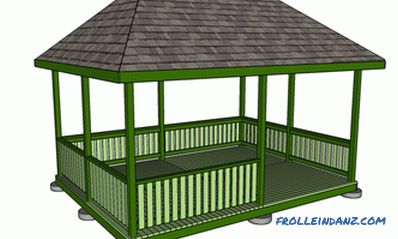
Making wooden arbors with your own hands
Construction of wooden arbors with their own hands on the garden. Features of the construction of the foundation. Construction harness. The frame and flooring, especially the roof of the wooden arbor.
-

We make hinged shelves with your own hands
Mounted shelves with their own hands are made of various materials. For fixing the shelves to the wall, the usual corners, hinged brackets and invisible fasteners are used.
Search
Related Articles
Arbor do-it-yourself - how to build, drawings, photos and video instruction
This article is about how to build a gazebo with your own hands. It is quite easy to do this, especially if you have all the necessary materials and tools at hand, and a ready plan in your head....
How to make a box of boards so that it is easy to use?
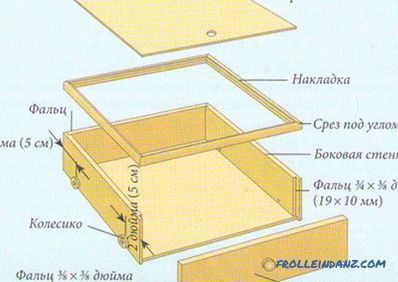
The box is a necessary thing in everyday life. It makes no sense to buy or order it, because it is much easier to make a thing with your own hands from boards. The main thing - step by step to comp...
How to decorate the facade of the house - materials and technologies of facade claddings (+ photos)
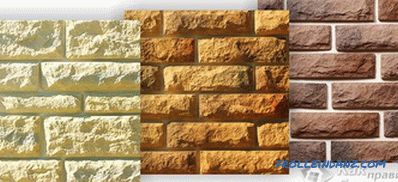
Surely all the owners of private houses will agree that today, more than ever, it’s important than decorating the front of the house. Chasing the stunning exterior of the house and exclusivity, perh...
Do-it-yourself multi-tip roof - how to build + schemes
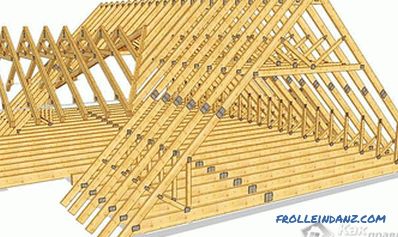
Among the various roof structures, the most complex and attractive is considered to be multi-tong. The peculiarity of its design lies in a large number of complex elements. These include pediments,...
Do-it-yourself interior door repair
Interior doors often lose their attractive appearance during operation and receive various microdamages. There is no need to change them to new ones. Most defects can be eliminated personally. By it...