The most popular material for thermal insulation today is foam. It is easy to work with him, he warms the room well and does not allow heat to volatilize through the walls. Most often it is used for insulating apartments in high-rise buildings of high-rise buildings, and for cladding the facade of private houses.
Pros and cons
 Polyfoam
Like all building materials, foam plastic has a number of advantages and disadvantages.
Positive properties:
- Cheaper than other thermal insulation materials.
- It has excellent thermal conductivity.
- Unaffected by moisture and weather conditions.
- Can serve for many years.
- Microorganisms cannot damage it.
- Easy to install and handle.
Negative qualities:
- Highly flammable.
- When burning, emits toxic smoke.
- Can spoil rodents.
It can be concluded that there are many more advantages. Therefore, so many people prefer this material to insulate their homes.
Installation Features
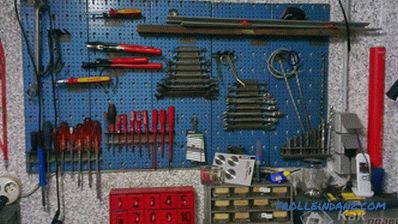
 Tools for working with foam
Make your wall insulation your own hands easy if you adhere to the correct sequence when installing and adhering to technology. It is also important to correctly calculate the amount of material expended and to acquire a good tool.
Getting started
 Calculate the amount of foam
Before you start, you need clear up how much material is needed. To do this, simply measure the walls, which will be insulated. Based on these figures, it will be possible to calculate the number of sheets of foam. To insulate the walls of a residential building, foam plastic is usually used with a thickness of 3 - 4 centimeters. To insulate the roof using eight centimeter foam.
The process goes through several stages:
- Wall surface preparation.
- Profile Installation.
- Installation of the foam itself.
- Joint sealing.
- Plaster insulation.
- Application of the finishing layer.
Tools and solutions that will be needed in the work:
- Selected insulation: foam plastic, polystyrene foam.
- Primer.
- Glue for plates of polyfoam.
- Mounting foam.
- Profile for the cap.
- Putty and trowel.
- Grid.
- Dowels.
- Hammers.
- Puncher.
Preparation of walls
 Primer walls
Before starting work on wall insulation, they must be carefully leveled and cleaned. Then you need to apply a primer coat with a special mixture intended for outdoor use. After the walls are completely dry, work can continue.
In order for the first row of foam to be even, set the socle bar. It will also prevent the penetration of rodents and other pests into the layers of insulation.
The profile needs to be chosen qualitative and strong, as the durability of the material used for warming depends on it. To keep the structure horizontally level, the profile position is checked using a level. Vertically stretched plumb lines - cords, which are installed at regular intervals.
Polyfoam is installed on a special glue and fixed with pan-shaped dowels. Glue is applied on the walls or on the foam plates using a notched trowel. This is necessary in order to evenly distribute the mixture over the entire surface. After a day, after the glue has completely dried, it is possible to fix the dowels, which should be positioned as follows - one in the center, the rest at the corners of the plate.
Working with seams
 Sealing of seams
For sealing seams You can use mounting foam, but if the gap is too large, it would be better to glue the insert from a piece of foam.
for the gaps between the sheets - they should not be too large.
Exterior finish
 Exterior finish scheme
When the foam is fixed glue and dowels, the seams are sealed and the gaps are removed, you need to plaster the insulation. The surface of the foam is smooth, and in order to keep the plaster on it, it is necessary to glue a reinforcing mesh to it, on which the finishing can be applied. When the first layer of plaster dries, it needs to be cleaned with sandpaper or float. After that, you can apply the last layer of plaster, not exceeding 3 mm. Only after that the surface will be ready for painting. Warming of the walls with foam plastic does not take much time.
Video
This video shows the warming process, including the preparatory work.
Search
Related Articles
pitch dependence on flooring
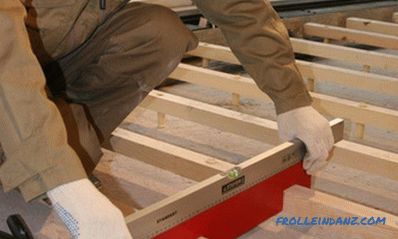
In order for the floor to be properly laid, even and strong, in 9 out of 10 it is laid on logs. Without a log, it is very difficult to level and reinforce the floor surface so that it does not bend...
How to choose a gas meter - the right choice of gas meter
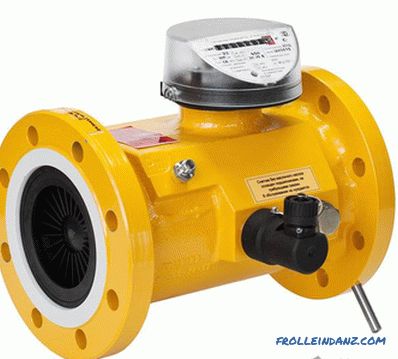
The gas meter is a special meter. The cost of gas is constantly growing, so the need arises for organizing an accurate accounting of the consumption of gas resources. A gas meter is capable of measu...
Repair of wooden floors in the apartment: features (video)
A natural wood floor is strong and sure to cover. But over time, under the influence of external factors, such a base is subject to noticeable deformations. As a result, cracks and decaying patches...
How to dilute alabaster - features of the process
Due to its positive qualities, alabaster is widely used in the construction industry. However, when applying it, it is important to be careful, because after the contact of the dry powder with water...
Arranging a garage with your own hands - how to equip a garage (+ photos)
The garage is the second home for car enthusiasts. This building serves not only to shelter a car in bad weather, but also a place to store all kinds of tools, often the owner’s “mini-workshop” wher...