Swings have always been in great demand. Yes, this is understandable, because kids and adults love to ride on them very much. In the article we will tell how to make them in the country, consider various materials (metal, wood), as well as show photos and video instructions.
Today there are many constructive variations of these structures. We will break them down into 3 categories:
- Baby. This group includes swing type chairs with pendants and peculiar boats. The frame is always made in accordance with the safety scheme. For very young children, seat belts should be provided.
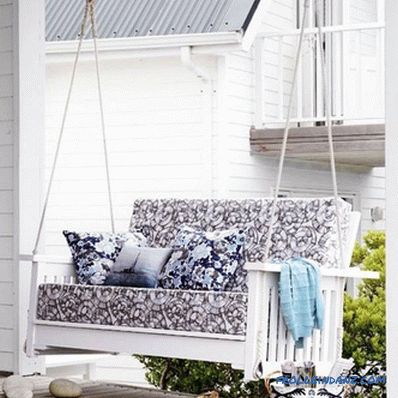 Garden swings
- Family. Most often, they are massive structures like benches with a large back. At such facilities can fit all at once. They are fixed on the U-shaped frame, using cables or sturdy chains. If the roof is made above them, then you can swing even in the rain.
- Mobile - to transfer easily and quickly, as well as install in a convenient place, for example, on a veranda, in a gazebo or in a house.
Variety
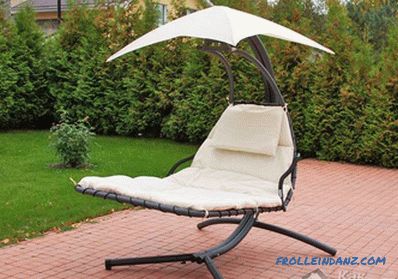 Swing-chaise lounge
- Hammock the type of structures is hung on the crossbar, for example, on a tree. This design allows you to soar above the ground. They will appeal to people who are passionate about reading books. They withstand weight up to 200 kg.
- Suspended - this is a seat with several ropes attached to the sides. Today they are made light, comfortable and durable. The size and shape of such structures are different.
- Single - these are all variations that do not need additional crossbars. Such designs can be quickly installed anywhere. They are made from a wide variety of materials.
- Swing-chaise-longues can accommodate two adults and one child. They can even be placed in the room, because they have only one point at which they are attached. Make them from a special metal alloy. Externally, air chairs are airy, but in fact they are very durable.
Making structures of metal
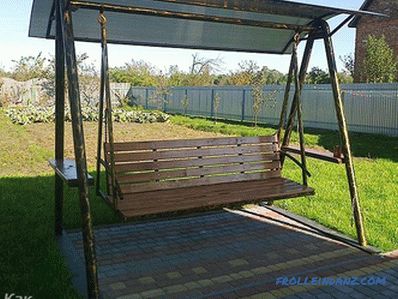
To make metal structures, you need to prepare such a set of tools and materials:
- Welding machine with electrodes.
- Capacity for mixing the solution.
- File / skin on metal.
- Ingredients for mortar kneading: water, cement, crushed stone, sand.
- A grinder for cutting metallic elements.
- Fasteners: bolts and nuts.
- Keys for tightening the bolts.
- Metal pipes.
- Spade.
Technological sequence
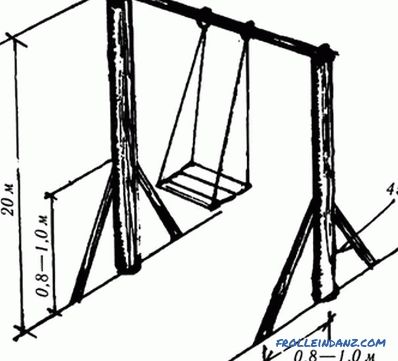
To begin, cut the pipes:
- Side racks 2 m long - 2 pcs.
- Crossbeam 1.5-2 m long - 1 pc.
- For the base, 2 pipes on each side (arbitrary length).
After cutting the pipes, remove the burrs on them. This can be done with a metal / file pelt. The pipes forming the base of such a structure should be welded at an angle of 45º, as shown in the diagram. Then at right angles to the racks, weld the crossbar.
Dig 2 trenches with a depth of 80 cm and a width corresponding to the resulting tripod. The distance between them should correspond to the width of the crossbar. Supports (tripods) will be inserted into these trenches. Before the supporting pillars are laid in the trenches, make a sand pillow 10-20 cm, tamp sand. Install tripods and fill them with concrete. It must be made on the basis of the proportion 1: 2: 1 - cement - sand - crushed stone. Add water to this mixture. You should have a homogeneous, not too liquid mass.
Concrete has to stand for a week.
After that, hooks can be welded to the crossbar, onto which the seat on the cables / metal beams will be fixed. Weld the seat to the metal beams, secure the seat. The finished design can be painted.
Wooden swing
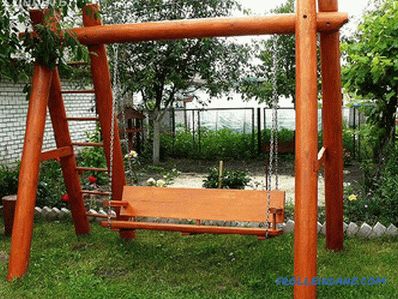
Consider the technological sequence of manufacturing a wooden structure on which several children can sit. Dimensions can be reduced / increased if necessary. Pine, spruce or birch wood can be used as a starting material. So, you will need:
- boards with a cross section of 100 * 25 mm, 2, 5 m long - 15 pcs. ;
- board with a section of 150 * 50 mm and a length of 2 m - 1 pc. ;
- self-tapping screws 52 * 3.5 mm - 250 pcs. ;
- carbine - 6 pcs. ;
- welded chain 5 mm thick, equal in length;
- galvanized screws: 2 pcs. - 12 * 100 mm and 2 pcs. - 12 * 80 mm.
When choosing self-tapping screws, pay attention to color. If you choose them in the tone of the wood, then they will be imperceptible on the finished design, and to give a special effect it is better to choose screws in contrast.
From the tools you need to stock:
- a square;
- a drill with a set of drills;
- a tape measure;
- a circular saw;
- with a pencil;
- a plane;
- with a hacksaw;
- with a hammer.
Step by Step Instructions
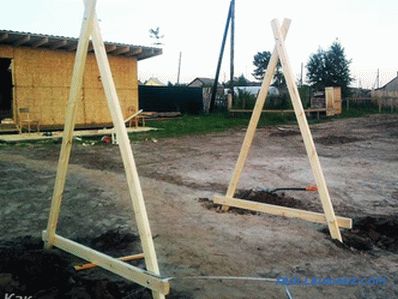
By following the plan, doing the job accurately is easier. Therefore, before you start making a swing, prepare its project.
If it is difficult for you to decide, read the drawings and diagrams at the end of the article. Remember that the design for children and adults is different.
 Installation of supports
Make workpieces 1.5 m each, make a cut at an angle 90º. For seating, use a board having a thickness of 20 mm. The thickness of the board for the back can be in the range of 12-13 mm. For our proposed design, you need to make a seat for which you will need 17 plan 50 cm long and 15 slats 45 cm wide.
To prevent the wood from cracking when tightening the self-tapping screws, pre-drill through the holes in the parts .
 Concreting supports
If you want to make a more comfortable back, then make it curly . To do this, you will need to use a board of the greatest thickness - 150 * 50 mm. You should have 6 blanks. Use a pencil / marker to draw the outline of the blank shape.
Determine the angle of the backrest. The slats should be secured with the same pitch. For their even fastening, fasten the ends on both sides, and after - in the middle. To swing was more comfortable, make armrests. For these purposes, beams of any width will fit. One end of it should be screwed to the backrest frame, and the other to the seat.
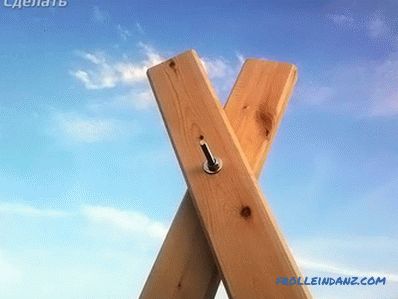 Bolting
Then you can attach the chain to the frame. It is best to make it to the bottom of the armrest, in the place of its connection with the seat. The other end of the chain is attached to the top of the base frame on the back. Secure the chain with nuts and washers. Otherwise, the nut can enter the wood, which will damage its integrity. A special element with a ring on one side and a threaded one on the other should be fixed on the seat frame and on the crossbar.
After, you can chain the rings together. It is better to fix the swing bench on the A-shaped stand. For support, it is important to use durable logs or make a metal frame. It all depends on you.
Making the support
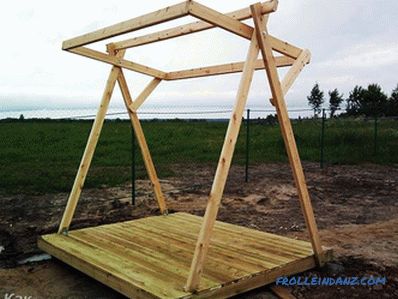 Assembly of the frame
A-frame stand or the support is sufficiently reliable and capable of withstanding considerable loads. For work you will need the same set of tools as for the manufacture of the seat, if we are talking about a stand made of wood.
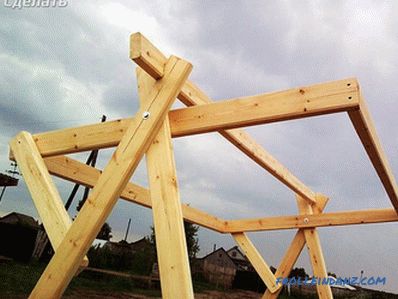 Making the roof
Make two identical racks having the same size. Ultimately, they will be installed at the distance you need, depending on the width of the seat. Racks / supports connect a crossbeam.
Accurately calculate the joint angle of the vertical parts of the racks. At the top of the pillars must be securely connected. Over time, they should not begin to diverge. Set the crossbar to 1/3 of the height of the supports. For these purposes, use metal corners and screws. The crossbar must be installed on racks at the same height.
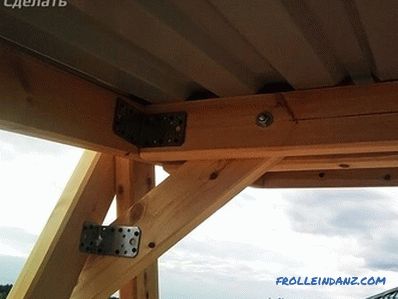 Roof fasteners
In the upper part of the rack, one crossbar is usually installed, but if desired to strengthen the structure, you can make two crossbars.
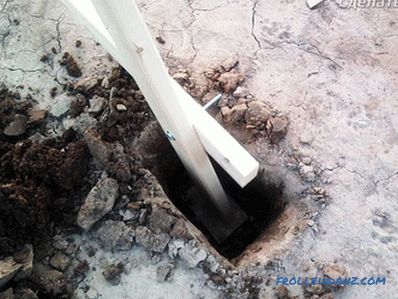
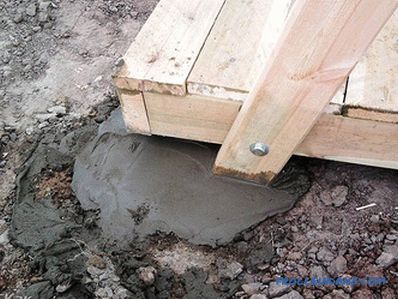
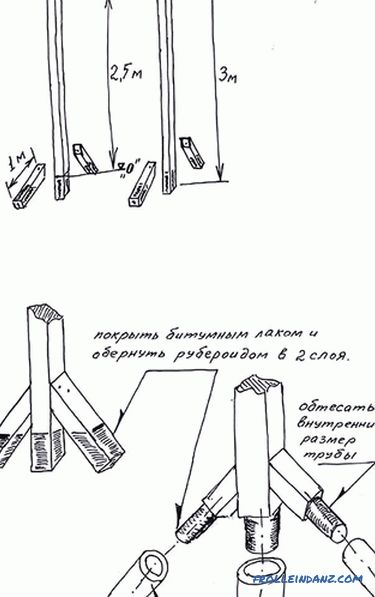
The structure should be installed in the ground. Dig holes up to 80 cm deep. Make a 20 cm sand cushion of rubble. Insert racks and fill them with concrete. To prevent the racks from rotting, they must be insulated before pouring. This can be done by impregnating or wrapping the wood with a waterproofing material, such as roofing felt.
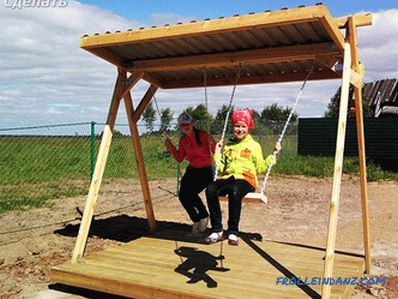 Finished swing
If you are making a swing for children, make them safe. Remove sharp corners, and grind wooden elements.
Simple
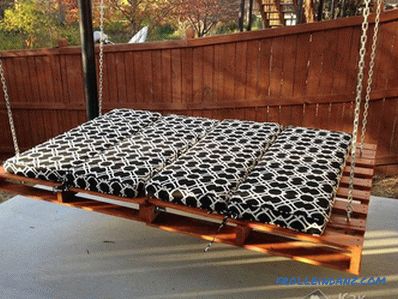 From wooden pallets with a mattress
You have left a wooden pallet after the delivery of building materials, why not use it as a basis? Agree that it is easy, and not worth the big expense! All you need is a pallet, a strong rope and a tree trunk, for hanging the structure. You can make supports from strong pillars. How to implement this will be discussed later.
Swings can be made from a single pallet, fixed on the sides of four ropes. All you can ride. If you want more comfort, then put a mattress on the tray and cover it with a sheet, and put a few pillows on top. Now you can start reading in the shade of a tree, in addition, here you can relax from the midday heat, lie down and even sleep.
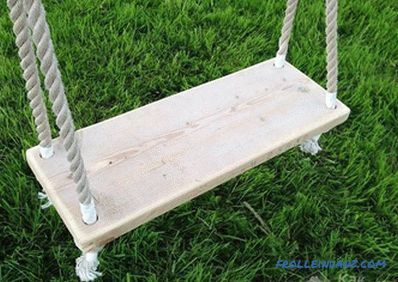 The simplest swing on the ropes
If you have 2 pallets at your disposal, then you can create pretty ones designs with a back.To achieve greater aesthetics, pre-clean the parts and sand them, and then fasten and paint (coat with moisture-resistant varnish) the finished structure. Now your homely pallets have become a very attractive country swing!
Dosochki is the simplest idea. On the sides of the board, you need to fasten one more board so that the rope is less frayed, then drill 4 holes, push the ropes into them and tie them into strong knots. Fix this design can be on a tree or U-shaped support.
Another idea is with a rope. To do this, you should make 4 tongues in the board: 2 at the end and 2 along the edges closer to the corners. The board can have a rectangular shape or semicircular. Although the grooves are open, the rope still does not jump out. The tension force only fixes the position of the rope, which makes the design even more reliable.
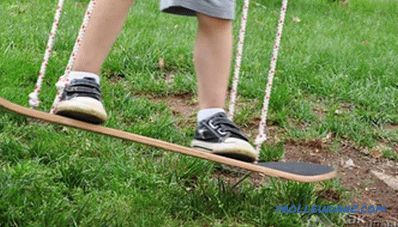 From the skateboard
Do you have an unsuitable snowboarding board? Then use it instead of sitting! Drill holes in it and secure the ropes. Now it remains to hang the finished structure on a reliable support!
 Another variant of the swing from the tire
Are there old tires? Do not rush to throw them away, because of them you can build a wonderful swing for children! For this you need a tire and a rope. If you want to create some special shape, improve the design of the tire, then you will need a sharp cutting tool, such as a construction knife. You can paint a tire, making it even more fun. To achieve the best results, you can draw a model of the structure on paper or mark cuts on the tire itself. Below are the ideas of implementation of the tires.
If there are 2 small round logs lying in your yard, align them, clean and tie them together with a strong rope, and then tie them with a sea knot to the support.
We select the material
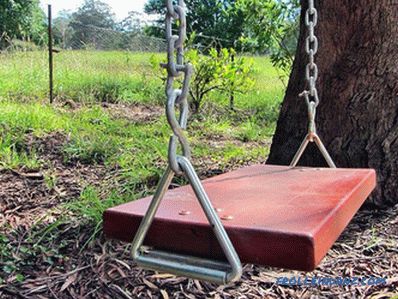 On metal chains
The above mentioned variations of making the simplest swing implied the use of scrap materials. But, if you want to create a more refined design, then you can use the appropriate wood and metal. It can be supplemented with a back and a crossbar placed in front, which will allow safe operation.
The list of materials required for production may be approximately as follows:
- Larch boards.
- Self-tapping screws of different sizes.
- Carabiners.
- Chain for fastening.
- Screws with rings.
To create a structure, you need a typical set of tools. The drill with various sizes of drills enters it. Hacksaw and saw, planer, jigsaw, hammer can be useful. For measuring you need a tape measure, a square, a chalk, or, perhaps, a pencil, a marker.
It is better that the structures are installed in a shady place, under a roof or a tree. If the canopy is not provided, then in bad weather they must be covered with a protective film.
If you want to create a stable support, then you should always dig four pillars into the soil to a depth of about 80 cm. Subsequently, they will need to concreted, then connect the rack and the crossbar. If you chose metal pipes as racks, then you need to connect them with a welding machine. If you use wooden supports, before installing them, you should treat the material with an antiseptic preparation. Connect them with bolts and nuts. To make the seat, prepare 2 frames that will serve as a backrest and seat. Attach the plywood, and then connect the frame at an angle of 120˚.
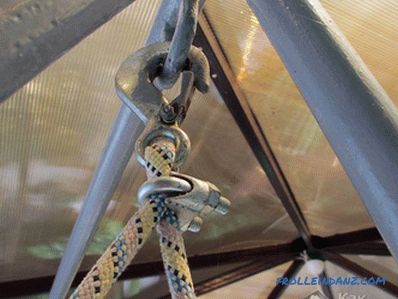 Fastening and mounting
Now you need to attach special hooks or brackets to the seat, which will allow they are chains, rope or rope. In this state, the swing can be hung to the crossbar. Note that the feet of a person who is seated must touch the ground with their toes. In fact, country swing can be the most diverse, here, perhaps, it all depends on the power of the flight of your imagination.
The main thing is that when creating this garden object you can ensure its safety, reliability and durability. Add a bit of creativity to the product: decorate it, use an unusual object as a seat.
Mount the mounting mechanism
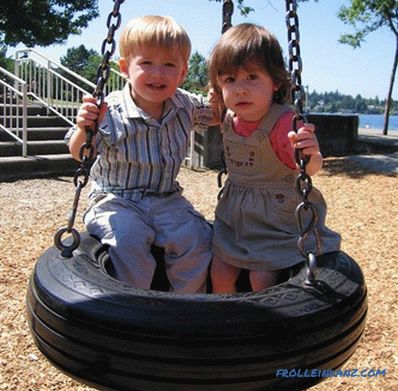 Use the old car tire
For In order to hang the seat to the crossbar, you need to attach special hooks or brackets to it. If you decide to use cables as a suspension, then you need fixing clamps. Pull the cable, rope or chain through the holes. It is better to use chains that have large links. This is due to the fact that they are more durable, not afraid of bad weather and temperature changes. Chains, among other things, perfectly decorate landscape design.
It is better, of course, that the seat should have a back, while the suspension plays a less important role.
The place where the suspension will be fixed should be especially reinforced. If your seat is wooden, then decorate it with pillows, stretch an awning or put a mattress. All these details will only improve your rest and the rest of your children.
Swing is an integral part of leisure. You will never regret the wasted forces, because your building will delight your family all the summer season!
Have you already worked on creating such a constellation? What ideas did you manage to bring to life? Maybe you had difficulties in the manufacturing process? What helped you cope with them? Write comments to the article, we appreciate your work and experience!
We recommend reading:
- street grill made of bricks with your own hands;
- braziers with your own hands made of metal (dimensions ).
Video
You can see the example of making a wooden swing below:
Photos
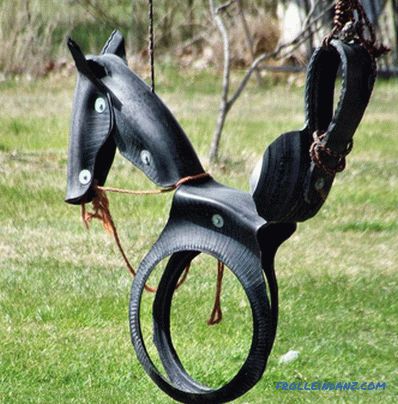 Swing-horse
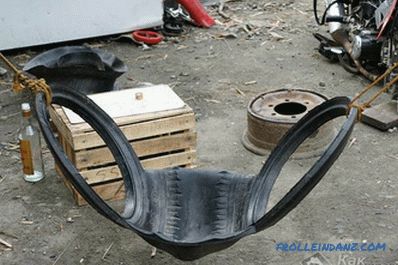 Swing from a tire
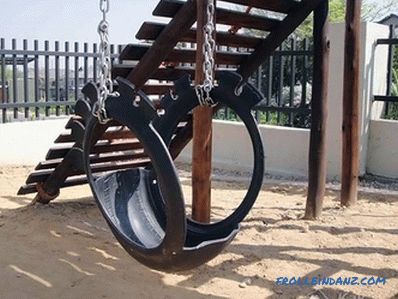 From old rubber
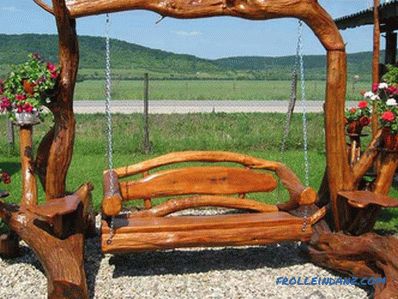 From untreated tree
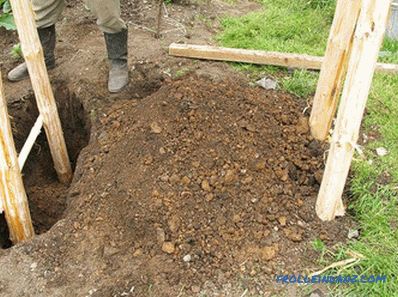 Digging in the supports
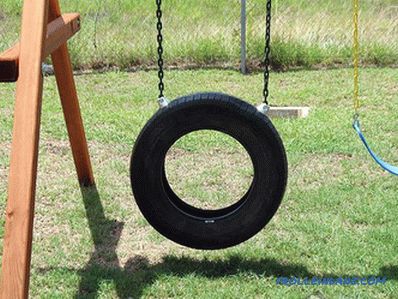 Vertically fixed tire
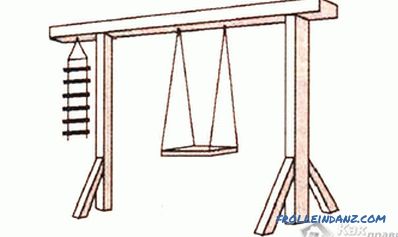 Racks of the swing
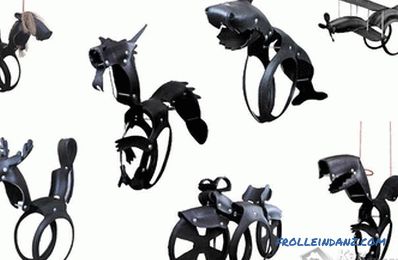 A variety of swings from tires
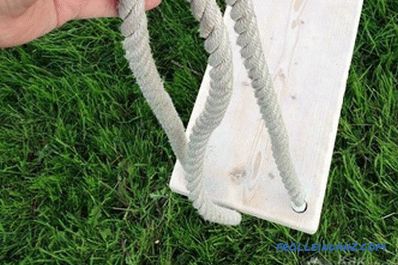 We tie rope
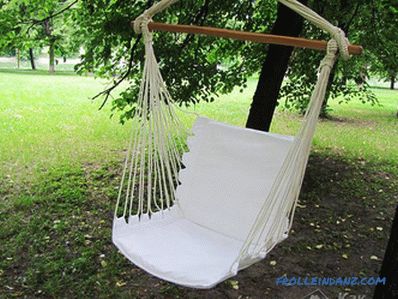 The hammock chair
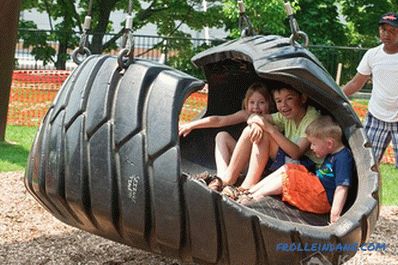 How to apply a tire from Belaz
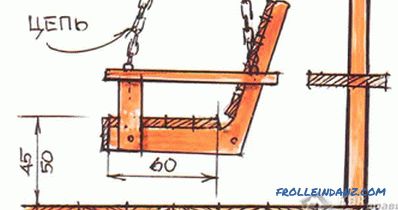
If you decide to make a swing to give yourself, then the drawings and diagrams presented will help you with this:
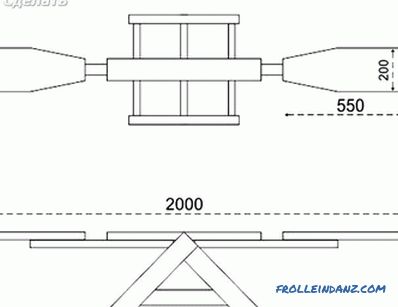 Drawing a simple swing
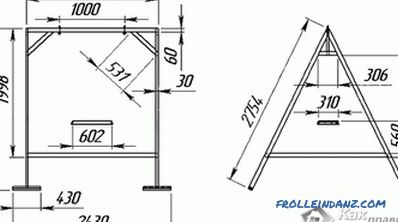
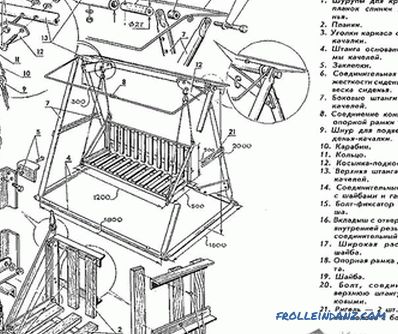 Detailed scheme of making a swing
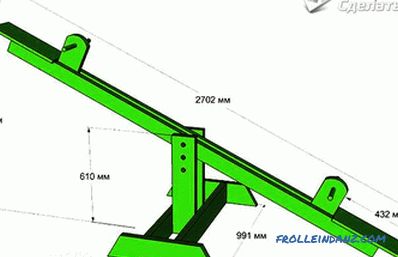 Balance swing pattern
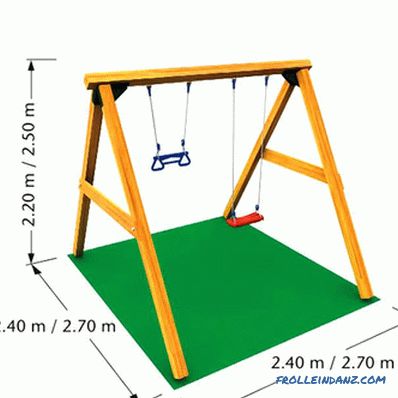 Children's swing scheme
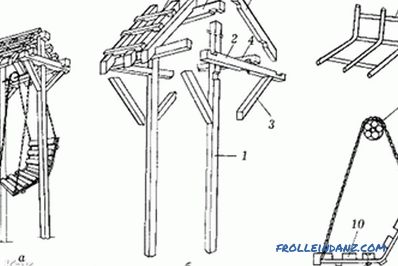 Swings from a tree
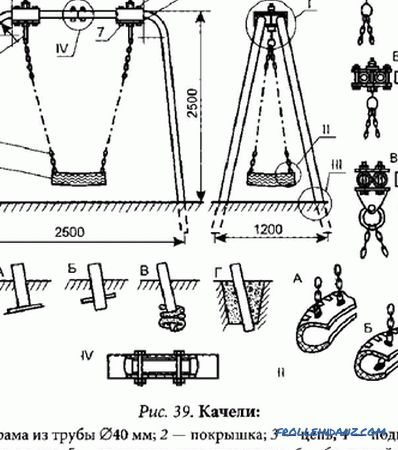 Swing from the wheel
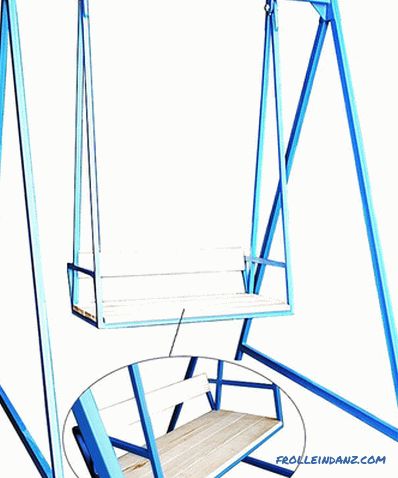 Made of metal
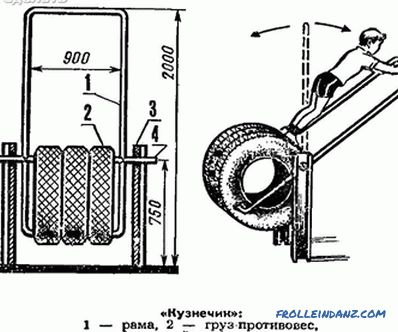 Swing grasshopper
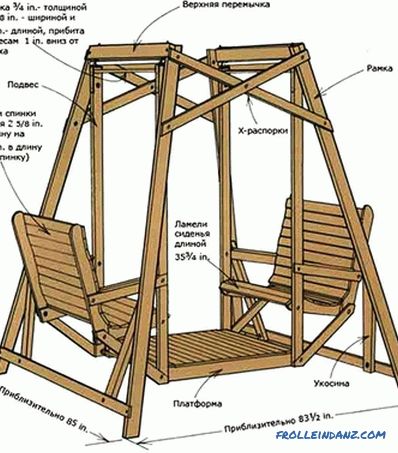 Garden swing pattern
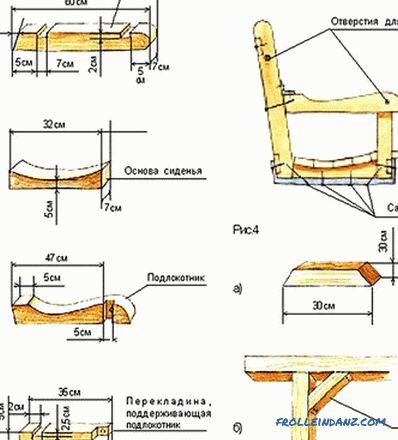 Seat pattern
