Every year, suspended ceilings are gaining more and more popularity. Yes, and drywall ceilings are not far behind them. However, not everyone can afford such an expensive pleasure. If your ceiling is not quite in a deplorable state, in many cases, the ceiling will help yourself. Let's think about whether to do this at all, or better to choose another way to bring the ceiling in order.
It turns out that choosing a plaster you win. Judge for yourself. Compare, for example, our way with suspended ceilings. Let's start with the fact that suspended ceilings hide several centimeters of vertical space. In some cases (with a low ceiling height) this may be unacceptable. On the other hand, suspended ceilings are much more expensive than plaster mixes. Any plaster is absolutely environmentally friendly material. It helps to maintain the humidity of the room, at high - absorbs moisture, at low - gives.
As for drywall ceilings, this method requires not only the ability to work with this material, but also the skills to build a bearing frame. All this is complicated by the fact that the entire installation will be made on the ceiling. In this case, the partner is obligatory, since it is very difficult for one to fasten large sheets of drywall with self-tapping screws. The cost of the ceiling of plasterboard also flies a pretty penny. In addition, the device ceiling of plasterboard does not tolerate errors, sometimes inevitable with little experience of such work.
It turns out that such methods are not always preferable. But maybe when you putty the ceiling there are negative sides? Of course have. Now we will consider them:
- At least minimal experience in this area is desirable for working with plaster. After all, work on a large space requires almost perfect evenness. On the ceiling like nowhere else it will be particularly noticeable. This is especially important for ceilings, which are subsequently planned to be painted. If the difference in the level of the ceiling between the plates is more than 2 centimeters, then fixing the flaw by plastering is very difficult. In this case, you need to resort to alternative methods of finishing.
- Plastering the ceiling is better with your own hands. Using the services of hired workers in this case is very expensive. Although it is possible that the team that you hire will be professionals, and the work will be done efficiently.
 Trapezoidal Rule
So let's decide if you need to plaster the ceiling, or resort to an alternative method.
If the ceiling level drops do not exceed a few millimeters, then the best way to put the ceiling in order will be the plaster. To accurately determine the level of the surface is recommended to use the rule. With it, you can see what the elevation changes are, and decide what actions to take in the future.
Preparing the ceiling

If you decide to plaster the ceiling, the first thing to do is to carefully inspect the front of the work. Assess the elevation difference, the presence of mold, mold, cracks, etc. If the ceiling is in poor condition, the old coating must be removed. How to do it correctly, we will tell you now:
- With a spray gun, you need to wet the surface of the ceiling over the entire area. Since the old plaster absorbs moisture very well, repeat the procedure several times. Thus, the removal of the old coating will take place with the least effort. And the dust will be much less.
- After half an hour, when the moisture has thoroughly saturate the ceiling, take a wide, hard spatula and clean the ceiling from the old coating to the concrete base.
- If you find plaster in the gaps between the plates, which obviously does not hold well, you must remove it with a punch. To do this, switch it into shock mode without rotation and clear the interplate space.
- After that, you need to treat the cleaned surface with a primer. After soaking up the solution, repeat the action. The use of a primer will increase the adhesion of the plaster to the ceiling and remove the dust layer remaining during primary processing. If you had a mold or mold on the ceiling, it is necessary to treat the surface of the ceiling with a special primer with antibacterial composition. This will prevent the occurrence of such an unpleasant phenomenon in the future.
What is better to plaster the ceiling?
 Types of plaster
V The stores sell several types of putty. In order not to get confused, you need to know that there are only two types of these mixtures:
- Lime-cement mixtures.
- Plaster on a plaster basis.
Gypsum plaster is preferred. This option can, to some extent, resist the occurrence of cracks during shrinkage and changes in humidity and temperature. In addition, this putty has a high adhesion, that is, better adheres to the surface.It is much more convenient to use it, than cement and limy.
How to plaster the ceiling?
 Plastering the beacons
Get ideally smooth surface "by eye" does not work, do not expect. But this is not really as difficult as it seems. For this use beacons. To install them, you need:
- Using the level to determine the lowest point of your new ceiling.
- Pull down 5‒10 mm - this will be the new ceiling level.
- Stretch a horizontal thread between the screwed screws.
- Apply a small layer of putty and press in the ends of the profile. We will use it as guides for applying putty. Profiles should be buttted one behind the other from one wall to another. The distance between them must necessarily be less than the length of the rule.
- Apply a layer of plaster in such a way that it is a few millimeters higher than the lighthouses and remove excess material with a wedge.
- Thus, apply and smooth the plaster over the entire surface of the ceiling.
If the plaster is applied in several layers, the use of a special reinforcing mesh is recommended. It is pressed into the primary layer of plaster. After complete drying, apply a second layer. The final alignment is done with a putty finish.
Some people ask - how to plaster the ceiling of plasterboard? Making it even easier. Between the sheets of drywall is applied a thin layer of plaster, on which the serpyanka netting is laid and pressed. Then put the final layer of putty. To better understand the principle of operation, you can watch the video.
Video
This video shows the process of plastering the ceiling with a putty:
Photos
 Close up rusty on the ceiling
 Installing beacons
 Leveling the beacon by the level
 Mechanized application of the solution
 Plastering the plasterboard ceiling
Search
Related Articles
How to lay paving stones - laying paving stones
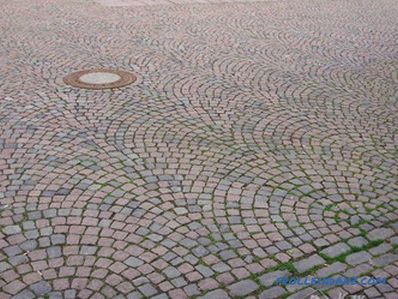
Over the centuries, pavement has defended its leadership position and it succeeds without any difficulty! This is explained by the fact that a beautiful, wear-resistant and durable surface fits perf...
Wooden chaise longue DIY: folding design for relaxation
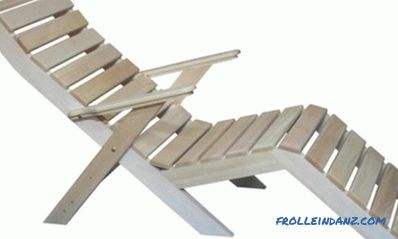
A literal translation from the French "long chair" quite accurately describes the shape that the deck chair has. This folding design has a sloping back and a long seat that allows you to stretch yo...
How to drill a hole in the glass + Photos and Videos
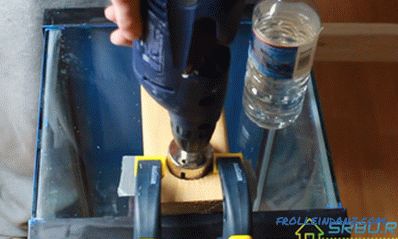
Glass, mirrors, stained-glass windows - these materials firmly occupied positions in the modern interior. Those who prefer to do everything with their own hands, sometimes lack the skills of proper...
Semi-dry screed do it yourself - stages, photos, video
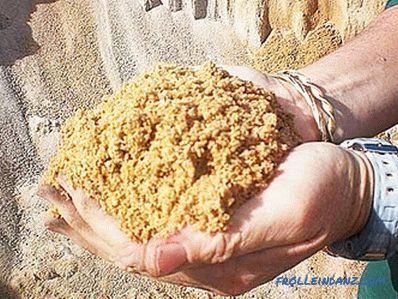
The semi-dry screed is a floor leveling technology using a cement-based mixture. The main feature of this technology is the use of cement-sand mixture (CPS) with a very low water content. Moisture i...
Gable roof system - how to make a truss system

The gable roof due to its simple, reliable and presentable construction has been popular for many years. Depending on the slope of the slopes, it is used in regions with different amounts of precipi...