Grooved boards are usually used to clean the floor. It is made from solid pine or spruce. A tongue is provided on one edge of the grooved board, and a groove for it on the other. This greatly simplifies the installation of the material. Mounted by connecting the groove and the tongue of the board form a single whole surface. After laying, the surface of the floor is treated (polished and uncovered with varnish) in order to acquire an attractive appearance and extend the service life.
")
Layout of the grooved board on the logs.
There are various sizes of grooved boards for easy styling. You can find the installation units from 2 to 6 meters in length, from 9.6 to 15 cm in width and thickness in the range of 2.5-4 cm. After production, the boards are dried to 10-15% moisture and sealed. Thanks to this, it is possible to proceed to its installation without prior preparation.
Installation procedure
Material is laid in a specific order. It is necessary to keep it indoors from 3 to 14 days after delivery so that the humidity in the room and the humidity of the wood become equal. The duration of the exposure period depends on the season of repair work. After a few days, you can remove the packaging film and, if necessary, cut the material along its length.
")
The layout of the grooved board.
After the cut, the board should be laid on logs covered with insulation or film. In this position, the material is left for a few more days for acclimatization. Only then can the material be laid.
It is not recommended to use glue or any other synthetic substances during installation. To fix the board, screws are used with which the flooring is screwed to each lag. The distance between the lags should not exceed 59 cm.
The first installation unit is located tongue-and-groove side to the wall.
A small gap is left between them, 1-2 cm. The floor will be ventilated through this gap. In addition, if the floor moisture increases over time and the board expands, this gap will prevent deformation of the floor surface. Boards should not be concave. This is to make sure before starting work.
For fixing on the logs, it is best to use screws for wood, 5.5-6 cm long. They need to be screwed into the groove at an angle. First you need to drill holes with a drill with a diameter of 2.5 or 3 mm. Thanks to the hole when screwing in the groove will not crack. Drills for this job because of their small thickness break quickly enough, so it is recommended to stock them for future use.
The second board is attached to the first one. Ideal to fit them to each other with the help of a mallet is hardly possible, so do not overly zealous with it. For best results, you can use a wooden wedge that you need to drive through the entire board, while screwing the screw.
The quickest and most convenient way is to use a car jack. But in this case it is necessary to provide protection of the material from damage. For this purpose, small plates are used, which need to rest against the following mounting elements. When using a jack, the use of a mallet is not required.
Thus, the device of a floor from a rabbeted board is quite simple. You can install the flooring elements yourself. In this case, you must take into account the characteristics of the material.
Didn't find the answer in the article? More information on the topic:
-
")
Making the table in the bath with your own hands
It is easy to build a table in a bath with your own hands. Materials for the table use different, often take those that are on hand. Used wood has a number of requirements.
Search
Related Articles
How to sheathe bath clapboard with their own hands from the inside (photos and video)

Before you clap the bath with clapboard, you need to pick up wood. The appearance of the walls, the ceiling and the healing effect that is observed after visiting the bath will depend on the type o...
How to choose a chainsaw for the price and quality

For many of us, the word "chainsaw" is strongly associated with muscular lumberjacks, who take a powerful tool in their hands and playfully cut down thick trees. But a chainsaw can become an indispe...
DIY plastic window repair
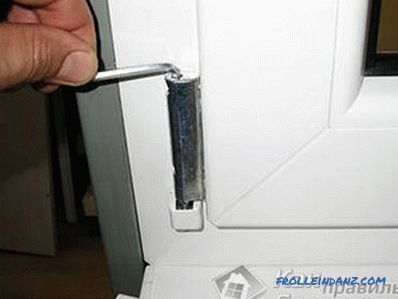
It would seem that plastic windows entered our life quite recently, but as it turned out, they do not serve people forever (or at least a couple of decades) without repair. And since it is quite exp...
How to connect a pipe PND - methods of connecting plastic pipes
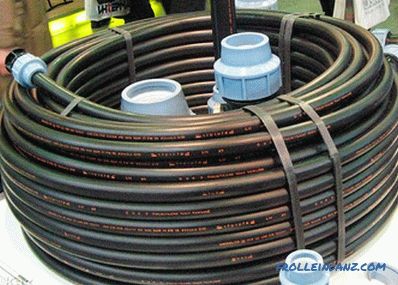
Little construction will do without laying pipelines. For their installation, you can use various pipes, for example, polyethylene, created under low pressure (HDPE). Such products are used both in...
How to build a frame garage: the construction of buildings
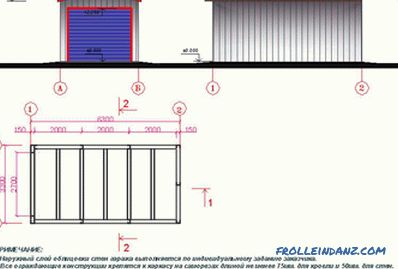
How to build a frame garage? Many motorists ask this question after purchasing a car. To implement such a plan, first you need to take the following steps: Drawing of the frame garage. to...