Lining is a durable and moisture-resistant material that has gained great popularity in construction. With it, you can align the walls, as well as visually expand the room. To properly perform, you will need the following tools and fixtures:
")
Clapboard trim is a popular type of interior decoration, this material is durable, durable, and easy to install.
- hammer;
- drill;
- jigsaw;
- punch;
- level;
- ruler;
- assembly thread;
- slats with a cross section of 20 * 45, 30 * 45 mm;
- self-tapping screws, clamps.
Installation of eurolining: installation options
")
Profiles and dimensions of eurolining.
To install correctly, prepare the material beforehand. To do this, leave it for 2-3 days at room temperature. Laying eurolining is performed at a temperature not lower than 5 ° С and humidity not more than 60%.
Installation can be done in several ways.
Installation using screws. With this method, installation can be carried out at the top and bottom. From the side of the spike in the panel a hole is drilled for the screw, approximately 10 mm. Screw in the screws, mask the remaining holes with dowels. After they can be trimmed and sanded.
Bracing. Installation is performed from the bottom, boards and lining fit in turn. Using a construction stapler, the brackets should be pushed under the spike at an angle of 45 °. Make sure that the spike of the next board can easily fall into the groove.
")
Ways of mounting eurolining.
Using nails. This method is similar to mounting brackets. It is advisable to use thin nails with a zinc coating. The caps of the nails should not protrude above the surface, but be sunk into the board, otherwise difficulties with fastening the next element may occur. In the work, use a doboynik.
Fixing eurolines with dowels. Installation is performed from the bottom up. The first board is fixed with screws, their caps are covered with dowels. The screw is screwed into the spike, and the next element hides it. You can also do work with a stapler. Fixing the last board is performed in the same way as the first one. Then to smooth the surface can be polished.
Fixing with klyimer, special metal brackets with zinc coating. This method is most often resorted to when the interior is finished with fine eurolining. Klyaymery fixed from the back side of the spike. The first element is fixed with screws, and the caps are hidden by means of dowels. First, the kleimer is attached to the panel, matching with the previous one. Kleimer fasten, use nails or screws. In the event that they are not matched, a piece of slats are placed under the hammer. So you will save the spike or groove from damage.
Installation of the lath
")
Installation of the lathing for eurolining.
The lining is attached to the slats with a cross section of 20 * 45, 30 * 45 mm. The tree should be well dried. Between the slats, follow the step of 40-80 cm. When installing the frame, use the level.
Keep in mind that if you are going to lay the eurolining vertically, then the battens of the framework must be laid horizontally.
In case of horizontal installation of the rack eurolation in the frame, it must be directed in a vertical position.
When laying eurolining, do not forget about thermal insulation, which can be mineral wool.
To achieve a hydro- and vapor-insulating effect, apply a moisture-repellent film. It is fixed with a stapler over the mineral surface of the shiny surface inside.
Finally, treat the wood with an antiseptic to protect it from mold and rot. Installation of eurolining in compliance with all the technology should not cause any special difficulties in the process. In addition, the use of eurolining allows all finishing work to be done without unnecessary waste.
Didn't find the answer in the article? More information on the topic:
Search
Related Articles
Replacing the heating battery in the apartment with their own hands
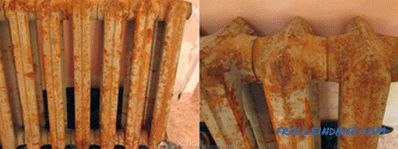
After moving to the purchased apartment, located in a house built in 1968 ("Khrushchev"), the question arose of replacing the old cast iron radiator with a new one. After long and painful doubts, we...
How does the septic tank
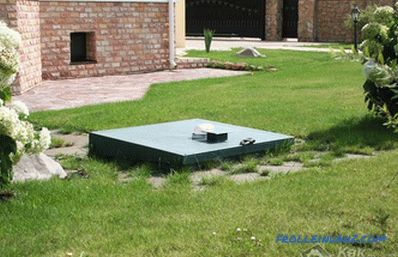
Very often in country houses, and even in residential private houses, cesspools or some other storage tanks are used for waste. The main problem here is that such facilities do not meet sanitary sta...
How to paint walls with a roller
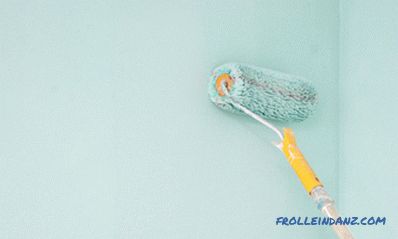
This article is about how to paint the walls in an apartment. Perhaps you want to refresh the look of your home, or you want to drastically change the interior to better suit your tastes ... Take a...
Fastening rafters to floor beams in different ways (photo)
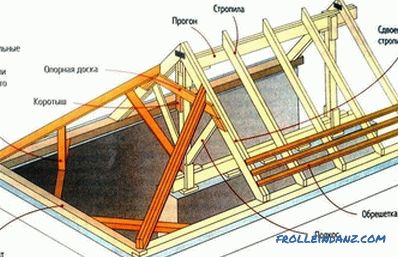
From the climatic zones in which your personal home is located and from which types of building materials it is built, the shape of the entire roof, options and methods of attaching the rafters sho...
Bath from a bar with his own hands: step by step instructions
A bath of a bar is built with its own hands in several stages. Most people choose wood as a finishing material for good reason. Wood has excellent technical characteristics, which gives it an advan...