The use of modern ceramic tiles to close the roof involves taking into account a number of requirements related to the significant weight of the roofing material used. With all the undoubted advantages of this type of coating (such as, for example, reliability, durability and originality), the installation of ceramic tiles can be made only on pre-reinforced trusses.
Due to the large weight of natural material, it is allowed to lay ceramic tiles only on roofs, the slope of which does not exceed values ranging from 12 to 50 degrees. At high angles of inclination, the need arises to strengthen the truss system by using additional elements that increase the rigidity of the entire structure as a whole.
Preparation of the base
 The roofing pattern of natural tile
After strengthening the system of rafters and immediately before laying the ceramic tile, you will have to perform a number of standard operations related to the arrangement of the so-called "roofing pie".
The list of these measures traditionally includes the following standard operations:
- preparation of waterproofing to protect the entire structure from moisture and avoid fungal wood damage;
- arrangement of thermal insulation coating additionally protecting the roof from heat leaks through the "cold bridges";
- covering the vapor barrier layer, thanks to which the roof will be reliably protected from condensation.
Waterproofing protection is needed at roof angles of up to 22 degrees. When calculating the material requirements (taking into account all necessary allowances), the total area of the slopes should be simply multiplied by 1.4.
To fix the waterproofing layer on the rafter beams, you can use a special stapler used to secure the roll materials. At the same time, the amount of overlap of each subsequent layer on the previous one should be at least 10–15 cm. When forming this layer of the “roofing pie”, it will be necessary to provide for ventilation gaps created artificially. Such gaps can be formed in the intervals between thermal insulation and waterproofing (by building up the elements of the batten) or by installing the so-called counter lattice.
When preparing the batten itself, it should always be remembered that it will be the tiles that will be laid on it in the future, so the distance between the individual bars should be chosen taking into account the size of the tile sheet.
When arranging the roof, the issue of its vapor barrier should not be overlooked, since the presence of condensate in the insulation area significantly reduces the efficiency of thermal protection. For reliable protection of the insulation layer from the destruction by condensate, an overlap of the vapor barrier film within 10-15 cm is sufficient.
Laying procedure
 Spread out the tile
Before installation, first of all you will need to lift all the prepared shingles on the roof; at the same time, due to the large weight of the material, external assistance is required. Upon completion of lifting the tiled sheets, they should be spread out in small piles (3‒4 sheets each) evenly over the surface of the roof, thus avoiding deformation of the batten under the weight of the temporarily stored material.
In accordance with generally accepted rules, tiled sheets are laid on all roof slopes simultaneously with alternation every two to three rows.
One-sided laying of sheets on any of the pitched structures can lead to an uneven distribution of loads on the elements of the base, which creates the danger of damage to the latter.
 The bottom row
The construction instruction for the installation of natural tile contains typical requirements for its order laying, produced in the direction from the overhang of the roof to its ridge and from left to right. This procedure involves the formation of the lower row of tiles, laid out along the eave of the roof, without fixing it on the truss base (batten). This technique allows you to adjust the position of the elements of the cornice strip when laying the next row.

When forming individual parts of the roof covering, we advise you to pay attention to the following details:
- To fix the first and second rows, it is best to use special galvanized screws.
- Do not forget to leave in the area of the eaves overhang a small ventilation gap (about 1.5‒2 cm) used to ventilate the roofing spaces.
- For reliable fastening of the cornice and ridge rows of tile covering, it is desirable to provide for them several additional attachment points.
Adjacent to chimneys
 Node
Node
At the stage placement of waterproofing material used is carefully trimmed and put on the wall of the chimney adjacent to the plane of installation. After that, it can be mounted on the wall in any way convenient for you.
 The junction to the chimney
Directly near the chimney, the tile is laid with a small gap (about 2‒3 cm ). To obtain a reliable junction, you can use a special corrugated tape of aluminum or copper, painted in the color of the tile. In this case, with the help of a segment of tape of the required length, the front part of the pipe is first closed (with a small overlap), after which the same operations are repeated for its lateral sides.
 Connection scheme
Experts believe that it will be safer to protect the back of the pipe immediately two bands combined into one with a small overlap. Strengthening the protective layer on the back of the chimney will allow you to get a very reliable connection, eliminating the possibility of rain and snow inside the structure.
In more detail about the order of laying below:
Arrangement of the roofing fad
 The device of the roofing fad
When arranging tile covering in the area of the roofing ridge, the main attention should be paid to proper placement of material in the area of the ridge beam. Special tiled blanks (slats) are used for the decoration of the ridge zone, which make it possible to round off the upper edge of the roof, thereby ensuring reliable coupling of all the elements of the coating.
Individual blanks of the ridge zone are fixed on the elements of the batten with screws (self-tapping screws) of the appropriate size.
The position of each ridge rail is chosen so that there is a gap of about half a centimeter between it and the sheets of tile being laid.
 The tile should be laid over the sealing tape
Note that such ridge workpieces must be mounted over special sealing tape, which allows to form a small gap, necessary for ventilation of roofing spaces. In addition, each individual rail is mounted on the supporting structure with a small bracket that is included with the ridge cover. At the end of their installation, special additional elements are installed, covering the end of the ridge.
We also recommend reading the articles:
How to properly waterproof the roof
How to install a vapor barrier
How to insulate the roof from the inside
Video
Details of the installation of ceramic tiles are discussed below:
Search
Related Articles
How to fill the floor screed in the apartment
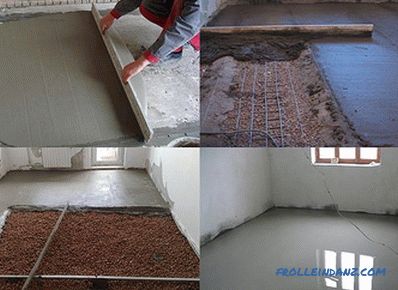
In connection with the appearance on the market of new materials for flooring, the requirements for the base also increased. If earlier it was easy to do with lags and lay boards on them, now for la...
Baby bed do it yourself - how to make a baby bed

Do it yourself? - Is quite real! To do this, it is not necessary to be a master furniture maker. Although the ability to hold a tool in hand, of course, is useful. The ability to clearly visualize t...
How to find water on the plot with your own hands

A well or a well in its own country plot is an excellent solution to the question of an independent water supply to the house and full watering of the garden. By making a well, you can significantly...
The use of liquid insulation - the field of application of liquid insulation
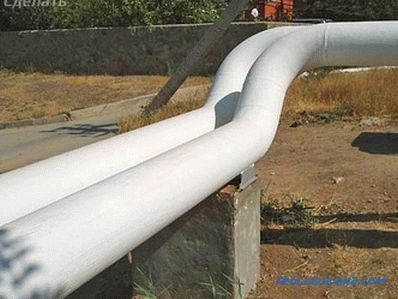
The issue of economy is relevant in all spheres of our life. We use all possible means to insulate our housing in order to save on the payment for the used energy resources, on the purchase of econo...
Small bathroom interior - bathroom design
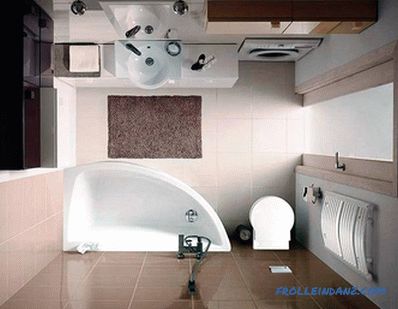
A small room for a bathroom is a feature of the buildings of the last century. Many apartment owners resort to redevelopment in order to increase the area. What can be done? For example, to combine...