Lining made of natural wood for a long time is a popular finishing material. It received its name due to the fact that at the dawn of its use this material was used only for covering the walls of cars. Since then, much time has passed, the wall panel has acquired completely different external features and properties. Today these are wooden panels in the form of boards that have a groove-ridge system of fasteners. The wall paneling can be used to finish the walls of a bathhouse or dwelling, attic or terrace . Sheathing can be used for ceilings. This material is great for country style. How to sheathe clapboard ceiling? There are a number of features that must be observed.
")
Natural wood paneling is an eco-friendly material that fits very easily and efficiently.
Classification of lining
The lining offered on the market today is presented in various versions. This concerns not only the material for the manufacture of panels, but also the appearance. For the ceiling you can purchase:
")
Types of wall paneling.
- American. This is an attractive board, the surface of which has a slight slope. It is smooth and smooth. After installation, you get a beautiful ribbed pattern.
- Landhouse - a board of unusual appearance. It is smooth, has a pattern and decorative grooves along the edges of the board.
- Blockhouse. This is an imitation of laying logs. The surface of the panels is convex.
- A standard board with a smooth surface.
- Softline with rounded end parts.
When choosing a lining for work, it is necessary to consider that:
- The boards in appearance must fully comply with the general interior.
- The material must be high class. Knots, cracks and other defects are not allowed.
- The crate should be pre-treated with an antiseptic.
- After installation, the wood should be varnished. This is a protective layer for plating that will protect the surface from moisture, rot.
Tools for work
When deciding how to clap the ceiling with clapboard, great attention should be paid to the preparation of tools. The list is not too big, but you need to treat it carefully. To finish the ceiling surface with wood panels, you need to prepare the following tools:
")
Tools for mounting the wall paneling.
- If a concrete surface is to be lined up, then a perforator must be prepared. It will allow you to quickly drill holes for fastening the batten.
- A drill is used for the wooden surface. It is best to immediately prepare a set of drills.
- Jigsaw, which is necessary for cutting slats and panels during plating.
- Bars that have a rectangular section of 60x27 mm. They are used for making crates.
- Screwdriver, self-tapping screws for fastening of battens and panels.
- Galvanized thin nails, the caps of which should be small in size.
- Building level, hammer, ruler, simple pencil, tape measure.
- Wooden square and clamps.
You should purchase the lining of the selected type, wood stain and varnish in advance. The color of the stain can be different.
Installing the wall paneling on the ceiling
You can sheathe the wall clapboard yourself.
Stages to be followed:
")
Ceiling cladding pattern.
- Preparation of the basis for performance of work. It is necessary to dismantle the old coating, if necessary, to repair or align the ceiling. Serious preparation work is not required. It is enough to remove all panels and plaster, which can become an obstacle to work. For concrete substrates it is necessary to use a primer, for wooden ones - to remove all rotten, cracked boards.
- The lining should be unpacked, then laid out on a horizontal surface, left for 1-2 days indoors. Cutting out in advance is not necessary. Similar works are performed as the ceiling trimming.
- If alignment work is required, then before the frame is mounted, you need to install leveling bars. For this, the construction level first determines all the irregularities, the required thickness of the rails is calculated. They are attached with anchors to the surface.
- The paneling is fastened to the ceiling on the batten. Reiki must be prepared in advance. To do this, the tree is treated with antiseptics, cut into the required lengths. For wood, special primers, antiseptics, which have the required protective properties.
- Starting the installation of the frame is required from the corner of the room: the slats are attached from one wall to another. For fasteners, you can use special clips-clamps, but you can also use grooves that are made at fastener points. For fasteners used thin galvanized nails, caps which are small, so as not to split the slats during fasteners.
- The pitch of the batten should not be too large; it is best to observe about a pitch of 30 cm. This is quite enough to securely fasten all the panels.
- After installing the batten, you can begin to fix the lining. You can sheathe the ceiling with clapboard using slotted joints and nails, but you can also use clamps, which provide a completely concealed installation. Usually panels lining fasten from the far side. The first plank is mounted with an indent of 1-2 cm from the wall, after which it is attached to the crate with nails, and they are driven into the ridge. The second panel is inserted into the groove of the already installed board, after which the lock is latched. Then the crest of the second panel is nailed to the crate with nails, further fastening is carried out until the entire ceiling is sewn up. During operation, it is necessary to ensure that temperature gaps remain as far as the walls for the first board. After work they will disappear with decorative cornices.
Decorating the ceiling
After the ceiling is ready, it needs to be decorated. To do this, apply the stain of the selected color. Roller covered the entire surface.
When the stain dries, you can use a glossy or matte varnish, which will give the surface a finished and stylish features.
Lining made of natural wood is an excellent finishing material that is used for covering not only walls, but also ceilings. Fastened panels are not so difficult: even a novice will cope with such work. But the appearance of the ceiling will be beautiful and neat, suitable for almost any interior.
Didn't find the answer in the article? More information on the topic:
-
")
To glue the flooring with your own hands
What to glue parquet? You can use different glue, its features depend on what kind of parquet is planned to glue. The first step is plywood, which should be well polished.
-
")
How to fasten Euro lining correctly?
Step-by-step instructions on how to fix the lining with your own hands. Materials and tools needed for work. Installation of this coating using klyaymerov.
Search
Related Articles
Build a frame house with their own hands: recommendations
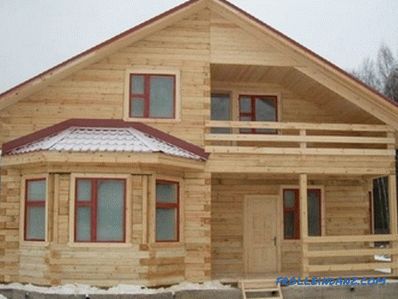
Building a frame house with your own hands is very relevant. This is an opportunity to get additional carpentry skills and save money on the construction team. Moreover, the erection of a frame hou...
Penoplex technical characteristics, properties and applications + Video
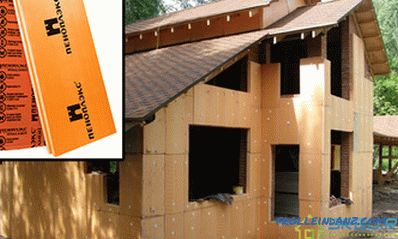
Penoplex heaters are nothing more than extruded polystyrene foam. It belongs to the new formation of heat insulators, which are very effective in terms of heat retention. In this article we will loo...
How to make a bathroom floor with their own hands
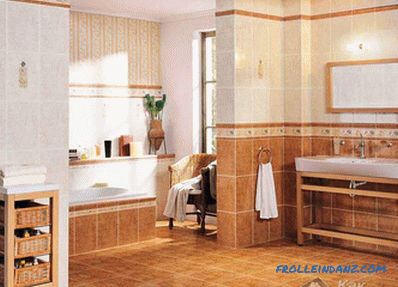
Bathroom floor plays one of the most important roles. This is due to the fact that this room is always high humidity. To prevent dampness and moisture from becoming your main enemy, it is important...
Aquarium in the interior of an apartment or house
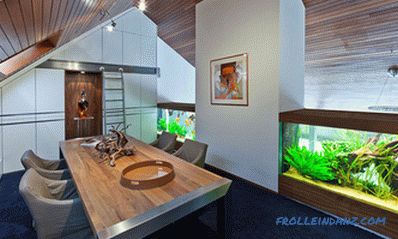
The sounds of blues and the slow movement of floating fish looking for food at the bottom of an artificial "ocean" - what could be more soothing, bringing "calm", giving a sense of harmony? Although...
Balcony trimming with wood: tools, process features
Often a balcony or a loggia is used as a place to store not very necessary things, so few people pay attention to appearance. In order to create a place for rest on the balcony, you should finish w...