Often a balcony or a loggia is used as a place to store not very necessary things, so few people pay attention to appearance. In order to create a place for rest on the balcony, you should finish with the use of natural material - wood. Balcony wood paneling is very popular today. In order to do this, it is worth carrying out a full repair, glazing and, what is very important, to warm the balcony.

To create a cozy resting place on a loggia, it can be sheathed with natural wood.
Such popularity of wooden decoration is due to the fact that the material is environmentally friendly, has a beautiful appearance that will allow you to create a cozy and comfortable atmosphere. The disadvantage of wooden paneling is its cost, it is much higher in comparison with plastic and other variants, but the end result will pay for itself.
Such a finish will last a long time. Wooden lining is resistant to mechanical damage, so frequent repairs are not necessary.
Tools and material for covering a balcony or loggia

Lining can be made from different wood species.
For work, it is best to use hardwood varieties, since pine boards can produce resin when the temperature rises. In order to purchase the required amount of material, it is worth preliminary calculations. It is also worth taking a small amount of material as a reserve, in case some items are damaged.
Depending on financial possibilities and personal preferences, it is worth choosing a class of wooden lining. This can be either the highest class that does not need further processing, or a less high class, which can be bought cheaper, but after installation such wall paneling should be self-sanded.
Materials that should be purchased to sheathe a balcony:
- cladding board - wooden lining;
- bars 50 * 40 to create a frame;
- steam and waterproofing film;
- insulation - mineral wool, foam plastic, polystyrene foam;
- mounting foam;
- wood screws;
- nails for fastening lining 35 mm.
If you intend to finish the entire balcony, you should consider the floor laying work. To do this, lay the bars, which are covered with sheets of plywood, chipboard or OSB. Screws are also used for fastening sheets.

Depending on finances, you can choose the lining of the best or worst quality.
Balcony wood trimming also involves the use of tools such as:
- puncher or impact drill for attaching the bars to a concrete base;
- jigsaw;
- screwdriver;
- construction level;
- construction stapler;
- tape measure and pencil for marking;
- hammer.
Balcony trim: preparatory work

The plan of finishing the balcony with clapboard.
In order to sheathe the balcony with wooden clapboard, you should first prepare the surface. First of all, it is worth removing from the walls all unnecessary elements that may hinder the work. It is very important to treat all surfaces with antiseptic, especially when it comes to balconies and loggias that are facing the north.
Such treatment will prevent the development of harmful microorganisms that may damage the wood in the future. If the balcony fence is a sheet metal, then a partition is made of foam blocks. After masonry is completely dry, you can glaze the loggia or balcony.
Warming and creation of a frame

The batten of the floor paneling is made of wood or metal profile, in 40-60 cm steps.
Balcony sheathing with the help of a tree begins with the creation of a frame on which the wall paneling will be subsequently attached. When installing the frame, it is very important to take into account the dimensions of the selected insulation material, since it is between the guide bars that the sheets of insulating material will be placed. After the insulation is laid, there should not be large gaps that will create cold bridges.
If expanded polystyrene is used, the size between the beams must exactly correspond to the width of the insulation material. If mineral wool is used, then this distance is worth making a little less, since it can be placed with some compression, which will allow you not to use an additional mount for it. Thermal insulation must be located on all walls that face the street. In addition, the ceiling and the floor should be insulated if the lower and upper balconies are unheated. In order for the insulation to last as long as possible and not to lose its basic qualities, it must be protected with a waterproofing and vapor barrier film.
Wall paneling: process features

Mounting plans for wall paneling
Sheathing a balcony should be started from the corner, which is the most inconvenient in location, because if left for later, sheathing it will be even more difficult. It is very important to set the first panel along the plumb line and level; even the slight curvature of the first element will then ruin the look of the entire surface. In order to fix the lining to the bars of the frame, it is necessary to use studs with a reduced cap.
It is necessary to hammer such nails at an angle of 45 degrees. In order that lining entered a groove previous previous, use a bar and a hammer. Tapping must be very careful not to form dents.
Ceiling lining begins after the wall finishing work is complete.
The final stage is the installation of baseboards, corners and slopes.
Slopes are better to be made from lining. As an option, drywall can be used, followed by plastering and painting.
In order for the wall paneling on the balcony to serve for a long time and not be exposed to the damaging effects of direct sunlight, high humidity and temperature changes, it must be treated with a special agent. Apply this tool in several layers to achieve the best result.
The wooden surface can be treated with a clear varnish. In addition to protecting the lining and significantly increasing its shelf life, it will give the surface a beautiful shine. Thanks to this treatment, even after several years, the balcony or loggia will look like after repair. In order to preserve the natural color of the lining, colorless varnish is used, but if desired it can be purchased with a certain shade. The varnish is applied to the surface with a wide brush or roller.
Didn't find the answer in the article? More information on the topic:
Search
Related Articles
Which floor is better to choose
The idea of a heated floor is not an invention of today. It was used by the ancient Romans when they built their luxurious baths. And today we are happy to go barefoot on a warm laminate or tile,...
What paint to paint wallpaper - selection of paint for wallpaper

If you decide to glue the wallpaper, you may have heard that they can be painted. There are several options for applying paint on the wallpaper, which are determined by the choice of the paint itsel...
How much does it cost to build a garden house?
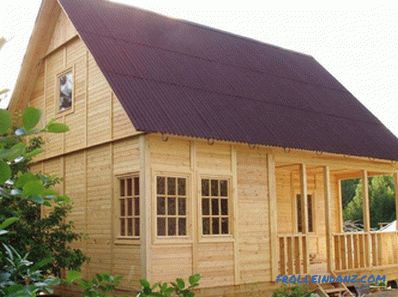
Most of those who want to get a small country house for reasons of economy are trying to find out how much it costs to build a garden house. Naturally, the answer to this question depends on such fa...
exterior finish and basic facing options (photos and videos)
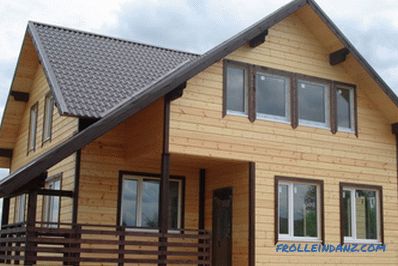
Timber is one of the most popular building materials. From it build houses, baths and other buildings for domestic use. Houses from a bar possess a special microclimate thanks to a natural origin o...
How to choose PVC sewer pipes
PVC sewer pipes are intended for the installation of sewage systems, drainage and water supply. The popularity of plastic is due to the large number of its positive properties. Before choosing PVC s...