All gardeners know that growing curly flowers without support is almost impossible. For this purpose, choose any props: strained ropes, fences, posts, etc. But to create a spectacular spectacle the use of such materials will not be enough. To make your garden beautiful and fascinating look, use special architectural elements.
The most popular of these is an arched building on two pillars or an arch. Despite the fact that it has the highest decorative qualities, the design itself is rather primitive. Therefore, to build it under the force of each. One has only to find out what kinds there are, how they differ and what is necessary for work. This article is about how to make a garden arch with your own hands from various materials (metal, wood, plastic pipes).
Choice of construction type
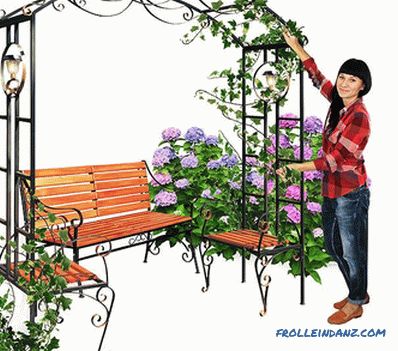 Arch with lamps and a shop
Today There is a wide range of various garden arches. All of them are distinguished by their form and material. Such designs can be:
- metal;
- wooden;
- plastic;
- tapestry.
They are all similar in purpose. There are special arches for grapes, decorative arches for climbers, as well as arches for recreation areas. Destinations weight - the choice is yours.
We make a metal construction
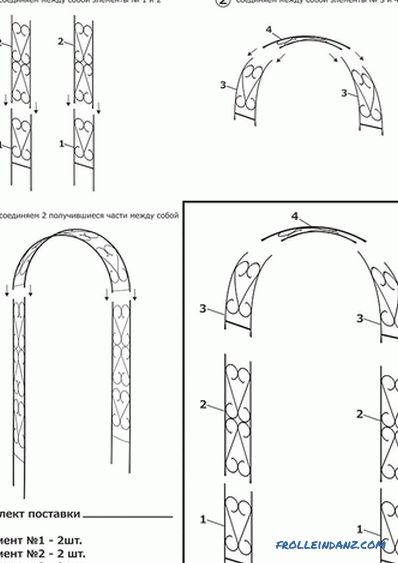 The assembly scheme of the garden arch with a pattern
Classical and The most popular is the arch of metal. Let's look at a simple model having a height of 2130 mm and a width of 1830 mm. It is made of two bars of reinforcement, which will be bent into arcs. Metal rings will connect them. A feature of this design is that you can perform it without using a welding machine, all the details will be connected by a thin wire.
The distance between the arcuate sections is 31-32 cm. To keep the arch in place, it must be dug into the ground at 40-50 cm minimum. The uniting cross-beams should be 30 cm in diameter, and the distance between them should be 15 cm.
List of required materials
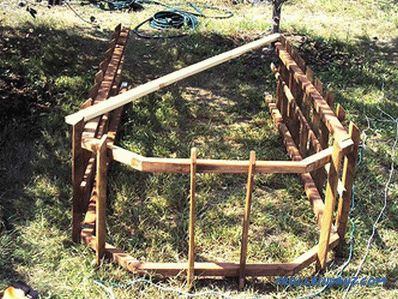 The process of assembling the structure >
To perform work, pre-stock the following materials:
- rebar, diameter (hereinafter this icon will be used - Ø) 10 mm , 6 m long - 2 pcs. ;
- rebar rod (Ø mm), 0.94 m long - 9 pcs. ;
- strong wire, soft;
- enamel for painting and primer;
- reinforcement (Ø 10 mm), 0.25 m long, as pins for the template - 10 pieces . ;
- 1 m long rope.
Step by Step instructions
First you need to bend the bars of the reinforcement d = 10 mm so as to get a perfect arched opening. To do this, use a simple pattern of reinforcement pins. Insert pins with a length of 0.25 m into the ground to obtain the calculated contour of the arch.
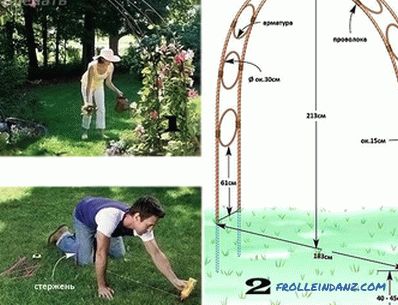 The first stages of the construction of the arch
The contour must be drawn directly on the ground. To complete a perfect circle, drive a rod into the ground and tie a rope to it. Take the free end into your hand and draw a semicircle with chalk or paint. Then hammer the pins into the ground starting at the highest point of the semicircle. Now you have a template that is easy to use. It remains to bend the bars of the reinforcement, giving them a semicircular shape. It will be hard to do it yourself, so ask a friend or neighbor to help you. Efforts are needed on both sides to create an arched opening of perfect shape.
Be especially careful when performing this step. An armature rod may come off because of what you or your assistant gets injured.
For this model of arch, metal rings will serve as the connection of the reinforcement sections. They are made of fine fittings Ø 6 mm. To do this, you need to cut 9 pieces of reinforcing rods 94 cm in length. With the help of a pipe bender, you need to form rings from them.
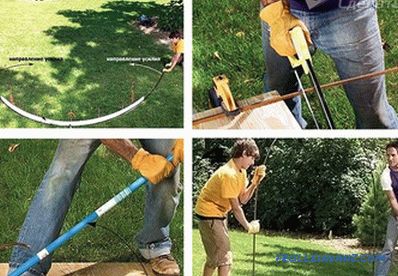 Arch manufacturing steps
If you do not have this tool or just don’t want to complicate work, the design can be simplified: instead of rings, use straight rods. Such an arch will look simpler, but in terms of functionality it will not yield to the original version.
Finished main sections should be installed in the ground. To do this, the ends of the reinforcement should be deepened inwards by 40-50 cm. Measure from the end of the reinforcement, which will be deepened into the ground, 40 cm and wrap this place with tape. Do this with all 4 ends. So, you will know when to stop.
We connect the main frames with rings. From the bottom of the arch, measure 61 cm and secure the first ring. To keep it, you can use the construction clamp. Now wrap the connections with a flexible wire so that the ring is securely fixed and holds the structure. We fix the following rings using the same method, maintaining a distance of 15-20 cm.
After finishing work, coat all metal parts with a primer.After it dries, apply a layer of oil paint. That's it, your arch is ready for use.
Other types of arches
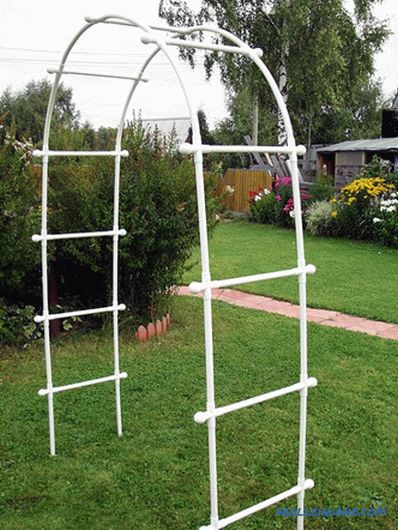 Arch from plastic pipes
In exactly the same principle made other arches. For example, wooden arches are made of timber. This is a simple and inexpensive construction. Thanks to the natural material, it fits well into the design of any garden. To build such an arch, you need 2 vertical frames, 2 sloping and 1 horizontal part. All this is connected with wooden crossbeams using nails. The finished structure is driven into the ground, ground and opened with varnish.
Plastic arches are a structure made of plastic pipes. Such arches are considered the most simple to manufacture, they are easy to assemble and disassemble. If you want to make yourself a structure of this type, then you need to take into account that plastic is not able to withstand low temperatures, so such structures are often made collapsible. Decorate such an arch with annual plants.
Forged arched structures and pergolas are very popular. Such arches look very elegant and will decorate your summer cottage all year round. Moreover, they are durable and resistant to different weather conditions. To make your stay in the garden more comfortable, you can make an arch with a bench. In this case, you can enjoy the beauty of your garden sitting under the arch. As you can see, there are plenty of options, you only need to make efforts and imagination, then your garden will look like a real embodiment of your ideas.
Maybe you will be interested in the answers to other questions that are discussed on our website:
- How to equip your garden plot
- How to make an alpine slide
- How to plant flowers
- How to make a decorative fence
- How to make a live gazebo
Video
How to make a strong arch for a rose You can find out by looking at the video we offer:
Photos
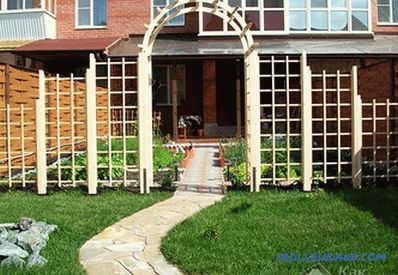 Arch with a fence
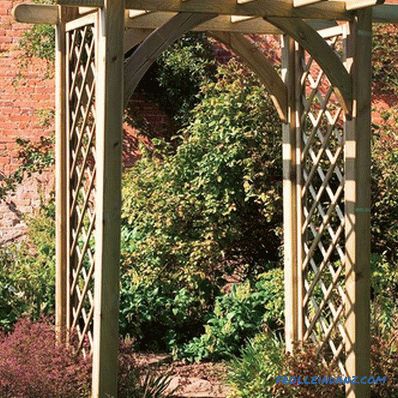 Garden arch
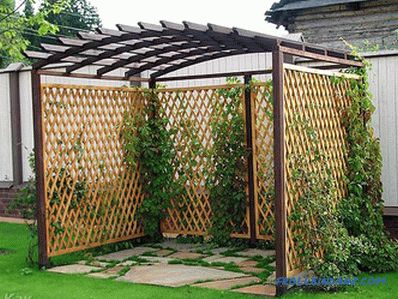 Pergola
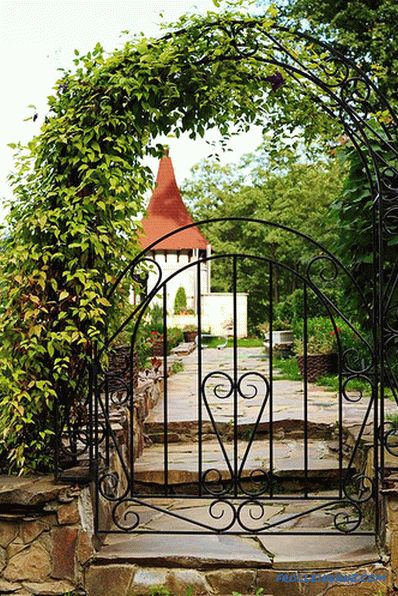 A metal arch with a wicket
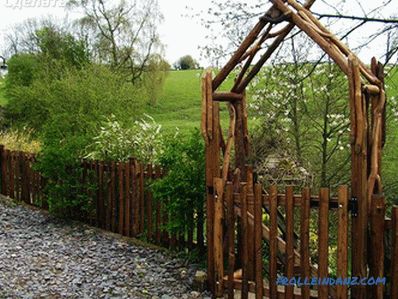 Creative wooden arch
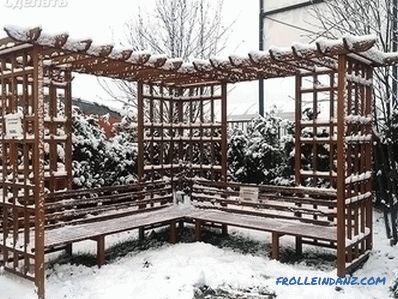 Wooden pergola
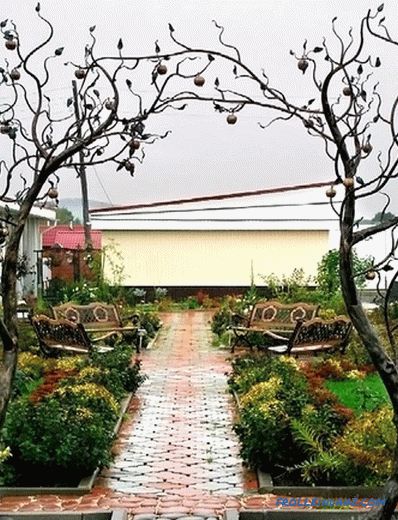 In the form of a tree
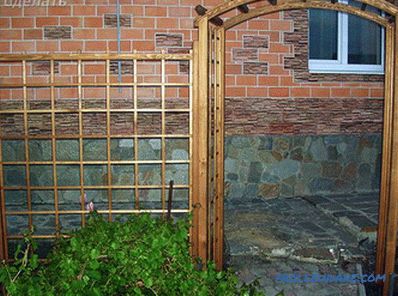 Wooden arch
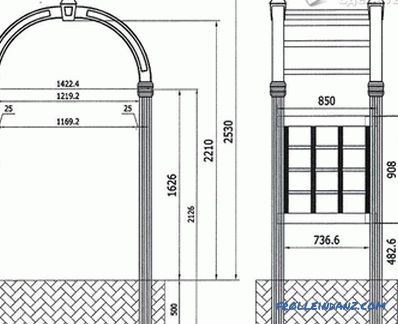 Drawing of the PVC arch
 The arch above the entrance door
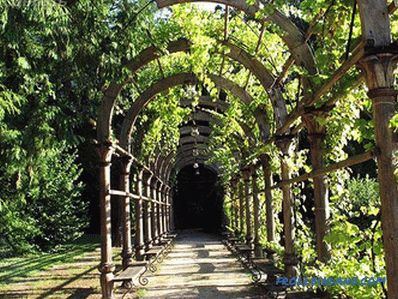 The arch above the benches, for grapes


