Garden furniture can be diverse, it is not difficult to do it yourself. The big plus is that you can independently decide what kind of appearance it will take to fully match the style of the garden or terrace.
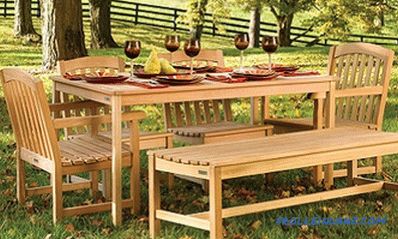
For a good rest at the dacha, the garden table made by your own hands will be very useful.
Almost any material can be used for manufacturing, it all depends on the skill and experience, the complexity of the planned project. The easiest, but very comfortable garden table can be assembled from wood with your own hands. To do this, pre-compiled a drawing, table assembly scheme. It is calculated in advance what materials, tools will be needed for work.
Materials and tools
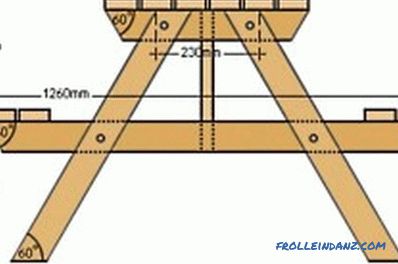
Drawing of a dacha with dimensions.
To assemble a table, you should immediately prepare a set of materials and tools that are required for work. To assemble a structure, you first need to determine its shape and size. For example, a small table with the following parameters will be assembled:
- length - 1422 mm;
- table width - 914 mm;
- design height - 756 mm.
Such a table is great in size for a small family to receive guests. For the manufacture of wood used, it is best to take a pine or larch. These types of wood are ideal for work, they are easily processed, but at the same time they have strength, durability, pleasant appearance . For the assembly should be prepared:
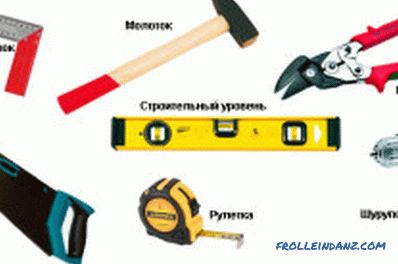
Tools for the construction of the garden table.
- wood glue;
- sandpaper;
- jigsaw;
- brass screws;
- clamps;
- a drill and a set of drill bits for working with wood;
- a screwdriver;
- a special impregnation or stain;
- varnish;
- a grinding machine;
- gauge;
- planer;
- milling machine;
- hacksaw;
- chisel;
- mallet;
- hammer;
- brushes;
- 16 pieces of wooden planks for 762 * 70 * 18 mm;
- shafts with dimensions of 1353 * 76 * 32 mm;
- for the edging it is necessary to take 2 parts each with dimensions of 1422 * 76 * 32 mm, 914 * 76 * 32 mm;
- progests in the amount of 2 pieces per 900 * 76 * 32;
- 4 racks and 613 * 76 * 32 mm;
- webs (upper, lower) with dimensions of 838 * 76 * 32 mm, 876 * 76 * 32 mm.
Assembling a garden table made of pine
Assembling a garden wooden table is not a difficult task, especially if you have skills in working with similar materials and carpentry tools. If there is no such experience, then it is best to start with simple drawings. The assembly itself takes place in several stages:
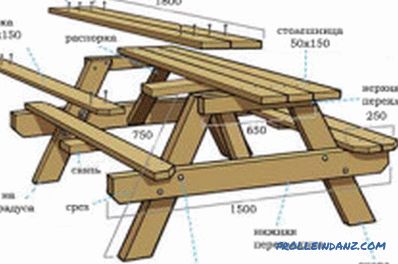
Assembly scheme of the garden table with benches.
- preparation of individual elements;
- assembly of the tabletop;
- assembly of the tabletop part, i.e. construction legs, which are necessary for the fastening of the tabletop.
To make a garden table with your own hands, you must first prepare the individual elements that will be needed during work. For the cover you will need 16 wooden slats, they will be connected by edging. In this case, the transverse and longitudinal elements for the edging must be fastened together in half of the tree. The grooves for the individual parts must be prepared in advance. All diameters are pre-marked, they must have the necessary size, corresponding to the spikes, with which they will be fastened to each other.
All slats should be cut to the same length, each should be marked with a middle so that you can fine tune the cutter. After that it is necessary to trim the slats. You can use part of the parts as a template to make the tabletop even and attractive. Next, the cover should be assembled "to dry", clarify that all its elements fit perfectly and tightly fastened to each other.
The next step is cutting the bars for the legs of the table, they should be of a convenient length. The shape of the legs can be different, they are usually made straight, but if you have skills in working with wood, you can use figure cutting. In this case, the use of beautiful carved elements is also allowed for the table top.
Assembling the table cover
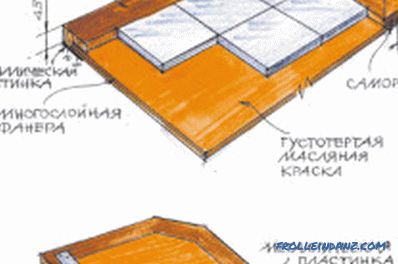
Cover scheme for the garden table.
To assemble the table cover, it is necessary to glue the veneer into the longitudinal parts of the edging. After glue grooves grooves, spikes are inserted into them. Parts are pressed until the glue is dry. It is best to assemble the cover on a horizontal surface, since it is not only more convenient, but also better.
Until the glue is completely dry, it is necessary to additionally tighten the entire structure with brass screws to give the structure the required rigidity and strength. When gluing it is necessary to observe horizontal position, otherwise the cover will be not only uneven, but also unsuitable for use.
If there is a need to correct the surface of the lid, then this should be done while the glue is still dry, then correcting the errors will not work. For editing, use the usual bar and a mallet. Uneven surface gently fit until it takes the desired position. It takes about 24 hours to completely dry the wood glue, after which the surface is treated with an emery paper or a grinding machine, and the chamfer is removed if necessary.
Making the underframe from natural wood
When making the garden table, the last stage of the assembly is the installation of the so-called underframe. The frame for the table, on which the table top will be mounted, is assembled from 2 pillars, which are fixed by leads and one tsargo. First, it is best to cut the jumpers for the upper and lower positions, then trim all edges. Then, a drill-mill in the supports makes samples to form the necessary support for jumpers.
Nests in the stands are made with a conventional chisel, the spike will have a width in the size of the chisel, usually 12 mm.
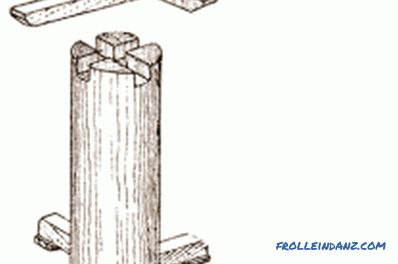
Schematic of the manufacture of the base
It is necessary to carefully drill a row of holes so that they overlap each other. The drill is for this purpose applied special on a tree with a diameter of 12 mm. In order for the holes to have a strictly defined depth, it is necessary to mount a special stop on the drill bit. After work all nests are cleaned with a chisel. All 4 racks are similarly spiked, then the resulting connections are checked.
Thorns for fasteners are cut on the lower end parts of the projectile, they will be slightly shorter than the studs of the struts. Further racks and progres should be assembled, after which the ryga should be adjusted from above. For reliable fastening, special carpenter's glue is used. When the frame is completely ready, it is necessary to put the table top on top, to lubricate all the joints with wood glue. At the bottom the lid is screwed with brass screws.
After the tabletop is ready, it is necessary to process its surface with a grinding machine, it should turn out smooth and beautiful. Such operations are performed 3, after which it is necessary to cover the tree with special impregnation. It will perfectly protect the table from moisture, fungus, damage by various microorganisms.
You can decorate the table with your own hands with a stain. After the stain dries, the table can be covered with 2 layers of varnish. It is recommended to use matte and semi-matte formulations. Such comfortable and attractive garden furniture will be a real decoration of any garden or terrace, and its cost will be minimal.
Didn't find the answer in the article? More information on the topic:
-
Do-it-yourself wooden partitions
To mount wooden partitions with your own hands, you need to prepare a timber. Its size will depend on the size and weight of the future septum. If necessary, the base must be strengthened.
-
How to make a table out of a stool?
Guide on how to make a table from a stool with his own hands. Algorithm of actions for making a small table for a girl. List of necessary tools and materials.
