Wooden floor has a lot of advantages and is very popular both in apartments and in country houses. However, over the years, it may lose its original qualities, begin to sag, crack. You may receive an unpleasant creak, irregularities. But before you change the floor, be sure to align the rough base.
")
Before laying the finished floor, you need to level it with plywood.
Leveling a wooden floor with plywood is considered the best and practical solution. The material is flexible, solid, weighs little, is not afraid of loads and moisture, has an affordable price. In addition, plywood performs the task of insulation. Material is most convenient in work: it is well processed, polished, mounted, serves for a long time.
Preparatory work
To level the wooden floor with plywood, prepare the following materials and tools:
- plywood sheets;
- wood preservative;
- screws, dowels;
- tape measure;
- construction level;
- drill;
- jigsaw;
- hammer;
- screwdriver.
Repair work begins with the right choice of material. When buying, be guided by how you cover the floor on the floor in the future. For example, thin boards are suitable for linoleum or carpet. If you lay laminate or parquet, you will need sheets thicker - 10 mm.
")
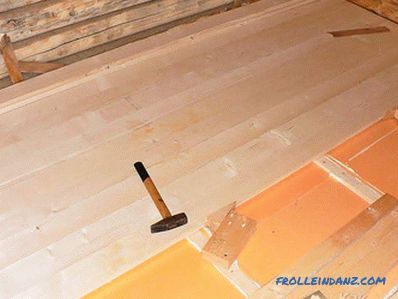
The plan for leveling the subfloor with plywood.
Before leveling the wooden floor, determine how pronounced the deviation from the norm is. To do this, use a 2-meter level gauge. Mark the points in the corners of the room, mark the middle of the lines of contact between the walls and the floor, the middle of the room. Dividing the premises into plots, carefully examine each of them. If the floorboards are deformed evenly with a difference of 5 mm in height levels, the floor can be leveled by attaching plywood sheets to floor boards. When the difference in height of 1-8 cm, it is desirable to make a point support. The job is to make crates from timber or thick plywood.
The next step is surface preparation. Repair creaking areas, replace rotten boards, make sure that the underground pipes and communications are in proper condition.
Before laying the sheets, it is advisable to withstand 2 days in the room in which the repair will be made. This is necessary so that the material does not deform after installation.
Next, you need to cut the sheets depending on the size of the room. Do not forget to take into account damper joints: 1 cm at the walls and 3-4 mm between the workpieces. Otherwise, temperature fluctuations and moisture will lead to swelling of the base. After cutting, make sure that there are no delaminations and other defects at the ends of the plywood. Do not take defective material into the work.
Lay the sheets on the base in such a way that you will fix them in the future. Butt four corners do not want. Lay the sheets with a shift. After that, number. Mark the installation site lag, for this guide you will serve the joints between the plywood. Then remove the blanks. The plywood joints should be in the center of the lag.
Next, you need to install the lag. Lags are made of plywood 3-4 cm wide. They need to be laid on the symbols. The logs are fixed to the floor with self-tapping screws or PVA wood glue. With the formation of cracks between the lags and the floor they are placed in the corresponding segments of plywood. Before this, grease both edges with glue. Similar should be done if the base has a height difference. The horizontal arrangement of the lag is controlled by level. After completing all the work carefully at this stage, you will receive a further even and durable coating. After completing the installation of the log, install the crate, the dimensions of which must correspond to the parameters of plywood. Between the lags put the seal.
Fastening the plywood and its further processing
After completing the installation of the lag, proceed to fixing the plywood. Do not forget to pre-treat it with antiseptic. For fixing use screws with plastic dowels. So that, by working with a hammer, not to spoil the plywood, in the screw-in places make holes that correspond to the diameter of the dowel. Next, you will need to penetrate the hole - to make a hole with a drill to the size of the screw head.
As a result of work on leveling the floor, its height will increase by no more than 3 cm.
The final stage of the work is the processing of plywood.
It is carried out in various ways depending on the future flooring. If you plan to put the carpet, the plywood is covered with 2-3 layers of varnish. When choosing linoleum sheet joints, it is desirable to handle a grinding machine. Under the parquet or laminate should be laid noise absorbing substrate.
If you have certain skills, you can level the floor using plywood yourself.However, in order for the surface to turn out to be even and strong and could last for more than a decade, you need to follow the whole algorithm of work and features of fastening the material.
Didn't find the answer in the article? More information on the topic:
-
")
Wooden windows: making your own hands
Do-it-yourself wooden windows: the advantages of installing wooden structures. Varieties of windows from natural breeds. The stages of the manufacture of wooden windows, installation design.
-
")
Features of the roof lath
Roof lathing do it yourself: the main varieties of pitched roofs. Creation of a framework for rolled material and under a soft roof. Technology and installation features.
Search
Related Articles
How to make the floor in the bath with their own hands + photo
Upon completion of the assembly of the framework of the bathhouse structure, it is possible to engage in internal finishing works, among which a special place is occupied by procedures for arranging...
How to choose an inverter welding machine
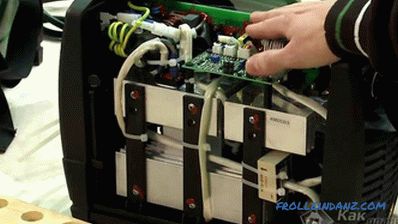
The inverter is an electronic device with new properties: It weighs about twelve kilograms. Electricity consumes several times less than usual. Efficiency exceeds 90%. Produces direct curre...
Garage with attic do it yourself
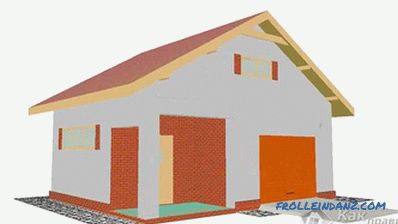
Building a garage on a personal plot solves the problem of storing a car, tools and fuel, but a rational approach to building a room will expand its use. To do this, you need to build a building wit...
tools and materials, drawings, diagrams (photos and videos)
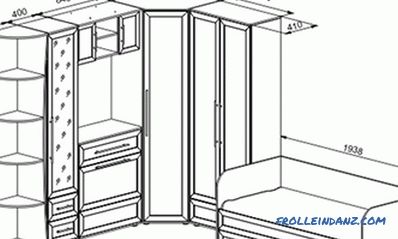
Many home craftsmen try to bring a piece of their soul into the house by means of their own making furniture. In order to make a corner cabinet with your own hands, it will take a lot of effort, a...
The foundation for the fence do it yourself
Improvement of any country house, as well as the adjacent land plot, implies their obligatory fencing with a reliable and attractive looking fence, which is a kind of visiting card of the owner. The...