Today a large variety of materials are available on the market for covering the ceiling of a house. Among them, a special place is occupied by a tree. This natural material has long been used for such purposes. No need to have special skills to work. This solution saves a huge amount of cash. Consider how to make a wooden ceiling in the apartment with their own hands.
Wood materials used for the construction of the ceiling structure should be treated with antiseptics and impregnations.
The advantages of wooden ceilings:
- an environmentally friendly material that does not have any negative effect on the human body;
- it creates excellent acoustics in the room;
- the possibility of installing additional insulation;
- you can hide all communications located on the ceiling;
- this material breathes and creates comfort inside the apartment.
All these advantages make people continue to use the wooden ceiling.
Tools and materials
- laser level;
- drill;
- screwdriver;
- self-tapping screws;
- wooden beam;
- lining;
- measuring tool;
- hacksaw.
Preparatory work
")
For precise marking, use a laser level or paint thread.
First, the surface should be thoroughly examined, and then conclusions should be drawn about the need to level and eliminate defects. Now we need to find the starting angle. This is done very simply. The starting angle will be considered the lowest in the room. Regarding it, it is necessary to transfer the mark to other walls. Laser level is great for transfer. With him, work becomes much easier. To determine the base tensioned nylon thread between those points that were marked on the walls. Now you can see what are the defects on the ceiling plane.
If those are not found, then it is possible to proceed to the direct fastening of the panels. If the plane turned out uneven, then you can align it. For arranging a perfectly flat ceiling, you can use a batten.
Lathing arrangement: features
The lathing will be mounted directly to the ceiling. Most often for this purpose is used timber. Its size is selected depending on the communications located on the ceiling. The optimal solution is to use rails with a size of 50x50 mm.
")
The sheathing device diagram:
I is the distance between the mounting rails; x is the distance of fastening of the supporting rails to the ceiling; y is the distance between the carrier beams.
The ceiling layout was previously delineated. Now bars are mounted along each wall. For their attachment to a wooden wall, you can use ordinary self-tapping screws, and in the case of concrete, you will have to use special dowels. Holes are pre-made in the wall. Now you can go to the fastening of the transverse bars. First, it is better to pull the line between the opposite walls. So you can easily adjust the horizontal structure. Then you can fix the timber and all other structural elements. It is very important that all of them are connected to each other not on weight, but on structural elements. Only in this case, the wooden ceiling will be hard and durable.
Now the marking is done under the lamps and their installation. Around the perimeter of the ceiling are marked points where they will be. After that, the lighting elements are attached. Do not forget about the wiring. All cables must be connected in one place, namely in the junction box. Do not use twists here, as the wooden ceiling is fire hazardous. Everything is fixed with special terminal blocks. It is better to use reliable plastic. All wires should be placed in the corrugation. It will protect them from mechanical stress. Once the wiring is fixed, you can connect the lights to a power source. Next is the installation of insulation. Here it is better to use a material that is not afraid of moisture, since the ceiling is in close proximity to the roof. Layers of material are stacked between the wooden elements of the batten. They should not be packed too tightly.
Panel installation: recommendations
")
The plan for covering the ceiling with boards or clapboard.
After all the preparatory work is completed, you can proceed to the installation of a wooden ceiling in the apartment with your own hands. It is not necessary to use clapboard as the main material. Other types of panels made of wood will fit here. Installation should begin at the corner of the room. At the same time, the first row has not yet been established, it is not worthwhile to proceed with the rest. All work must go on consistently. Often there is a situation when you have to cut the last row.It does not always look beautiful, so you can use a little trick to help get rid of this kind of inconvenience. First you need to calculate the width of the ceiling and the width of the panels. From the overlap size, subtract the sum of the width of all panels. The remaining reserves will be used to organize expansion joints against the wall. They allow you to leave all the material intact. You can subsequently close these gaps with baseboards. In addition, this measure allows you to create seams for temperature compensation. A tree can change its geometry with time. The seams allow the structure to expand and contract. There will be no defects on the ceiling.
When the board is permanently mounted on the ceiling, alignment must be performed. This will set the material strictly in a clear direction. Lining fastened and mounted is extremely simple. It uses a groove connection. The final fastener is made only after leveling.
")
To protect the wood from moisture, cover the panels with varnish or wax.
Next, holes are made for lighting devices. By the way, they may not be installed before, if you plan to use, for example, large chandeliers. Therefore, at this stage, it may be necessary to arrange special leads for wires and fixing devices. Installation of the material is made to complete surface treatment. After that, it can be covered with protective substances. Antiseptics perfectly protect the floor from the appearance of mold and the development of various microorganisms. After the fixing of all elements is completed, you can proceed to a visual inspection of the ceiling surface. It may contain various defects. They must be eliminated. If there is an increased roughness, then you have to take a grinding machine with which to treat the surface.
Additional points
Many people cover the ceiling with wood stain, but this is not worth it.
This material does not allow to obtain a uniform layer. It is better to apply the paint applied with the spray gun. It is first necessary to mount the baseboards around the perimeter of the room. Apply the paint with a device that tilts at an angle of 45 °. It is not recommended to install it strictly perpendicularly.
Only after this can we assume that the work related to the installation of the wooden ceiling in the apartment has been completed.
Didn't find the answer in the article? More information on the topic:
-
")
Skeleton country house: do-it-yourself installation
You can build a frame country house with your own hands over the summer. Frame construction involves the use of fairly lightweight materials: wooden bars, OSB sheets, insulating mats.
-
")
How are wood veneers made?
Information on how to make veneer. Three ways of industrial manufacture of veneer. Making veneer your own hands. Finishing veneer of various surfaces.
-
")
How to make flooring in a
You can make wooden floors as well as other materials for this. If bricks were used to organize the foundation, the beams are placed immediately behind the basement floor.
Search
Related Articles
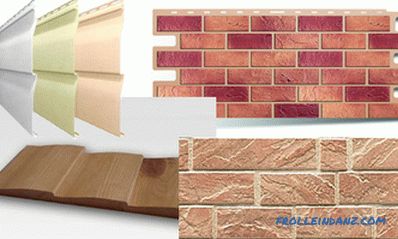
Types of siding for house trim
Manufacturers offer different types of siding - basement, ceramic, steel, wood, cement, aluminum, copper. Siding today has gained immense popularity. It is used for cladding of private houses, offic...
what to choose for home and professional use

More and more specialized devices are being produced by manufacturers for domestic or professional use, besides convenience, adding a new problem to customers - which device to purchase. There are n...
Pig-iron radiators - technical characteristics of heating devices + Video

It would seem that the time has come to give in to the cast-iron radiators, which were invented in 1857 by the inventive Franz San Galli. Those who produce bimetallic or aluminum products are sure o...
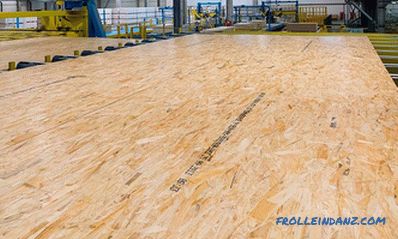
OSB stove - harmful to health and environmental friendliness
Oriented particle boards (abbreviated as OSB, although not less often, if not more often, OSB is used - the transcription of the English abbreviation OSB - Oriented Strand Board) is increasingly pus...
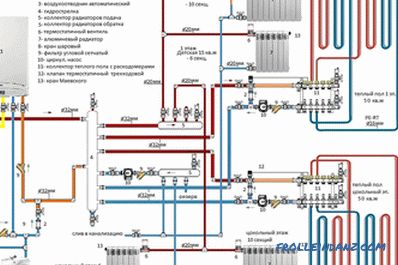
Installation of heating pipes do it yourself
Independent installation of pipes for domestic heating is quite a complicated matter, but quite doable. The basis of the work is the welding of individual sections of the pipe into the whole heating...