If old chairs are idle in your home, on which the legs are loose and the ancient upholstery has torn, do not worry, because this is another reason to show your imagination in the process of restoration. Thus, you can create an updated piece of furniture, while saving good money.
")
Do-it-yourself chair restoration is a way to create an updated piece of furniture, saving you good money.
Do-it-yourself chair restoration is an exciting lesson
First, consider some types of restoration of old chairs.
Sometimes the chairs wear out at all, the fastenings noticeably weaken, and in order to transform a piece of furniture, you have to completely “bust” it in detail.
Another thing is if only the appearance of the chair suffered: the paint was wiped off, the lacquer was wiped off, scuffs appeared on the fabric upholstery.
The most interesting and low-cost repair method is hauling the old chair.
Consider a complex procedure for updating the chair.
Imagine that he loosened awfully, the paint peeled off and the upholstery deteriorated; Based on these data, we will prepare materials and tools for restoration.
You will need:
- a hammer, a mallet;
- a screwdriver, spare screws;
- wood glue and sawdust;
- emery paper;
- thinner, paint, varnish, brushes;
- scissors, stapler with staples;
- foam rubber, quality material for upholstery.
Getting Started
")
Strengthening of the backs of the stool.
The first step will be the preparation of the chair for work, it must be cleaned of the layering of fat, washed. You can cope with grease and dirt using a good dish detergent, a stiff brush and a sponge (or soft cloth). Try to carry out "water procedures" as soon as possible, because wooden furniture does not like high humidity and exposure to chemical substances. While the chair is drying, you can remove the back and seat. The tool at this stage of the work is not needed.
Next we shake the chair with slow movements, we try to do it as carefully as possible to separate all parts of the chair. If you fail to do it manually, use a mallet, lightly striking it on the surface of the parts.
If you are restoring old Viennese chairs, here you will need a screwdriver, because the chairs are assembled with screws. If the disassembly process is difficult, try to drop a small amount of technical oil on each screw.
If you had the opportunity to restore the good old "Soviet chair", remember that its parts were attached to the glue. To disassemble such a chair, dip a small piece of fabric in very hot water, and then attach the fabric to the gluing point, repeat this operation until the parts are unstuck.
Scrape off the remaining glue with a knife and wipe the surface with a dry cloth.
It also happens that the elements are held together by the resin, which is located at the junction of the parts. To correct the situation, you need a kettle and a small piece of hose. When the kettle starts to boil, put one end of the hose on the spout of the kettle; direct the other edge to the place where the resin has hardened. This technique will allow for a few minutes to correct the situation and disassemble the chair.
Do not forget to dry the wood by natural means or using a hair dryer.
Check the surface of the chair; if it has chips, cracks and irregularities, you can glue them with a mixture of sawdust and glue. Glue will dry for at least two days! Take your time, otherwise you can only hurt the chair.
Next, go to the grinding surface. Use sandpaper with varying degrees of grain to achieve perfect smoothness.
Go to the assembly of the chair.
If the upper parts of the legs are damaged, they can be wrapped with a bandage and smeared with glue.
If the legs hang out after that, they should be split.
At the junction do not forget to pour glue.
Wipe off the excess glue with a cloth, let it glue to harden. We put a bucket of water on the chair to increase the load. In this position, the stool remains for one more day, and then you can begin to finish.
We overstrain the chair
The wooden frame of the chair can be painted or varnished - at your discretion. While the legs are dry, you can do the replacement of the seat.
- The removed seat must be completely freed from the upholstery, foam rubber and other components.
- We attach the seat to the foam and cut the contour.
- Cut the necessary figure from foam rubber.
- The fabric is cut out in the same shape as the seat, but we take into account the allowance of a few centimeters, which will go to foam rubber and bend.
- Put the fabric upholstery on the table (face to the table), put the foam on top, then the seat base. Stretch the edges (allowances), align the front side, fasten the fabric to the seat with a stapler and staples.In the corners we make even folds: this is how the fabric will lie down more accurately. If you do not have a stapler at hand, use small nails with wide caps.
The finished seat can be attached to a chair with self-tapping screws and metal corners.
The quick restoration of the chairs with your own hands is the best solution for you, because well-restored furniture will serve you for a long time.
Didn't find the answer in the article? More information on the topic:
-
")
Skeleton country house: do-it-yourself installation
You can build a frame country house with your own hands over the summer. Frame construction involves the use of fairly lightweight materials: wooden bars, OSB sheets, insulating mats.
-
")
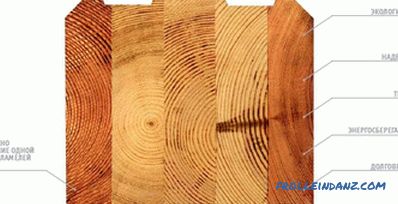
How are wood veneers made?
Information on how to make veneer. Three ways of industrial manufacture of veneer. Making veneer your own hands. Finishing veneer of various surfaces.
-
")
How to make flooring in a
You can make wooden floors as well as other materials for this. If bricks were used to organize the foundation, the beams are placed immediately behind the basement floor.
Search
Related Articles
Laying lining: preparation of walls, installation
Laying lining can transform the interior of any room. This material is intended not only for interior work - it is often laid on the external walls of a house. Laying lining - the process by which...
Distributing pipes in the bathroom with their own hands

If it seems to you that distributing pipes in the bathroom is too complicated a process, then you are mistaken. Modern technologies have turned it into a system of fairly simple and accessible to al...
location and material (video)
Glulam is one of the widely used materials used for the construction of country houses. This is due to its low shrinkage, which allows you to immediately settle in this building. In this regard,...
Installation of heating gutters - how to lay the heating system
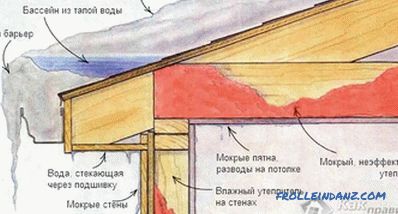
When creating a roof project, they usually try to take into account the probability of the load from precipitation. If such calculations are performed incorrectly, the entire structure may collapse....
How to choose a drilling machine - comparison of drilling machines
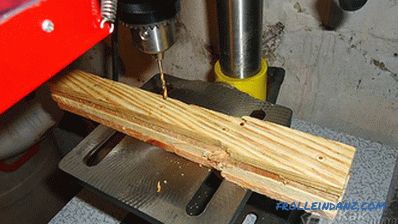
Thanks to modern technology, it’s not difficult to drill a hole in a metal or wood. Drill with a suitable drill is suitable for most household tasks. Indeed, at home, a similar power tool is often u...