Usually, the insulation and finishing of the house takes place sequentially, but the use of facade thermopanels allows combining these two processes. This multilayer material includes a base of polyurethane foam or extruded polystyrene foam and a decorative layer of clinker tiles. Installation of facade thermopanels with your own hands can be carried out on any surface: brick, concrete, wood, aerated concrete.
Advantages of thermopanels
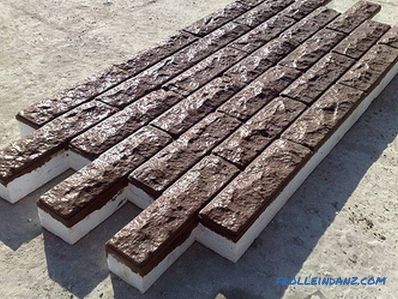 Thermopanel
- Reliable fastening to the front with using special locks.
- Low weight does not require reinforcement of the foundation.
- Maximum sealing of the joints ensures the absence of cold bridges.
- The durability of the material, the preservation of characteristics up to 100 years.
- Resistance to rot and mildew.
- High efficiency as thermal insulation.
What are thermopanels
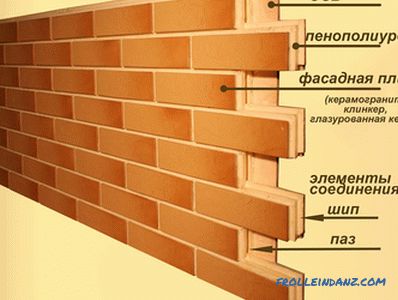 Device of front thermopanels
New product for facade decoration combines the qualities of the two materials. The clinker, made of clay, ensures the stability of the finish against external factors and an attractive appearance of the building. The strength of the material is comparable to granite, but does not have a dangerous background radiation. The rich colors and various textures of the material make the veneer respectable and aesthetic.
The polystyrene foam used is resistant to burning and ensures an adequate level of fire safety. Finishing material based on it has a high cost.
The degree of building insulation depends on the thickness of the panels and on how carefully the seams are sealed.
Polyurethane foam panels are made by pouring a plastic mixture on the clinker tile. They are durable and reliable, provide a high degree of thermal insulation.
Thermopanels using polystyrene foam are produced by heating the granules of artificial material poured onto a finishing tile. As a result, the connection of the outer facing layer and insulation occurs without applying glue, which ensures long-term and durable adhesion of materials.
Features of the work
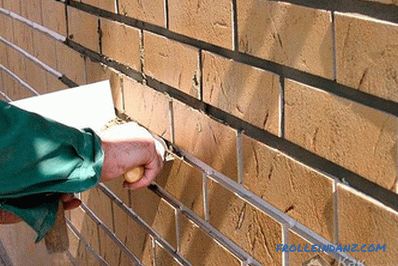 Grouting the joints of the thermal panels
The manufacturers of the thermal panels provide installation instructions products, diagrams and photographs are attached to it, allowing to understand the sequence of the process. By completing the installation yourself you can save a significant amount required to pay for the work of builders.
Installation of facade thermopanels is performed in two ways: seamless and with joint filling. Seamless version allows you to optimize the cost of material and installation time, the second method requires grouting the joints between the panels.
Surface preparation
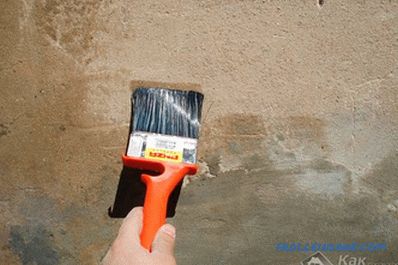 Primer walls
Before beginning the installation, the surface of the facade must be leveled - plaster pits and sanded protrusions and primer the walls. With a significant drop in the level it is necessary to make a batten. This is a frame made of wooden planks with a section of 5 * 5 cm or a metal profile. The following requirements are imposed on the surface of the building:
- low moisture content;
- coating strength and no delamination;
- cleaning of any kind of contamination.
Material Counting
 Counting the Required Quantity
Before You Begin It is important to correctly calculate the amount of material required. The facade area is calculated by multiplying the height and length. From the obtained value you need to subtract the size of the windows and doors. Dividing the total area of the walls of the building by the size of one panel, you will find the desired value. You should purchase material with a small margin of 10%. This reserve will be needed in case of damage to the material or unexpected consumption. You will also need special corner elements.
Tools for mounting panels
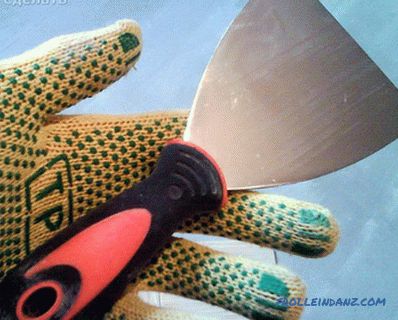 You need to prepare the necessary tools
- Bulgarian with a diamond disc.
- Screwdriver.
- Level.
- Roulette.
- Puncher.
- Spatula.
Installation of thermopanels
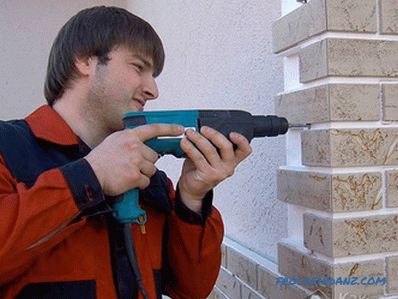
The installation of insulation is divided into several stages. Work begins with a horizontal level along all the walls of the house. It is necessary to measure the vertical of each corner of the building, with significant fluctuations you will need to make a crate. After checking the diagonal of the wall, vertical beacons are set. A guide is attached to the horizontal mark along the entire perimeter. This aluminum profile will be the starting point of mounting and fixing point for rainwater ebb.
Thermopanels begin to be mounted below the left corner. They are installed in rows. When installing the first row, you must regularly check the level of the panels. The whole decor depends on the quality of installation of the starting elements. The fastening of the panels to the facade takes place on a special adhesive composition or with the help of dowels. For reliable fixing of one element it is necessary from 8 to 10 self-tapping screws.To prevent the movement of cold air behind the casing, the space between the first row and the wall is filled with foam.
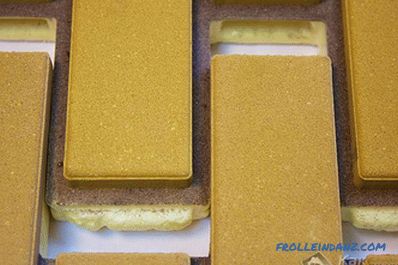 One way of connecting
Thermopanels are connected to each other with grooves and ridges. Silicone sealant is applied to the joints for water resistance. Cutting the panels to the desired size is a grinder with a diamond disc.
After installing the first row, proceed to the second, the work starts in the same way - from the left corner. A seamless connection will require a tight fit between adjacent panels.
When using a batten, fasteners are made not on the walls, but on the bars or profiles. Starting racks are mounted on the corners of the building, the rest of the crates are mounted on the cords stretched between them. The pitch of the strips should ensure the joining of two panels on the strip. Under each thermopanel must be at least three mounting rails. The cladding elements of the building are mounted in races, each successive row is shifted by half the length of the panel. In this way, reliability of fastening and complete similarity with brickwork is achieved.
Grouting joints
 Grouting for stone and thermopanels
If you need to fill the joints A special cold-resistant compound is used, it is matched to the color of the material. Reliable sealing of the joints will not allow moisture to penetrate into them, which, when frozen, will destroy the integrity of the seam. In the process of grouting the grout with a solution you need to ensure that it does not remain on the surface of the panels. After drying and tamping the jointing is treated with a water-repellent compound. Work must occur in warm and dry weather.
Additional elements
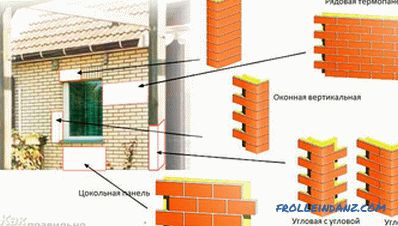
Slopes of door and window openings are treated with cement mortar or a special corner element is installed with a clinker tile. The junction to the overhang of the roof is covered with a decorative element. Drain neatly fixed screws through the panel.
It is easy to cover the building with thermopanels, it will take time and follow the instructions clearly.
Video
This video shows the process of mounting thermopanels:
