Owners of small apartments face the problem of arranging furniture in a small area without taking up much space. The solution to this issue is to place high-quality folding furniture in the rooms. Only the presence of such furniture will really save square meters of living space. It is not always possible to choose furniture that fits well with the interior of the room. It is especially difficult to solve this problem in a small-sized kitchen. However, the solution to this problem can be a folding table made by yourself. Even a beginner can make such a table. A table made with your own hands will be much cheaper than purchased, you can choose its optimal size.
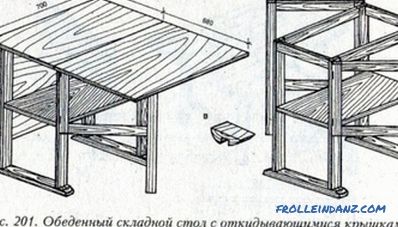
Layout of the folding table.
A folding table consists of a tabletop surface and folding legs. The table folds along the wall and takes up almost no space. The whole structure is attached directly to the wall on metal supports.
Preparatory stage
The manufacture of such a table begins with the determination of its dimensions and the preparation of the working drawing, indicating the dimensions of all the elements. It is necessary that the length of the tabletop was less than the length of the legs.
To manufacture such a piece of furniture you will need the following material and tools:
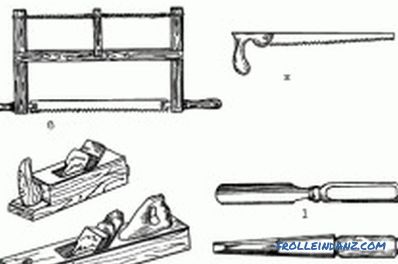
Tools for making a folding table
- furniture board or sheet of laminated chipboard for the table top of the required size;
- wooden bars 730x60x25 mm (for leg racks);
- pins 9x50 mm (wood spikes for connecting parts);
- 730x25x25 mm plank.
- small loops;
- metal corners for attaching the table to the wall;
- PVA glue;
- self-tapping screws, dowels and screws;
- paint acrylic, lacquer furniture or colored self-adhesive film;
- wood hacksaw;
- clamps;
- jigsaw;
- perforator;
- hammer;
- tape measure, square and level;
- a cross screwdriver;
- sandpaper;
- paint brush.
Making and assembling the table
Despite the fact that the design of the table is simple, it is necessary to constantly check the drawing in the process. The product is assembled in the following sequence:
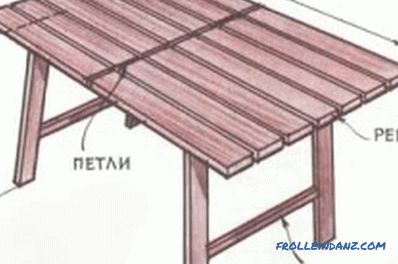
Drawing with the dimensions of a folding rectangular table.
- At the ends of the bars used for the legs, holes are drilled for pins. The lower straps are attached to the legs about 60 mm from the floor level. Glue is added to the holes and the table supports are assembled with the help of dowels. The diagonal frames are checked and then clamped with clamps.
- The obtained supports are interconnected by loops and screws. The hinges and the 730x25x25 mm plank are fastened to one bar, which is needed for folding the legs.
- Marks a place on the wall for fixing support legs. They must be installed in such a way that the legs fit between them. Horizontal installation supports checked level.
- Holes are punched in the wall, dowels are inserted and the supports are fixed to the wall.
- The mark fixing point is attached to which the frame legs are attached.
- Holes are drilled in the wall, dowels are driven in and the bar is fastened to the wall with screws.
- On the furniture panel, in accordance with the drawing, the dimensions of the table top are applied.
- With a jigsaw, the tabletop is sawn, the corners are rounded and sandpaper.
- The tabletop is divided into large and small (approximately 8 cm wide). The small tabletop should be of such width that the legs-supports should be hidden under it in the folded state.
- The tabletop is sawn. The ends of the cut are carefully ground. The edges are checked with a square.
- The small and large worktops are interconnected by loops. The small tabletop will hold the plane large when opening the table.
- Restrictive strips are fastened to the bottom side of the large tabletop with screws to prevent spontaneous folding of the table.
- Legs with supports unfold into working position. On them the collected table-top keeps within. The level checks its horizontal position.
- The small tabletop is attached to the supports attached to the wall.
- Verifies the installation and all functions of the assembled structure. The legs are supported and hid under a small tabletop. The lowered big table-top should close all elements of the product and be in a position parallel to the wall.
- The final cleaning and grinding of the structure with emery sandpaper is performed.
- The finished product is covered with furniture lacquer or pasted over with self-adhesive film.
The folding table is ready for operation.
This original product will perfectly fit into the interior of a small room and increase the comfort of living in it.
Didn't find the answer in the article? More information on the topic:
