The stool has neither a back nor armrests. Therefore, if you decide to assemble such a structure yourself, you are unlikely to encounter any particular difficulties in making such an element of furniture. In this article we will explain how to make a stool with your own hands.
If you have never collected anything like this from wood, you can hardly make a quality and reliable product the first time.
 Chipboard dimensions You can use material that does not require any special preparation for assembly. This may be chipboard or ordinary 20 mm plywood. I must say that the chipboard is a rather capricious and fragile material in itself. Also, the stool made from it will be quite heavy. In addition, because of his demand, he will roam from room to room, which sooner or later will affect the integrity of the whole structure. Therefore, it is better to assemble a stool of plywood. It is also worth mentioning the fact that the chipboard sheet has dimensions of 2750 * 1830 mm, while the sheet of plywood is 1525 * 1525 mm.
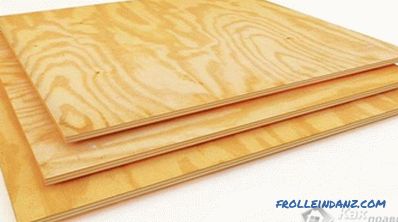 Plywood
From one sheet of plywood, you can make three stools. To perform the work, you will need the following tools and consumables:
- Electric jigsaw with a set of files for wood with a fine tooth.
- Electric drill.
- Screwdriver.
- Joiner's square.
- Confirmation drill of 5 * 50 mm.
- Bits for the screwdriver. It is better if it is a set, where, as a rule, there is a hexagon for confirmats.
- Grinder or regular coarse and fine-grained sandpaper.
- Confirmations: 12 pcs.
- Furniture plugs for confirmats: 12 pcs.
- Self-tapping screws 4 * 16: 24 pcs.
- Furniture metal (plastic can) corners: 12 pcs.
Preparation
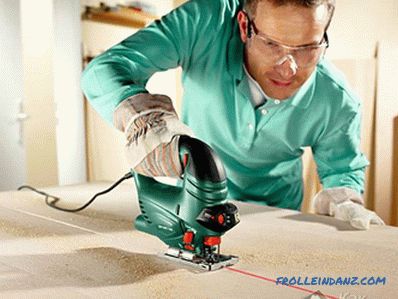 Cutting parts
First, mark out the future details by size. Cut into a jigsaw 6 rectangular elements 400 * 300 mm in size (legs) and 140 * 248 mm (stiffeners), as well as 3 square parts (seat) 330 * 330 mm in size.
The height of the sidewall (legs) should in no case be less than 400 mm, otherwise it will be uncomfortable to sit on such a stool.
On one of the parts, which will be our sidewall or leg, we need to cut a radius. How to do it? You can use the compass, and you can with the help of a large oval plate. Attach to the side and a marker or pencil circle the semicircle. Using the jigsaw, carefully cut out a rounded trough in the details. Then apply the cut part to the second side of the leg and perform the same procedure. For the square detail that will be our seat, you can find a smaller round plate and also mark the radii on each side, you can also round the corners. We make cuts. Once the radii are made on all the details, we outline the places where we will have fasteners.
If you decide to make the seat soft using foam rubber and upholstery fabric, then radius cuts on it will be superfluous.
Assembly
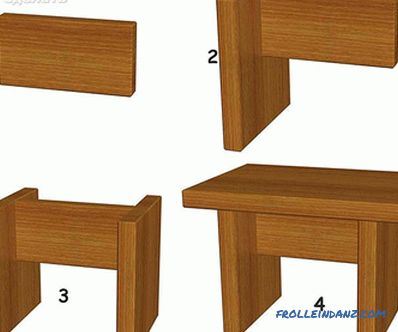 Assembly order
Now we proceed directly to the assembly . On all the details (legs) we drill through the vertical drill two holes vertically.
When drilling holes in the sidewalls, you need to attach a stiffener to the place where it will be fastened, so that the drill, having drilled the leg, makes a notch at the same time in this rib. Then the holes will coincide better, and there will be no skew when twisting the confirmat. At what height from the floor these elements of rigidity will be mounted, each decides individually.
After the legs with stiffeners are assembled, it will remain to attach a seat to them through the corners. Go through all the corners of sandpaper (coarse-grained first, fine-grained at the finish). We put the plugs on the confirmat's caps and that’s all - the stool is ready. Stools of this design are very well suited for the kitchen.
Wooden stool
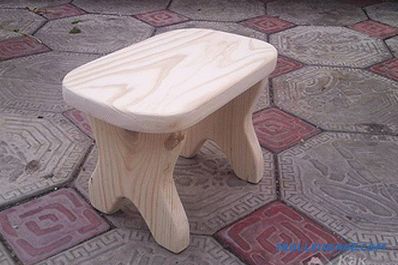
If you decide to make a wooden stool, then you will need a hem without knots 800 * 200 mm and 25 mm thick.
Tools:
- self-tapping screws on a tree with a panit head - 8 pieces (6 * 60 mm);
- an emery paper holder (sanding block);
- jigsaw;
- screwdrivers;
- joiner's square;
- tape measure.
With the help of a measuring tool we measure the future seat, measuring 200 * 400 mm. Then we measure out two parts, which will be our chair legs. If you want to get a more elegant product, then you can make them curly. To do this, you need to prepare a template in advance. The simplest thing is to cut a piece from thick cardboard along the lines already drawn by the marker. You just need to attach the cardboard to the wooden part and circle it.
Now we need to mark another important structural element: stiffener.
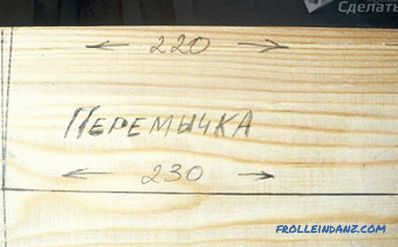 Cut the jumper
To make the product more stable and stiff, the jumper between the legs must have a trapezoidal shape that is, one side may have a size different from the size of the other side, but strictly proportional, so that 5 mm bevels fall on each side, for example, 220 mm and 230 mm. Once the entire board has been laid, you can begin cutting parts.
In order for all the details to be cut exactly, the jigsaw knob needs to be held firmly, as it vibrates strongly when cutting. Also, you can cut off exactly if you do not cut along the line, but next to it.
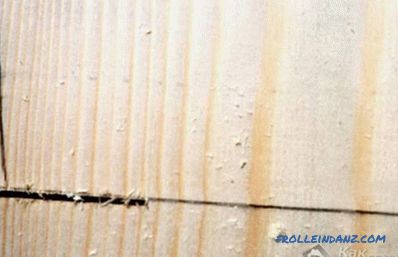 Res perform near the line
After all the details are cut off, it's time to take for grinding bar. Grind the end parts and corners of the workpieces. Moreover, it is better and more convenient to produce grinding when the details of the stool have not yet been assembled into a design.
Sandpaper 40-60K is used mainly when there are obvious irregularities on the wooden part. Sandpaper 80-120K, when these irregularities are minor. The pelt 160-320K is used for finishing. What type of emery cloth to use depends largely on the type of wood and the results of cutting.
And now came the long-awaited moment of assembly. It is better to do this on as even a surface as possible.
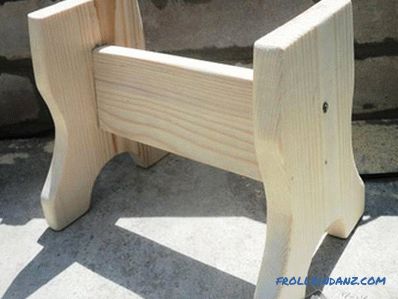 Assembly of the stool
Assembly order:
- We connect the stiffener with legs, fastening through one screw on each side. The smaller side (220 mm) should be at the top.
- We attach the seat from above and fasten it with two screws on each leg.
- Twist one more self-tapping screw through the legs to the stiffener.
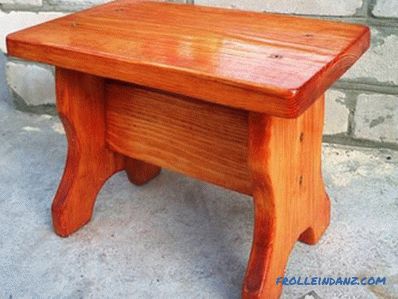 The stool is ready
The stool is ready. To give a noble look to your product, you can cover it with “mahogany” stain and then open it with transparent varnish for wood.
Manufacturing of a folding stool
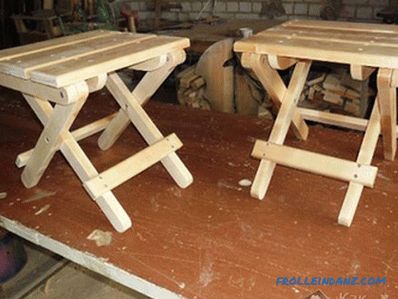 Folding stool
But what if you’d think the thought came to make a more complex element of the order of stools - folding stool. The need for such a design may arise not spontaneously, but quite even situationally. For example, it is convenient to periodically take such a stool for fishing or nature, or maybe somewhere else. The advantages of such a folding stool, first of all, is that it is quite compact and easily fits in the trunk of a car.
Now, let's get down to words. To do the work, we will need:
- 4 wooden blocks of 470 * 40 * 20 mm in size, where 20 mm is the thickness of the part;
- 4 small planed crossbars of 320 * 40 * 20 ;
- 4 bars for seating, size 350 * 90 * 20 (2 pieces) and 350 * 60 * 20 (2 pieces);
- 2 applied transverse leading, size 320 * 40 * 20 ;
- 6 bolts with a diameter of 6 mm (length including the cap is 40 mm), 12 self-tapping screws (45-50 mm).
Before assembly, all the wooden parts of the stool must be perfectly polished.
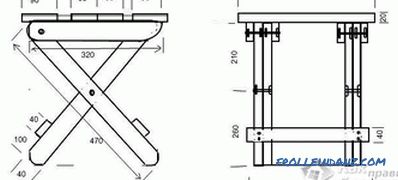 Drawing of the stool
Assembly should start with the fact that 470-mm bars fasten together between bolts. We measure 260 mm and in this place we drill a hole of such a diameter that the bolt head and the fastening nut are recessed into the tree.
The mounting of the legs between them should not be in the middle, otherwise the whole structure will be too high and unstable. This mount should be slightly offset from the center.
Now we fasten the external crossbars (320 * 40 * 20) to the upper parts of the outer legs through the bolted connection. We do the same with the internal crossbars, fastening them to the upper parts of the internal legs.
We got a swivel that will allow our future stool to fold. Now fastened to the fixed crossbars on the screws bars for sitting: two extreme, 90 mm wide. It should be noted that these outer bars are fastened as follows: one to the outer crossbar, and the other to the inner crossbar, and they must protrude in relation to the crossbeams by 15-20 mm.
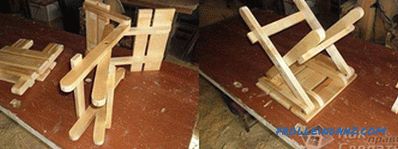 Assembling a folding stool
We measure 100 mm from the bottom of the legs and fix the progesters for stiffness. Now the most important thing begins - the fastening of two inner narrow bars 60 mm wide. It is on their proper installation that it will depend on how well the folding stool mechanism will work. Do not forget that these narrow bars for seating are attached as well as wide: one to the outer crossbar, the other to the inside.
Approximately 15-20 mm should separate the narrow inner bars from the wide outer ones. The height of the whole structure of the stool can be up to 450 mm from the floor. This is the normal standard height at which a person can feel comfortable. If the stool is higher, you can reduce its height by inserting an additional bar, having dimensions in the cross section of 20 * 20 mm.
Of course, the stool itself cannot be classified as ergonomic furniture. But it is always an integral part of the home interior. No matter what he is, this stool is small or large, folding or not. It is important that the independent production of the stool, firstly, will save you money, and secondly, it will be a good indication that you have the right hands.
Video
See how you can make a simple stool:
This video shows how to make an oak stool:
Photos
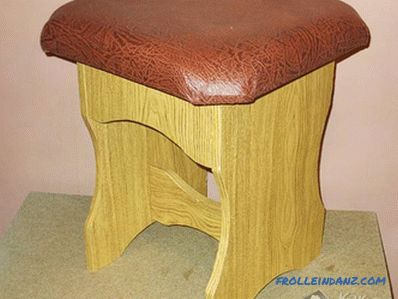 A small stool made of chipboard with soft seating
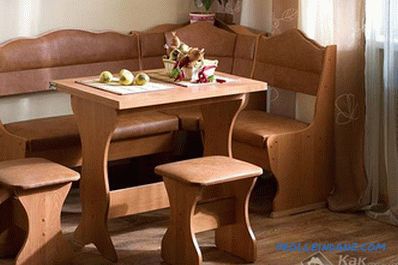 The furniture is made of chipboard
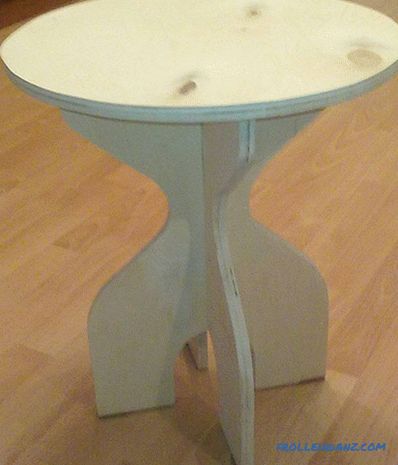 Round plywood stool
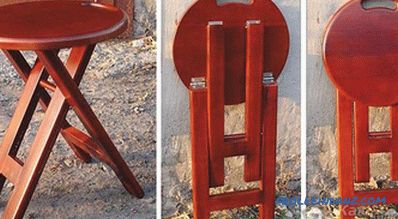 The original folding stool
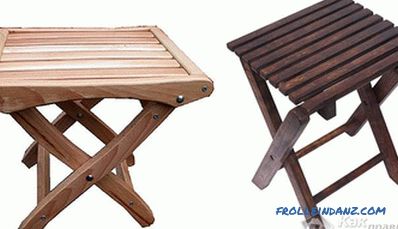 Folding versions stools
 Chipboard stool with upholstered
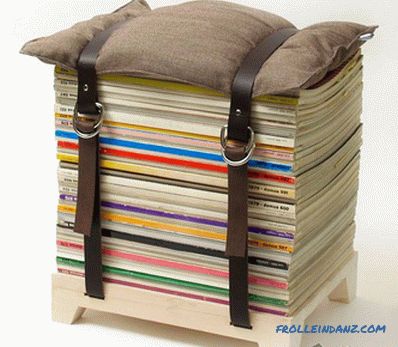 A stool from a stack of magazines
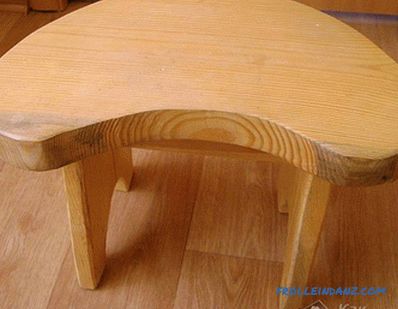 Stool of unusual shape
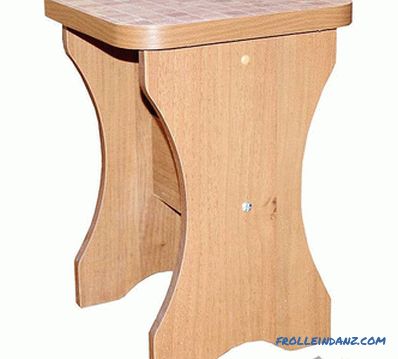 Stool from LD R
