At present, the following types of roofing structures can be used in the construction of country houses:
- single or dual roofs;
- mansard roofs;
- tent structures.
The last roof variant is considered to be the most difficult for self-production, which, however, attracts many with its originality and attractive appearance. In this article we will explain how to make a hip roof with your own hands, give drawings, photos and video instructions.
Device
 A cottage with a hip roof
The hip roof is a special chetyrehskatnuyu a construction with a square at its base; moreover, the slopes are made in the form of isosceles triangles converging on this base.
Such a roof can have a greater number of slopes or even be generally round, while the main thing is to observe symmetry. It resembles in appearance the tent, which is sealed in its name. It should be noted that the absence of pediments in tent structures allows significant savings on materials during their construction.
If desired, the roof in the form of a hip construction can be built on any building, although it is much more convenient if the base of the house is in the shape of a square.
The roof structure is based on a rather complicated roof system, which, if you have certain skills, you can do it yourself.
Design calculation
 Calculation of cornice overhang
 Calculation of the slope area When calculating the performance of a hipped roof, it is necessary to proceed from the following conditions:
- selected dimensions (length and width) of the base;
- angle of inclination skates;
- the shape of the base of the roof (preferably, it was a square).
Note that it is best to entrust the execution of these works to specialists, since the quality and reliability of the whole structure will depend on their results.
Installation of the roof
 Installation
The tent-type roof frame contains the following elements:
- rafters are diagonal;
- support beam (mauerlat);
- side and ridge girders;
- struts and braces.
The following types of diagonal rafters can be used for arranging a hip roof:
- railing of a hanging type, supported on walls and creating an arching force horizontally (used in the absence of internal bearing partitions) ;
- inclined rafters, which are supported not only on walls, but also on internal supports (load-bearing partitions).
In wooden frame structures, the entire roof system rests on the top piping of the building base (in the log cabins, directly on the top crowns of the structure).
In brick houses, a mauerlat or a special support beam is used as a support, which is laid on walls prepared for this. Their preparation is usually reduced to leveling the surface of the upper row of the masonry and pouring it with a tie. Sometimes (in order to better bind the mauerlat), embedded elements are mounted on this surface.
On top of it, along the entire perimeter of the building, supporting bars and lezhny are mounted, and a layer of waterproofing material is laid between the brickwork and the power plate.
 The truss system
When preparing the hip roof you will have to use several types of truss trusses. First of all, it is the slopes of the usual form, which are connected in the skate. Additionally, side triangular and diagonal rafters can be used. When mounting them, the main attention is paid to the absence of discrepancies in the length and angle of inclination of these elements, which must be precisely aligned for all four sides. The length of the overhang is usually chosen on the basis of the design features and can reach one meter.
After the installation of the rafters, you can proceed to the fastening of the central (intermediate). It should not be forgotten that they must be the same size and be placed strictly parallel. One end is attached to the mauerlat, and the other to the ridge of the roof.
After this, you can proceed to fastening the corner rafter to the rafter diagonal type. To this end, a special skull beam is installed on both sides of the saw rafters.
In order to increase the tent structure durability, a crossbeam can be used during the installation, which strengthens the system of central rafters.
In conclusion, you just have to fill the sheathing and cover the roofing material.
 Design features
Before laying the roof covering, you need to prepare a layer of insulation, as well as steam - and roof waterproofing, and it is recommended to begin such preparation with waterproofing installation. It is usually spread in a downward direction with overlapping sheets of 10 cm.
A counter grille is fixed on top fixing the waterproofing system and forming a gap for ventilation of the under-roof space. On the inner (bottom) side of the rafters, a heater is placed, which is closed from above with a vapor barrier.
Photos
The photo shows various options for building a hip roof:
 The complex shape of the hip roof
 The roof of a country house
 The roof of the log house houses
 The construction process of a hip construction
 The hip roof of the tile
 Of the ondulin
 Roof of the bath
 Roof of the arbor
 For an old house
 With glass elements
 Construction of the hip roof
Drawings
Various drawings of the hip roof are indicated on the submitted drawings. They can be taken as the basis for a future new roof:
 Construction
 Drawing of a hip roof
 Installation of a truss
 Approximate scheme of a hip roof
 Scheme of arbors


Search
Related Articles
manufacture of floor and wall hangers
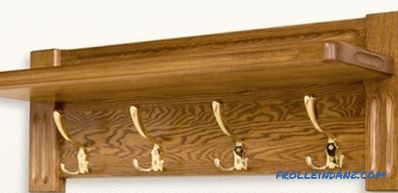
A clothes hanger is an indispensable attribute of any hallway. When you come home or to visit, the first thing you do is look for a coat hanger where you could hang your outerwear. Modern hangers a...
Laying the lag for the floor do it yourself: step by step instructions (video)
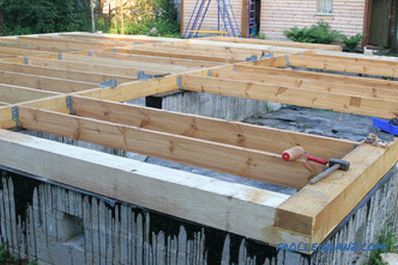
Wood is predominantly used for laying floors. Despite the fact that wooden structures are characterized by a short service life, environmental safety, affordable cost and low weight make this mater...
Which water filter for washing is better, rating of filters according to user reviews + Video
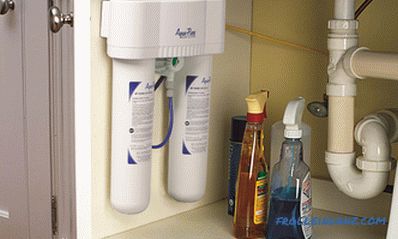
Many people do not want to use tap water for food. Indeed, without purification, it can impart an unpleasant taste and smell of coffee and tea, make soups and broths not so tasty and fragrant. There...
Laminate on the wall in the interior

Today laminate on the wall in the interior is becoming more common. Designers have appreciated this practical material, which allows you to quickly decorate floors, ceilings and even walls. It compa...
Decorative beams in the interior - the use of decorative beams
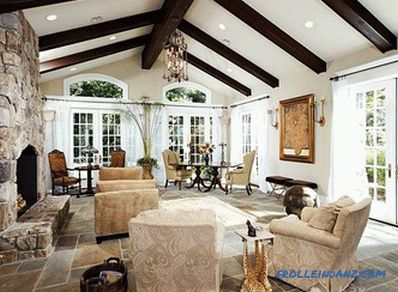
For many people, wooden beams are associated with a village house, a stone stove and a low ceiling. In our time, such a view has lost its relevance, although in country houses they still give prefer...