Currently, metal siding is gaining great popularity due to the fact that it is a material capable of providing a reliable, durable and wear-resistant exterior coating for the house. One of the most prominent representatives of this trend, thanks to its natural and aesthetic appearance, are products that imitate a log. Having high rates of resistance to the possible effects of environmental factors, the presented material does not require regular maintenance.
The urgency of using such a product, among other things, is due to the availability and ease of installation. In this article, we will describe how to do metal siding with your own hands (for timber, log), give step-by-step instructions, and also show diagrams, photos and videos.
Production
") Production of metal siding
Production of metal siding
The material itself is made of galvanized polymeric treated steel sheets imitating a calibrated log. The production of such products is based on applying a pattern to the profile using the technology "Printtech" (photo-offset), which provides a realistic, as close as possible, natural colored tree trunk. On the market, metal siding is replete with its color range and is released in rolls with a sheet width of 188 mm, a profile height of 31 mm and a length of 80 to 800 cm.
Tools and consumables
")
Any construction operation and type of material involve the use of individual tools and components. In our case, the implementation of the planned plans will require the preparation of the following tools and accessories:
- galvanized screws with a press washer;
- dowel-nails;
- building level and tape measure;
- Bulgarian or scissors for metal;
- a screwdriver or a drill with a set of bits and drills;
- a stepladder.
Additional elements play an important aesthetic function in metal house siding: internal and external corners, slopes, docking strips, starting and finishing guides, the use of which allows you to give the building overall completeness and a neat appearance.
Preparatory activities
")
Before each construction work, it will be helpful for each person to learn concepts such as installation instructions and practical advice from professional craftsmen, based on which will be carried out in the future step by step assembly.
In order to proceed with the installation of metal siding, first of all, it is necessary to conduct an analysis of the surface on which the subsequent fastening will be carried out and to ascertain its strength and reliability. The implementation of the task is achieved by visual inspection of the walls for the presence of external objects, mold or detached layers of plaster, in the case of which it is necessary to carry out their extraction and finish processing.
Otherwise, poor-quality preparation of the finishing surface may contribute to further deformation of the sheets and their destruction, which would entail carrying out repairs and monetary costs.
Marking
")
Having decided on the material, before fixing the brackets, clean the walls and apply the markings to them. Initially, using a broom or broom, you must remove the remnants of dust and dirt from the future surface. At the same time, to simplify access, it is useful to use a stepladder or a forest. In addition, the presented devices will be useful in the future, in the implementation of the installation of facing sheets.
When finished with this event, the future surface should be drawn out with horizontal and vertical lines at a distance of 50-70 cm relative to each other, and the points of intersection of these guides will later become places for brackets.
Proper marking is the key to long-lasting and even finishing, therefore, it is necessary to approach its application with particular care, not forgetting to use the construction level and measure the same intervals each time.
Location of bracket supports
") Location of bracket supports
Location of bracket supports
Installation of brackets carried out along the perimeter of the entire surface from top to bottom, taking into account a number of important points:
- mounting is carried out depending on the type of surface to be trimmed with 40 mm self-tapping screws or anchor bolts;
- we proceed to the placement of connecting strips - as a rule, these products consist of perforated metal sheets containing through penetrations of specified sizes and located in a certain after ovatelnosti; in our case, since metal siding is planned to be placed under the log, the guide profiles are positioned vertically and fastened to the brackets using self-tapping screws 4.2 * 16 mm;
- the guides are installed so that there is a gap of at least 10 mm between them ;
- along the perimeter of the windows and doors, we additionally mount the guide rails;
- at the corners of the construction, the profile is mounted taking into account the subsequent fixation of the corner strips.
Of course, an alternative to metal brackets can easily be wooden bars, which are several times less expensive, but metal products have a number of significant advantages that exclude the subsequent deformation of the surface and ensure reliable operation.
Installation of insulation
")
In the siding placement option with insulation, the plates of selected materials are placed close to each other without additional gaps. In the case of several layers of the protective layer of the plate are installed in the break-up of the joints. A windproof membrane film is located on the outer side and all layers are fixed with the help of dish-shaped dowels-nails. When installing this element, it is important to maintain the distance between the insulation and siding, which should be in the range of 25-30 mm.
") Warming scheme
Warming scheme
Another insulation variant is basalt wool. Named material is available in rolls, which greatly simplifies the installation procedure. In addition, unlike the foam, which is the cheapest type of insulation, the raw material from basalt allows the surface to "breathe", providing the necessary ventilation.
This material is especially relevant when finishing a wooden house, since it is the wood that requires regular ventilation in order to avoid the appearance of snails, mold and mildew.
Installation of the facing
") Installation of the facing
Installation of the facing
This event starts from the moment the start slat, which is the starting point and point of reference for the subsequent installation of siding panels. When fixing it, it is important to use the construction level and carefully measure out every millimeter, since the slightest deviation from the vertical can further lead to the curvature of the entire facing surface.
") Metal siding under the tree
Metal siding under the tree
Sheets are fastened with metal brackets, screws and screws, depending on the consumables materials. When placing the panels, do not install them tightly relative to each other, but rather leave a gap of 2-3 mm, which will ensure the subsequent adjustment of the installed surfaces.
As a rule, installation of block-type siding starts from the center, gradually moving to the corners of the building. In places of contact establish intermediate strips, as well as external and internal corners. At the end of the finish line is fixed, and the overall facade of the house becomes like a "natural log house."
As you can see, installing metal siding under a log is an effective and relatively affordable way to create a unique insulated and aesthetic facade. In the case of proper implementation of all operations, this material will function for a substantial period of time and protect your home from the harmful effects of the external environment.
Video
In this video you can learn about the intricacies of metal siding installation:
Schemes
On The diagrams show details of the installation of metal siding:
") Additional elements
Additional elements
") Additional metal siding elements
Additional metal siding elements
") Siding elements
Siding elements
") Installation Instructions
Installation Instructions
") Metal Siding Construction
Metal Siding Construction
") Fastening
Fastening
") Window siding
Window siding
") Installation scheme with siding
Installation scheme with siding
") Laying scheme
Laying scheme
Search
Related Articles
Spiked connection of the parts do it yourself (video)
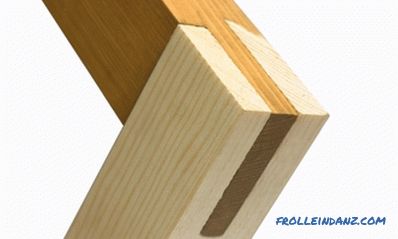
There are many types of various compounds that are widely used today in repairs. They are needed for the assembly and repair of furniture, for the connection of individual parts of some functional...
Glass fiber - what is it
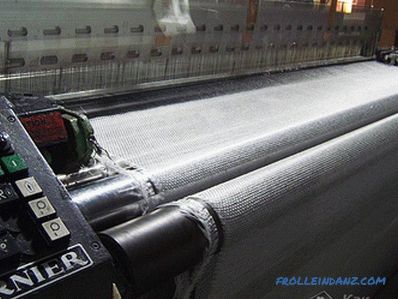
In the modern world, it has long been a tradition to use the latest technologies in the finishing work indoors. One of these innovations are glass cloth wallpaper. It is important to understand in d...
How to install an acrylic bath with your own hands + photo, video
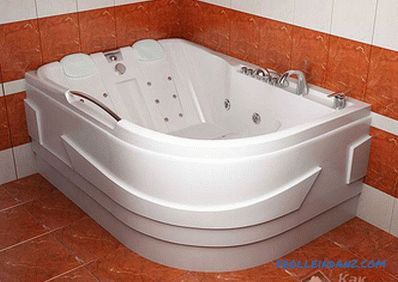
Sooner or later, but still there comes a time when the house needs to be overhauled. It is no secret that one of the most visited rooms is a bathroom. In this room there are a lot of plumbing items...
Assembly technology of logs made of logs: characteristics
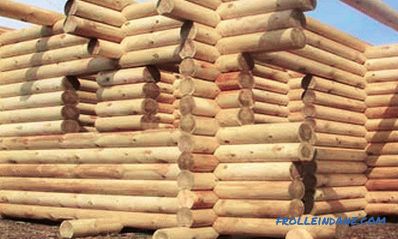
Over the past decades, the construction of wooden log houses has become the most common. At first glance, the installation of such houses is not difficult, but it is not. In fact, the process requi...
How to choose a wallpaper for the corridor (+ photo)
A corridor is a place that greets visitors as they enter the apartment. It is he who creates the first impression of the whole house. Therefore, it is very important to decorate this room in such a...