Corner shelves save space, so this design solution is a godsend for small areas. Such an element of furniture can be made independently, because it does not require special knowledge, expensive equipment and a lot of time.
")
Corner shelf drawing.
The choice of material and tools for the shelf
The corner shelf can be made of various materials with your own hands. Consumers very often make a choice in favor of chipboard, MDF or plywood. Another option may be subwindow profiles, as well as glass.
The choice of tools depends on the material from which you want to create a shelf with your own hands.
So, for wooden models it is worth having:
- a jigsaw electric;
- a hacksaw;
- a fine-tipped saw;
- knife;
- drill;
- glue;
- rail for creating compasses and compasses with a large radius;
- a wooden rail for the base structure.
")
Scheme of a wooden corner wall shelf.
If the corner shelf is made from a sub-window profile, you should purchase the following tools:
- drill;
- hacksaw;
- level ;
- self-tapping screws;
- rail to increase edge rigidity;
- Moment glue;
- cable channels.
The smallest number of tools is required when you need to make an angular shelf of glass:
- set of holders for glass shelves (there are already screws and dowels);
- level;
- drill.
When all the materials and tools for carrying out the work are assembled, you can start creating shelves.
How to make a corner shelf?
Creating a shelf and installing it is a fairly quick process. Therefore, in a few hours (or less), you can easily transform the room, which does not compare with the time spent when you need to create a cabinet. You can make the shelves correctly with step-by-step instructions.
Glass shelf
")
Diagram of an angled glass shelf.
To make such a shelf, you need to do the following:
- A shelf template is created from the cardboard.
- Glass cutting and processing can be performed both at home and in a special workshop. But it is the pros who will produce all the work at a high level, and the consumer will have the opportunity to choose the most suitable material.
- Holders are purchased.
- Next, you need to put the shelf on one of the holders, attach it to the wall and, using a pencil, outline the upper limit of its mounting.
- The first holder is fastened; for this, the supplied screws and dowels are used.
- The glass is inserted into the first holder, fixed and put on the second. Using the level you need to align the shelf. Mark the drilling points with a pencil.
- The second holder is attached.
This is the simple way to make glass shelves at home.
Shelf from the pane profile
The shelf can be given any shape, but you should always remember about the right angle of the base that will be mounted to the wall .
")
Corner shelf from the subwindow profile.
To build a shelf, follow the instructions:
- The material is being laid out.
- With a hacksaw a shelf is cut.
- Further, with the help of a special batten, which coincides with the profile in thickness and length, the framework is enhanced. To do this, attach this material to the glue "Moment" and fix it to the edge of the profile.
- Holes are drilled in the already glued rail.
- Self-tapping screws are pushed into the wall below the holes already drilled in the shelf. During work level is used.
- The open ends of the structure are hidden behind cable channels selected in thickness. They are placed on the glue.
- The shelf is fixed on self-tapping screws.
You can change the color of this design using various adhesive films selected for the interior.
Thus, an ordinary profile can be easily turned into marble.
Shelf made of particleboard (plywood, MDF)
Fixing of such shelves is done in several ways. The first is in the nozzle on the longitudinal rail-basis, the second - in fixing in the grooves of the transverse base.
")
Scheme of manufacturing the shelf of chipboard.
The first method is good because there is no need to drill either tile or wall:
- A shelf is cut from the chipboard. To do this, use a compass to draw a circle, divide it into 4 parts and cut each with an electric jigsaw or a hacksaw.
- On the rail-based marked location of the shelves and the size of the required groove. Blanks are applied to the rail, and their width is fixed.
- Cuts are made with a fine-toothed saw to the depth of the middle of the rail, and an unnecessary element is removed with a knife.
- On the shelf at the corner-base there is a plot that needs to be cut. By area, it is equal to the depth and width of the groove in the rail.
- A fine-toothed saw on the applied markings should be cut and remove the unnecessary element.
- Next, the shelves are ground, and the entry into the grooves is checked.
- With the help of glue, the rail needs to be fixed to the wall, secured with tape and left for at least an hour.
- Shelves are inserted into an already fixed rail without any other fixation.
In this simple way you can make racks for the living room, bathroom, kitchen, etc.
To make the shelf in the second way, you must first make the grooves, and then take up the main element:
- In two bars, equal to the sides of the shelf along the length, grooves of the required width are made using a circular saw.
- These elements are attached to the wall using screws or dowels. It is necessary to ensure that their caps are completely drowned.
- The angle is measured thoroughly. Measurements are transferred to the material where the contour of the shelf is drawn.
- An element is cut out with a jigsaw or saw.
- A special ribbon is used to shape the faces.
- When the shelf is completely ready, it is inserted into the slots.
Only a few hours, and the beautiful decor element is in its place!
When creating the shelf with his own hands, the master takes everything into account: his ideas, the interior, the corner features , where this item will be located.
Didn't find the answer in the article? More information on the topic:
Search
Related Articles
The frame of the house from the profile pipe do it yourself
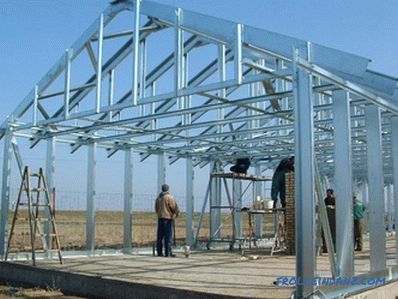
The steel pipe profile belongs to the category of the most attractive materials used in the construction of structures of various categories. The special attractiveness of the profile blanks is asso...
Greenhouse made of polycarbonate do-it-yourself + drawings, diagrams, photos
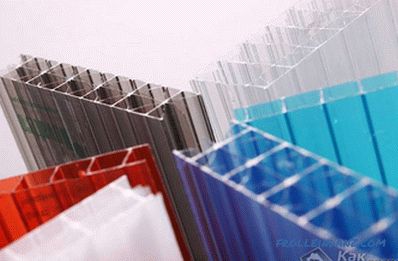
To get a high yield and protect your vegetables from the negative effects of fog and high humidity, you need to take care of the installation of the greenhouse. Often in the manufacture of greenhous...
How to make a housekeeper with his own hands
Looking for what most often is a person before leaving the house? This may be a mobile phone that you have to call from another or home. Glasses that are always hiding somewhere. And the most impor...
The roofing of metal tiles and its design
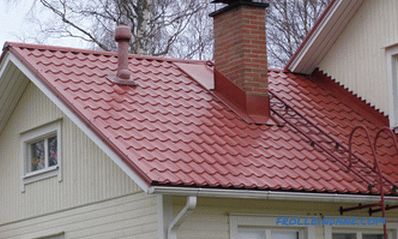
In order for the roof to not leak, keep warm and long to please the owners with its beautiful view, it is necessary to equip it according to all the rules. Moreover, for each of the roofing material...
How to make a home from OSB do it yourself
How to make an OSB house with your own hands, without losing in quality and saving money? After all, with the same area, the cost of construction depending on the materials used can vary greatly. An...