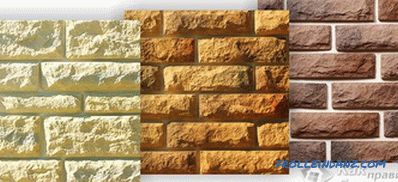
Exterior finish - an important stage in the construction of a house or cottage. Covering the house clapboard - the best option if you decide to give your building an attractive appearance. In addition, using this finishing material can significantly improve the heat and noise insulation characteristics of the structure. The modern construction market offers a large selection of wall paneling, differing not only in hue, thickness, but also in the material from which it is made. It is wooden and plastic lining. The plastic version is characterized by durability, simple maintenance and good water-repellent properties. Wooden wall paneling has excellent noise insulation properties, low thermal conductivity, environmental friendliness and long service life. It is made from natural wood.
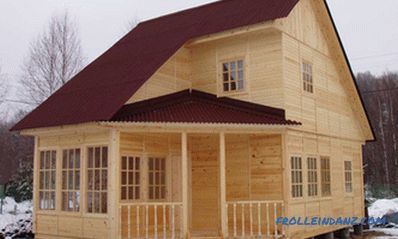
Wooden paneling is distinguished by excellent sound insulation and low thermal conductivity.
When choosing a material, note that the humidity should not exceed 10-15%, the panels should be free of defects, with a minimum number of knots.
How to sheathe a house or a cottage with their own hands
Even a novice master will be able to carry out the casing, but subject to all the rules. The work you will need the following materials and tools:
- lining in the right quantity;
- insulation;
- timber;
- screws, nails;
- ladder;
- plumb and level;
- marker;
- drill;
- pliers;
- saw;
- screwdriver;
- tape measure;
- hammer.

Tools for mounting the wall paneling.
Before buying a wall panel, you need to calculate how much material you need. To do this, find out the length, width and height of the room, as well as the length, width and thickness of the wall panel. For example, the area of one part is equal to 0.57 m², and the volume is 0.01114 m³.
Then you need to divide the area of the walls by 0.57. To the result, add another 10-15% (marriage). A similar calculation will help you find out how much lining you need in pieces. If you need to know the volume in cubic meters, multiply the amount of the required material by 0,0114.
Note that lining, being a wood material, has the peculiarity of decreasing in size.
And it may happen that a gap is formed between two adjacent boards. To avoid this, it is necessary that the material passed chamber drying.
Work begins by marking the wall. Next you need to make the frame of the bars. Typically, the sheathing is performed in a horizontal direction, so the sheathing bars are fixed in a vertical position. On the ceiling can be nailed along, across or at an angle.
To the surface of the wall, the bars are fixed, keeping between them a gap of 0.5-1.5 m, but better than 1 m. With large gaps there is a risk that after drying the boards will come out of the grooves and deform. Be sure to make sure that all the bars are in the same plane, without forming any convex places. If necessary, put something under the bars.
The process of trimming the frame
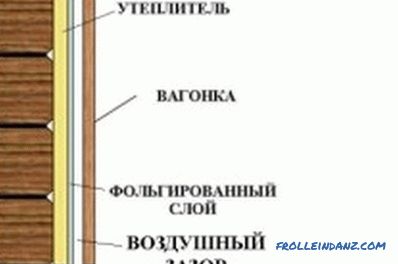
Wooden clapboard wall decoration scheme.
Upholstery clapboard begins to be mounted at the bottom. To do this, first, the first board is nailed so that the spike is on top, then the next panel is put on it with a groove. Using wooden wedges, it is well pressed against the first board on the sides and in the center. Next, perform the installation of the second board, using nails or screws. Then the wedges are removed and the third board is fixed similarly.
In the same way, the crate must be made near the window and door openings. When upholstering clapboard boards, it is better not to line up, but this is at your discretion.
With a long façade, place the ends of the lining boards in one line, and then close the joints with decorative slats. You can lay the clapboard "herringbone" or chess pattern.
Tip: in the space between the bars of the frame, place insulation. At the same time, do not forget to equip the ventilation ducts (to avoid rotting of the heat-insulating material) and vapor barrier.
Recommendations for clapboard paneling:
- before finishing work, it is advisable to hold the material in a dry place for one day so that the tree has time to adapt to the microclimate;
- when installing waterproofing use a vapor barrier and mineral wool, so you well protect the wood from rotting;
- if you use a waterproofing film in your work, pay attention to its sides: with a smooth surface it is laid to the insulation, and rough - to the wall paneling;
- before plating the material should be treated with special compounds, protects the tree from rotting, mold and pests.
House cladding with plastic clapboard is almost the same. To sheathe the house, special skills are not required. However, it is still necessary to comply with the technology, applying maximum effort and accuracy.
If you are not sure about something or are doing work for the first time, then you can first practice in small areas, for example, sheathe a bath, veranda or loggia.
Didn't find the answer in the article? More information on the topic:
-
Nuances of leveling chipboard
Leveling the floor chipboard plates accompanied by a number of activities. Preparatory work, installation of lathing, installation of chipboard. Practical recommendations.
