Without modern comfortable living conditions we do not imagine everyday life, therefore even the absence of a central sewage system does not stop owners of private houses from arranging sanitary fixtures. For disposal of waste they arrange their own accumulation system. The cesspool is the most primitive construction of an autonomous sewage system, but it does an excellent job with the assigned functions. The construction of the collector can be made of various materials: concrete rings, monolithic walls or brickwork. The latter option is quite simple in execution and does not require large expenditures. In this article we will look at how a cesspool can be made of bricks with its own hands.
Advantages of use
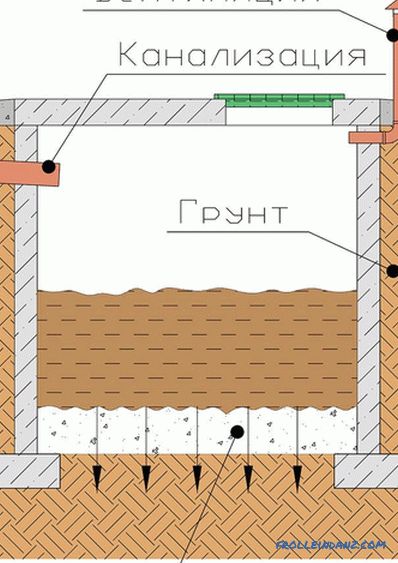 A cesspit diagram with a drainage layer
Device principle and The use of the sump is very simple - all waste from the house is drained into it, after filling it is cleaned with a vacuum truck and the process starts again. The advantages of brick construction include:
- a simple device that a novice master is able to perform;
- you can make any convenient shape;
- a drain cushion device cleans drains and increases time of use.
This design is not without drawbacks: an unpleasant odor may occur, a short life span and a frequent need to call a vacuum truck. This makes it not the best option.
Choice of place
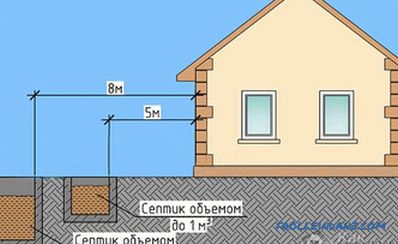 Where to locate the cesspool
To cesspool the pit did not bring trouble and functioned normally, when planning a place for it, sanitary standards should be taken into account:
- the distance from the house should be 5 m;
- the distance from the well or other source of drinking water should be 30 m, with sandy soil - 50 m;
- the depth of the pit is no more than 3 m, otherwise the vacuum truck will not be able to deflate it to the bottom, as it will not have enough pump power;
- to the neighboring plot must be par one meter distance The need for periodic cleaning of the pit requires the possibility of carrying out the entrance of the recovery truck. The volume of the cesspool should be calculated based on the number of residents of the house. When choosing a place they pay attention to the relief of the site, because sewage will move through the pipes by gravity. For unimpeded traffic, it is preferable to have a direct highway going downhill to a lower point. The location of groundwater plays an important role - they should not fall into the cesspool and fill it, moreover, at a high level, dirty water will mix with them, it will seep into the soil and contamination of underground sources will occur.
Construction options
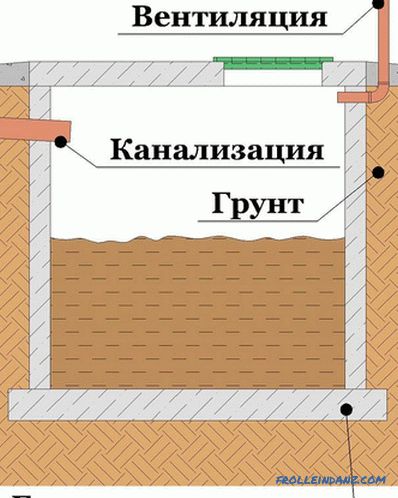 A cesspool with a concrete bottom
V Depending on the volume of effluents and the level of groundwater, choose the design of the sump. It can be quite simple in execution and budgetary in terms of costs, like a brick pit without a bottom or a capital structure with a concrete base.
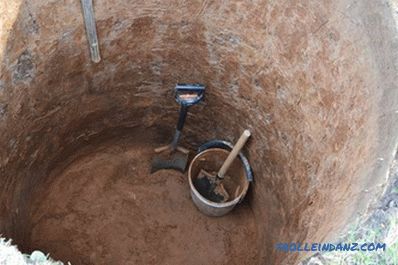 Pit for the cesspool
The device of the unpressurized pit allows you to rarely use the services of vacuum trucks, since most effluent leaves after filtration into the soil. The main limitation is the volume of water used daily, if its amount exceeds 1 m 3 , then such a device will not cope with it. For the device of a hole it is necessary to dig a ditch by the calculated size. Its bottom is filled with a drainage layer consisting of crushed stone of various fractions, broken bricks and sand. The thickness of the base is not less than 20 cm. The walls are laid in a checkerboard pattern with gaps between the bricks, which contributes to the leaving of the liquid. For the device of a hole it is not necessary to purchase a new brick, you can use second-hand. Such structures have a short service life, because they are quickly silted up and cease to absorb liquid, and then they are covered with earth. Large gravel is piled around the masonry in the pit. Along the perimeter of the pit digs a trench under the concrete belt for overlapping. The sides of the formwork will be brickwork and earthen wall, this gap is filled with concrete. From above you can cover the selected floor slab.
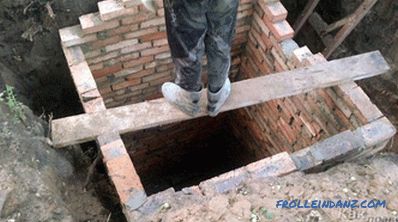 Bricklaying of walls
Capital pit with concrete bottom and waterproofing of walls. Construction consists of several stages. The main labor costs are earthworks. We have to dig a pit of the required volume, for a family of three people it will be at least 1.8 m 3 (200 l per day * 3 * 3 = 1800 l). The shape of the pit can be round, square or rectangular, its choice does not affect the efficiency. The design needs a slight slope in the direction of the hatch placement. After the foundation pit is ready, its base is covered with sand and rammed to form a pillow.Next, the floor is poured with concrete to a height of 10 cm. Brick laying is carried out in a staggered manner on the sand-cement mortar, it should be formed with a thickness of 25 cm.
Leave a hole for the drain pipe.
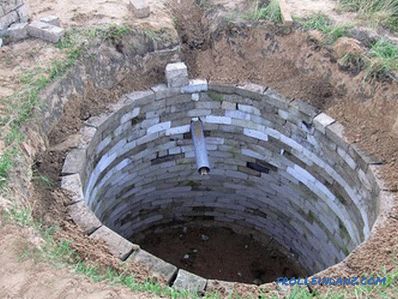 It is necessary to provide a hole in advance for the drain pipe
The inner surface is plastered and covered with waterproofing layers . A clay lock is made around the finished pit.
Waterproofing
With a significant daily water flow a large amount of wastewater is formed. To receive them, a construction is required that prevents contaminated fluid from entering the soil. To ensure the environmental safety of the cesspool, a construction with a concrete bottom and protection from a layer of waterproofing is used. Bitumen mastic is the most common material used to waterproof the cesspool. Work is carried out on the ready, dried after plastering masonry. For the first primer layer, bitumen is heated and mixed with kerosene. The liquid solution is applied to the brick wall. After drying, the procedure is repeated, bitumen can be smeared with a roller or brush. Without waiting for complete drying, fiberglass is applied to the still tacky surface. Top again applied waterproofing bitumen.
There is a more modern material - bitumen emulsion, which does not need preliminary heating, for priming it is enough to dilute part of the composition with water.
Installing the ceiling and manhole
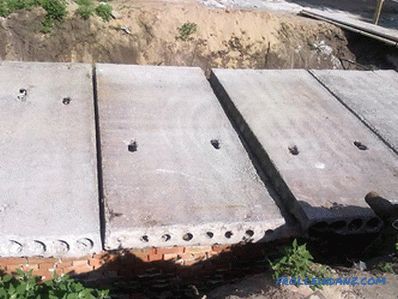 Installing the ceiling
As overlappings use densely laid logs or reinforced concrete slabs. The passage beyond the walls of the sump should be 0.5 m from all sides. The size of the hatch is provided in 70 cm. A waterproofing material is laid over the ceiling, for this purpose roofing material is the best choice. Installing a double manhole cover will save the pit from freezing in the winter and from the spread of smell in a hot period. The first cover of the boards is installed flush with the ground, and the second - at the level of overlap, it should be protected by waterproofing. The distance between them is filled with insulation or expanded clay.
The cesspool is arranged simply, but its importance for a comfortable stay in the house is simply enormous.
Read also:
Sanitary standards for cesspool
The device of a septic tank of concrete rings
The septic tank of eurocubes with their own hands
The septic tank of DIY tires
Video
Example of a cesspool made of bricks with a drainage layer:
Photos
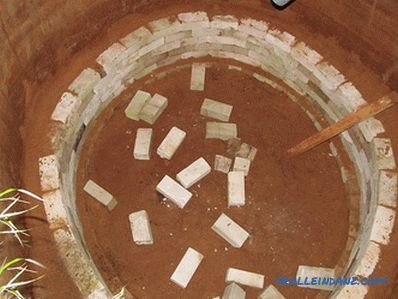 Laying out walls
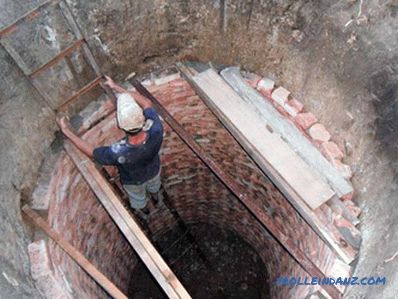 Broken brick construction
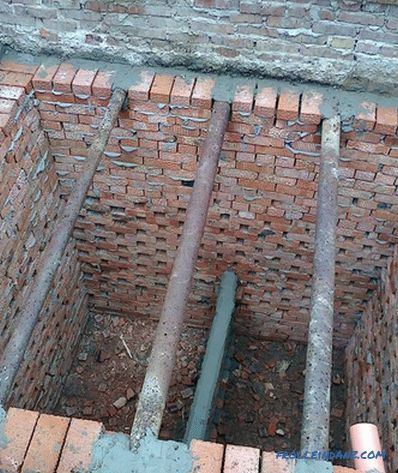 Jumpers for mounting overlap
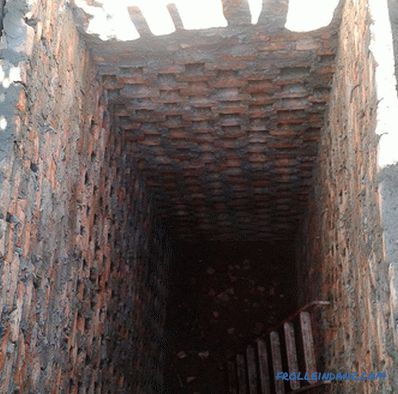 Part of the sump is made of masonry
