In any water supply system, one cannot do without a valve for water shutoff, a meter, various sensors and pumps. For convenience, these items are placed in one place, providing access to them. In order to hide communications and make the room more attractive, you can use a hidden sunroof. A special box that provides access to ventilation, plumbing and sanitary communications is in most apartments. In the case when you build a private house or just do a major overhaul, you will need to equip such a hatch yourself. It will allow you to hide communications in the wall, floor or box for pipes. The door of the hatch is completely masked with tiles or tiles. Let's take a detailed look at how to make a revision hatch under the tile with your own hands.
Destination
 Access to communications
These hatches serve one main purpose - provide access to communications without affecting the design of the room. Thanks to these hatches, no one can see where elements such as are in your home:
- water filters;
- water meters;
- various valves for overlapping pipes;
- control units for various appliances in the bathroom.
The main thing is that you know where such a hatch is located, and at any time you can open it and check the status of any device, change the filters or just look at the meter data. It is very convenient and practical.
Categories
 Plastic hatch
Audit hatches can be made of various materials and have different designs. The presence of a large range of goods allows you to choose the one that will be the best in your case. The main thing is that it should be reliable, easy to use and not to spoil the general appearance of the room. It should be noted that you will not often use the hatch.
All hatches can be classified as follows:
- Metal.
- Plastic.
- Invisible hatches.
Let's look at how they differ from each other, and what are the features of each category.
Plastic products are the cheapest and easiest option of all others. Outwardly, they are no different. The only difference is in size and color. Plastic hatches are easy to install. To do this, you need to screw the frame into the wall with screws. Another option is to grease it with glue and insert it into the prepared hole. You can open the door by simply pressing it. This is the easiest and cheapest method to hide revision openings.
 Metal hatch
Metal inspection hatches are similar in installation method and size. But due to the fact that they are made of metal, several advantages should be noted:
- product durability;
- the ability not to lose the original properties and appearance.
The main disadvantage of metal construction is their cost. Plastic models are much cheaper.
Invisible hatches are so called because after installation it is very difficult to notice them. Such a hidden door can be installed in the bathroom with any finish. Its assembly is simple: the frame of construction, mounted in the wall and the door, which needs to be connected with the mechanism and revetted with the finishing material. They are well suited for:
- hiding the central riser;
- hiding various communications and valves;
- storing chemicals for the bathroom and toilet or unnecessary things.
To install it, you need more time and effort, since it is more difficult to mount it than the two previous views. The thing is that you need to install such a hatch before finishing the surface. The first thing you need to do is decorate the hatch itself, and then, starting from it, continue facing the walls.
Basic dimensions of hidden hatches
 Dimensions of hatches
Depending on the size, hidden hatches can be equipped with one or two doors. Sizes are very different, from small to large. The smallest size is 100 * 100 mm. This is a square shaped hatch that can be mounted into the wall. But often such small structures are installed under the bath. If you need to hide massive equipment in the wall, such as a water purification system, then a hatch of 800 * 800 mm is suitable for you. The most popular is the average size - 200 * 300 mm. It is an ideal option if you choose tile. If you need to close the entrance to the basement or secret room, you can make an individual order for a large sunroof.
Watch the following video to find out how to fit a hatch to fit:
Tools and materials
You can buy these hatches in the store. All you need to do is to assemble the structure, install it in the right place and perform the lining. But for craftsmen who do not want to overpay, there is good news: this hatch can be made independently.To bring this idea to life, you will need the following tools:
- furniture sheds;
- wooden timber 50 * 50 mm;
- waterproof gypsum board or moisture resistant plywood;
- push-mechanism for doors;
- PVA construction glue;
- reinforced mesh of nylon;
- facing material (tile or tile);
- glue to the tile;
- drill and screwdriver;
- pencil and tape measure;
- self-tapping screws;
- electric jigsaw or saw;
- screwdriver.
Production of the structure
Having the necessary tools available, you can get to work. First you need to decide on the size. If you already have a ready doorway in the wall, push off of it. If not, you need to find the perfect size in your case. Larger does not mean better, so if you need to hide overlap nodes, a counter, or filters, you can use medium sizes, depending on your requirements. When you need to hide only the counter, then the optimal size is 200 * 300 mm. In case you need to hide all communications, you can make a hole of 400 * 600 mm.
For the hatch to be completely invisible, and the tile did not need to be cut to size, choose it, starting from the size of the tile itself. For example, a door may consist of two tiles horizontally and three tiles vertically.
 Installing the hatch door
After the size is selected, you need to make a hole in the wall . Then all the work can be divided into the following steps:
- Cut the sheet of OSB or moisture-resistant plywood according to the size of the opening. It will serve as the door design.
- It is necessary to make a frame out of the bars, which will be bolted to the opening. Instead of bars, you can use a wooden profile. Using dowels and screws, fasten the frame around the perimeter of the hole. It must be installed so that after the door is closed, the hatch is flush with the wall and does not protrude. If the door is sheathed with tiles, then this must be taken into account even when designing.
- Install the door in the opening and measure a distance of 100 mm from the edges. Drill holes where furniture canopies will be mounted.
- Screw them onto the door and, using a pencil and tape measure, apply their position on the wooden frame itself. After that, make holes on the frame for sheds and secure them.
-
 Installation of the opening mechanism If you secure the sheds correctly, the installation of the doors will not be difficult. You just need to tighten the 2 screws on the two sheds. They are adjusting. Ideally, the loops need to be adjusted after the facing material is glued. In the meantime, you can roughly adjust the door. It is important to have free space in depth to make the lining, and gaps, allowing you to freely open the door.
 - It remains to install the push system. Close the door and mark the desired position to close it. Such a mechanism will also serve as a stop, preventing the door from closing deeper than necessary.
- Considering the thickness of the doors, fix the push mechanism on the frame using conventional screws.
- Check the operation of the mechanism. Then you can proceed to the finishing work.
Another option for mounting the door is to mount it on magnets. In this case, magnets are attached to the frame around the perimeter. In the same places on the door is fastened iron element, thanks to which the structure will hold. Basically, this mount is used for small doors.
We put tiles
 Facing the hatch
After the doors are already installed, You can start facing work. Since our doors are made of wood, a simple adhesive will not be enough. To begin with, glue on the plywood reinforced nylon mesh. To make the glue well taken, the surface of the door must be degreased and primed. Lubricate it with white glue. Now apply a grid, walk on it with a spatula and let it dry. It takes 12 hours or more to dry. In any case, the next step is to proceed to tile laying.
All that's left is to glue the tiles. In itself, this is a simple matter. It is necessary to apply a layer of glue, fix the tiles and put crosses. But if you do it all, your door will open a maximum of a few centimeters. Why? Because when you open the tile on the door will rest against the tile on the wall, preventing the opening of the door. What to do in this case? On a tile that is laid on the wall on the back side, the chamfer should be removed at an angle of 45 °. The same must be done with the tiles that are on the door, but from the front. Then your doors will open easily, providing access to communications.
That's it, your plumbing hatch is ready. It remains only to wipe the seams and adjust the door itself. There is another option, buy a ready-made hatch and just install it in its place. It will cost more, but without unnecessary trouble. Which option to choose is up to you.But, as you can see, everything can be done independently, without resorting to unnecessary costs.
Video
A simple solution to the inspection hatch is to mount on magnets. What the construction looks like, see below:
Search
Related Articles
How to make a ladder to the attic with your own hands
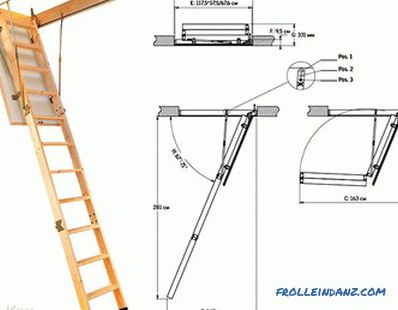
If in the near future you intend to retool the attic under the functional room, then it is worthwhile before work to consider where to install the ladder and how to manufacture it. A ceiling door or...
Artificial stream do-it-yourself - stream in the country
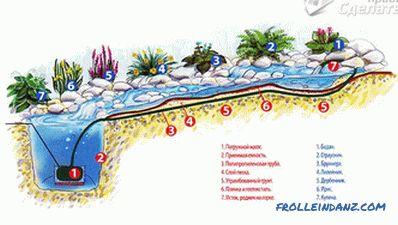
Spring is the time to equip the backyard plot, to bring in beauty and to create landscape design. The beauty of the brook in the garden is undeniable. And if you want to enjoy the gentle murmur of w...
Rating of gas water heaters for reliability and quality, based on user feedback
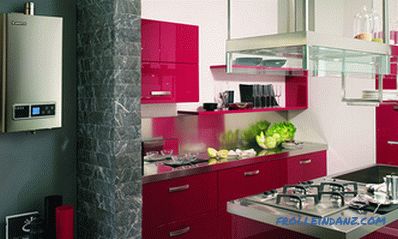
One of the main benefits in a house or apartment is the presence of hot water. The lack of a central warm water supply system forces the owner of a house or apartment to install one or another water...
How to choose an installation for a pendant toilet
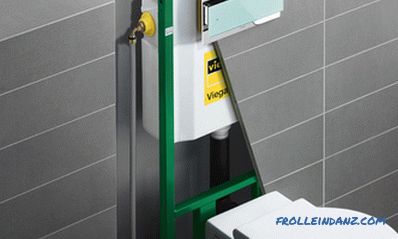
To avoid all sorts of problems when installing plumbing fixtures, you need to know how to choose an installation for a toilet bowl. The range of installations is large and an ignorant person can qui...
How to choose a chainsaw for the price and quality for giving and home

The chiansaw - the necessary tool, both in life, and at the dacha. It can be useful for cutting firewood for the fireplace, as well as for felling and branching. However, not everyone knows how to m...