Who does not like to bathe in the bath? Especially if after the steam room you can plunge into the cool pool, which gives vigor and refreshing steamed body. If you have a bath, but it is without a pool, you can do it yourself. Make a pool in the bath with his own hands is quite real. In this article we will talk about technology, intricacies and many nuances of pool construction.
Which pool to choose
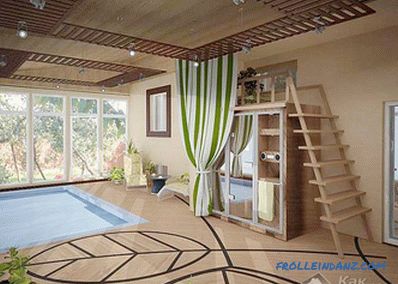 Square pool
First you need to decide which pool you need, as they may differ from each other. And the matter is not only in their size, but also in their design features. You should know that the pools can be divided into 3 types:
- Stationary pools. They are called the most durable and reliable. Such structures can be initially provided for in the construction of a bath or made later. The basis for them is a reinforced concrete bowl, which is installed on a foundation in a hole dug beforehand. Such pools can be of any depth and size. They are divided into terrestrial and recessed types.
- Prefabricated pools. They can be called mobile constructions. This is a boon for frequently relocating people or for those who need a pool periodically. It is easily dismantled and installed in another place. This is the main advantage of this type. If your pool has not been planned, it can be easily installed. Moreover, space saving is another plus of such pools.
- SPA pools. You will not be able to swim in such whirlpools. This water tank is used only for special procedures. All you need is to buy it and install it in the right place.
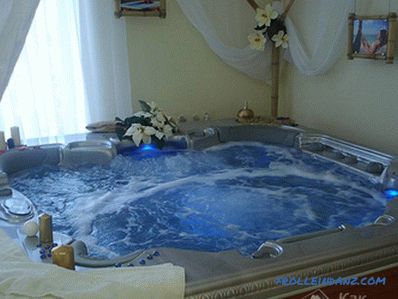 SPA pool
If the place in your building is completely limited, then the mini-pool will suit you - these are various barrels and fonts. Such small containers can be made of wood, plastic or acrylic.
When you have made your choice, you can proceed directly to the work. In this article we will not consider collapsible pools and spa constructions, since their installation is quite simple and is done according to the instructions. Then you will learn in detail how to make a stationary pool and what you need for this.
We decide on the place
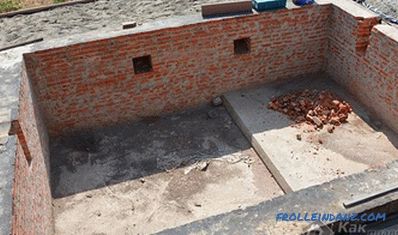 The pool is made of brick near the bath
Important construction stage Your pool is the choice of location. You need to decide where it will be placed: indoors or outside. All this will affect the size of the future structure and when it will be used - all year round or only during the warm period.
It is necessary to consider how close the groundwater is. The distance from the bottom of the pool to groundwater should not be less than 1 m. Moreover, the walls of the bath and the pool should not touch. Otherwise, water will exert pressure on the walls, as a result of which cracks may form. Please note that even a small tank can hold about 10 tons of water. Therefore, it is important to leave a gap between the walls, which is filled with sand.
If you decide to build outside, the best option would be to install the foundation under the pool. Then you do not need to be afraid of groundwater.
Designing a future tank
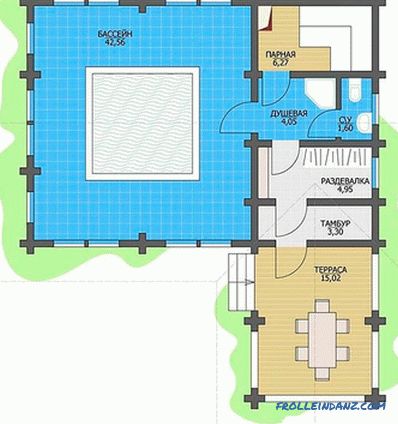 Bath project with a pool
Any the builder knows that nothing can be built without a detailed project. Therefore, you need to plan everything in detail considering:
- the size of the pool;
- its shape;
- carrying and draining water;
- waterproofing;
- design;
- cost.
The size and shape of the bowl plays an important role, since these indicators significantly affect the cost of the entire construction. The larger the size and the more complex the configuration, the higher the costs will be.
To save on construction, choose a rectangular structure. In this case, the consumption of materials will be much smaller. A round or oval pool will cost you much more, but it will look more attractive.
Earthworks
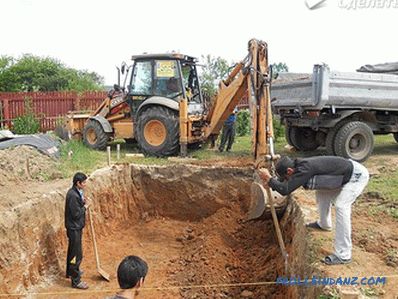 Digging the excavation with an excavator
After all the preparatory works can proceed directly to solving the problem of the device bath on your site. The first thing you need to dig a pit under the pool, starting from its size. The pit itself should be 50 cm wider and longer than the pool, and 35-45 cm deep. For convenience, the pool can be marked on the ground, according to the plan. There is nothing complicated, it is enough to use pegs with a tight rope around the perimeter.
After that, you need to dig a pit. If the pool is inside the building or there is no entrance for an excavator, you will have to dig by hand. The bottom is made with a slight bias in one direction, where the branch pipe of the drain pipe will be located. It must be installed in advance.Immediately install the pipe from the drain to the sewage or drainage pit with the necessary slope. After that, fill and level the sand at the bottom of the trench with a layer of 4-5 cm. The second layer is small crushed stone of 10 cm. It must also be compacted. This pad will be the basis for pouring concrete.
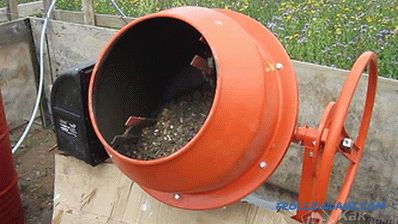 Preparation of concrete in living conditions
Now you need to fill the prepared base with concrete in a layer of 10 cm. After that, make a reinforcing mesh on the surface and again fill all with 10 cm concrete. With this technology you can ensure durability, strength and reliability of the bottom of the pool.
Concrete must be of high quality and absorb a minimum of moisture. We recommend using concrete grade W-8, it has the necessary density in structure and minimal absorption.
Concreting the bowl
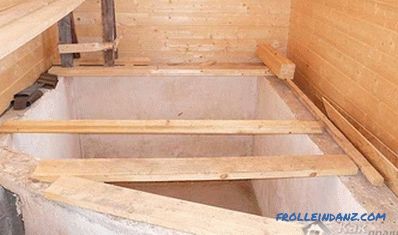
To wait until the concrete base is dry it is not necessary so that the reliability of the structure does not decrease. Therefore, you need to fill the walls at the same time as concreting the bottom of the pool. When the bottom is flooded, install the formwork and secure it. After that, place the reinforcement mesh and concrete walls. In order to avoid seams between the wall and the bottom, concrete must be bayonet. Only in this way the structure of the pool can be made monolithic.
It is important to fill the walls at a time so that they are reliable and do not crack in the future, so prepare the necessary amount of concrete in advance.
After pouring the walls, the concrete must immediately be sealed, expelling air bubbles from it. The result will be much better if you use a vibrator for concrete. After that, the entire surface needs to be leveled. After some time, tedious to remove the formwork. When this can be done, you will learn from the table:
 When to remove the formwork from the foundation
During this time, every day, the surface is recommended to wet slightly, in order to avoid the appearance of cracks, which are formed when the concrete dries out.
Plastering of walls
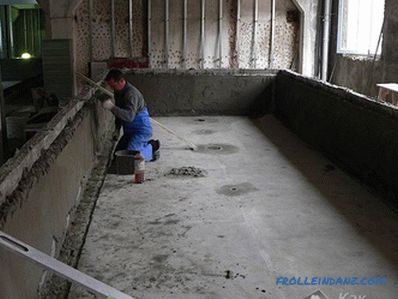
Once everything is dry, you need to plaster the surface with a cement-sand mortar. Its thickness should be 2-3 cm. As it comes to the pool, where there will always be water, it is better to use waterproof compositions with latex. Then the plaster will hold tightly and for a long time, and thanks to additives it will be much more elastic and acquire better resistance to water.
An important step is waterproofing, since it is water. The most economical and fastest option is to use PVC film. It is covered over the entire surface of the pool. More expensive and safer is the option when a concrete bowl is covered from the inside with a special waterproofing material. This may be "Osmosis", which must be applied in two layers on a pre-moistened surface. After that, the final layer will be a special adhesive composition, which includes latex. This glue can even hold glass.
Facing work
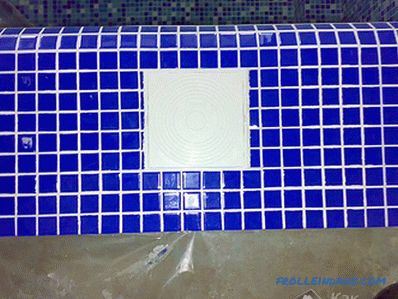 Facing the pool
Now our sauna with a pool that almost ready. It remains only to perform facing work to improve it. This is the last stage of the work. Facing materials are presented in a large assortment. You need to decide not only the choice of material for work, but also with color. The most popular facing materials that are used for swimming pools are mosaic, tile and PVC film.
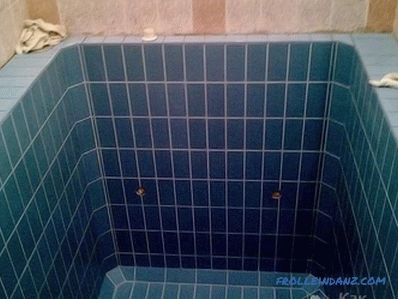 Facing with ceramic tiles
Tiles. For finishing of pools in baths and saunas use a special tile made of porcelain. Its main advantage is density, which is much higher than that of ceramic tiles, and it absorbs much less water. Before buying a tile, it is important to take into account its moisture absorption rate - it should not exceed 3%.
Ceramic tiles for this purpose will not work, since they absorb moisture well. As a result, such a pool will be a breeding ground for bacteria and mold. Therefore, if your choice fell on the tile, use only porcelain products. Thanks to a special manufacturing technology, it is resistant to high temperatures, waterproof, durable and anti-slip. The only drawback of such a material is its cost. You can choose tiles of any size and color range.
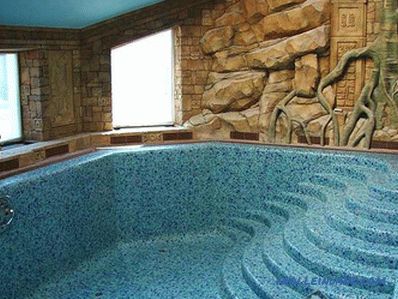 The swimming pool is decorated with mosaics
Mosaic. The most popular option in lining pools, and for good reason, as it is the best. The mosaic has excellent water resistance, density and durability. It is non-porous and has high wear resistance. And thanks to the small size of the tiles, from 1 * 1 to 5 * 5 cm, you can decorate your pool with various ornaments, patterns and patterns. Moreover, it is possible to lay out a mosaic on the surface with various irregularities.But do not think that if your pool is large, then you just get tired of laying out each tile by hand. The mosaic is sold in ready-made sheets, the tiles of which are connected by a grid. But the price of the mosaic is also high.
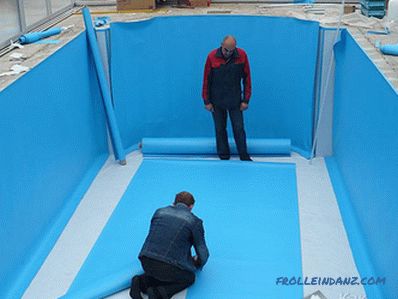 PVC basin facing
PVC film. The cheapest version of the pool lining. Its thickness can be 1-1.5 mm. It has excellent waterproofing characteristics and consists of 3 layers. Between the 3 and 2 layer is a durable synthetic mesh. The film is not exposed to chemical or natural influences, it is easy to wash. Above there is a rough layer, which is very resistant to various microorganisms. The price of such a film is 2 or 3 times cheaper than mosaic and tile.
Once you have chosen a material, it remains to perform the lining and install the ladder to the pool. Now you know how to build your own pool and you can confidently start to work. It remains only to enjoy the cool little water after a hot bath. By the way, it was found that if you plunge into cold water after a good warm-up for 3-5 minutes, a large amount of endorphins are released into the blood. This removes stress, chronic fatigue, strengthens the immune system and rejuvenates the body. We wish you good health!
Video
This video tells you about ten basic mistakes that are often made when building a pool:
Photos
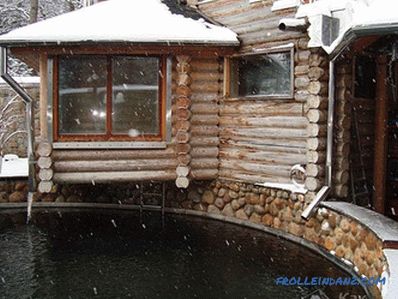 Russian bath with a pool
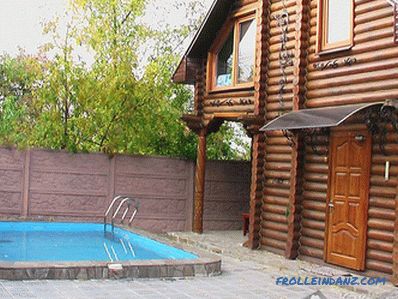 Outdoor pool
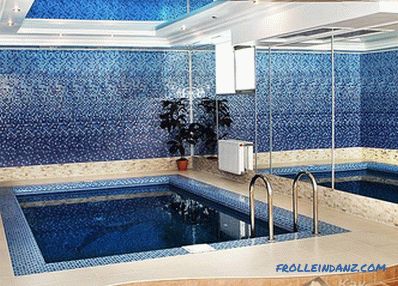 Two pools under the same roof
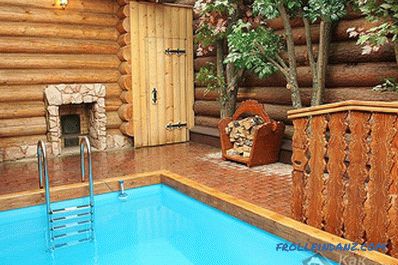 Pool near the bath
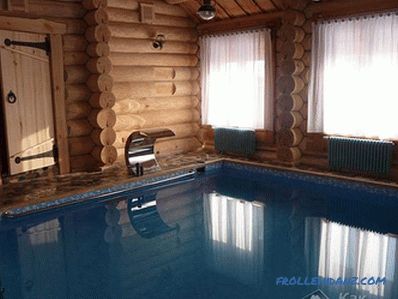 The pool inside the bath
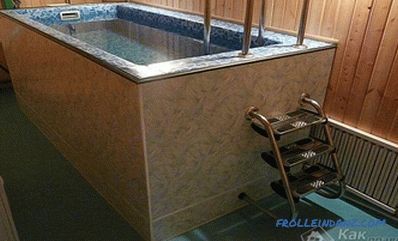 Swimming pool in the bath 1 * 2
