After replacing windows, it becomes necessary to trim the slopes. The walls of the window niche are revetted with various materials or plaster. Sandwich panels are a practical and attractive finish for slopes. They are easy to install, protect installation seams and give the window opening a complete aesthetic look. Let's see how to make slopes from sandwich panels with your own hands.
What is a sandwich panel
 Sandwich panels
Finishing composite material received the name due to its design. Panels consist of two or three layers. In the first case, it is a sheet of plastic and insulation based on polystyrene, and in the second case, the decorative layer is located on both sides. Finishing material with a three-layer construction is more rigid and keeps its shape well. Extruded polystyrene foam is used as a heat insulator. The thickness of the panels is 10-32 mm. The color scheme of the decorative coating allows you to choose the finish, combined with the design of the room.
The advantages of sandwich panels:
- moisture resistance;
- durability;
- light weight;
- low thermal conductivity;
- resistance to temperature extremes and biological effects;
- easy installation and maintenance.
Tools for work:
- Construction level.
- Drill.
- Spatula.
- Tape measure.
- Construction knife.
- Stapler.
- Scissors for metal.
Preparing for installing slopes
 Foam is cut with a knife
After installing the double-glazed windows, you must wait a day until the assembly foam is sufficiently dry, and cut it with a knife flush with the surface of the frame. Before installing the slopes of the sandwich panels, it is necessary to prepare the surface: clean from dirt and treat with antiseptic.
To install the frame under the panels, you will need a U-shaped and F-shaped plastic profile. The width and height of slopes are measured, the last dimension is taken twice - near the window and near the wall. According to the measurements, strips of sandwich panels are cut.
Mounting sequence
 Mounting layout of slopes
- Installation of slopes begins with the installation of the starting profile. For this, a tape measure measures the inner perimeter of the window opening and cuts the required length of the U-shaped profile. The strips are fastened along the window frame with self-tapping screws with a step of 20 cm. The work begins with fixing the upper part of the profile.
- The next step is mounting the batten from dry slats of 20 * 40 mm in size. The bar is located near the outer edge of the window niche. The verticality of the mount is checked by the building level. Screws, which are twisted at a distance of 40 cm, are used for fixation. Planks should not protrude beyond the wall plane.
- Panel mounting begins at the top. It is cut to size and inserted into the bolted start profile. The cut is made strictly at an angle of 90º, so that drafts do not appear because of the cracks during the docking. The edge is inserted tightly, but carefully, so that there are no profile bends. The empty space is filled with foam. The second end of the panel is screwed with screws to a wooden strap.
-
 We use mounting foam The installation of sandwich panels on the sides occurs in the same way as the described technology: the lining is put in profile and fixed to the rail. You can also use mounting foam. When using this method, it is important not to create excess foam, which will prevent the creation of a flat surface.
 - To make the outer edge of the slopes look attractive, the connection is closed with a decorative plastic F-shaped profile. The length of the strip is measured on the outer perimeter of the window opening and is cut off with metal scissors. Screws screwed into the crate prevent the PVC profile from snugly fitting, so it is necessary to cut the pieces of plastic at the points of contact. The strip of the casing is applied to the rail and the location of the screws is marked on it. After cutting off the extra sections, the profile is screwed around the perimeter. At the point where the sides and the upper band meet, it is necessary to cut the workpiece at an angle of 45º. Another variant of the docking - profiles overlap each other and saw through both at an angle of 45º. If the wallpaper is pasted on the wall, then a plastic strip is placed under the cutting place. Fastening to a wooden rail is done with staples from a construction stapler or put on liquid nails.
- A sealant or a liquid plastic is applied to the joints, this will protect the seams from contamination and moisture ingress. The material is matched to the color of the fixed panels. Work is done carefully, speaking surplus wiped.
 How does the slope from the sandwich panel
work? The decoration of the slopes takes a little time and does not include difficult stages. This method can be safely used with wallpaper stuck on the wall.The use of sandwich panels does not require additional insulation or decoration. To clean the plastic surface of the panels any detergent will do, but it should not contain abrasives.
Video
See how to install plastic slopes correctly. Visual instruction:
See also:
Window trim with siding
Installation of plastic windows
Why does condensation appear on windows
Search
Related Articles
Interior in Provence Style - Provence Style in the Interior
The embodiment of the romantic spirit of France in the interior was the rustic style of Provence, which reflected the folk traditions and culture of the country. A bit of history The picturesque...
selection of materials and installation of boards
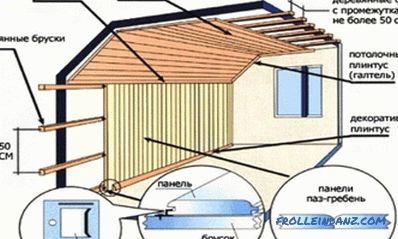
The lining of the house inside the clapboard looks extraordinarily beautiful. If the lining is wooden, then wood flavor is added to the exterior beauty. But the rather thin structure of the element...
Metal garage do it yourself + photo, drawings
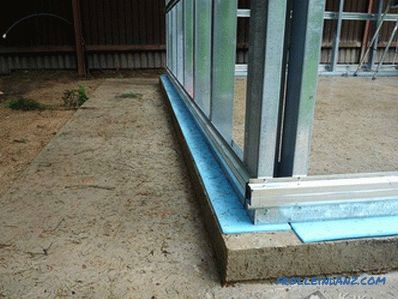
If you are not in favor of heavy capital brick or small-block garages that require a solid foundation and roofing, then you can opt for a metal one for one car. Such a construction can be done in a...
Children's slide in the country with their own hands
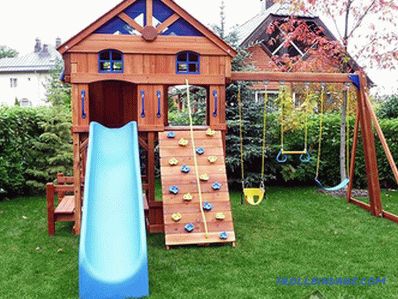
Each child’s favorite place is a playground where you can play actively. The most favorite is the slide, on which even some adults are not against a ride. Today, in specialized stores you can find a...
How to fix the light switch - fix the switch
In the case when one of the room switches has ceased to function, there is absolutely no need to immediately call an electrician for help, as it is usually possible to repair the light switch on you...