After moving to the one-room "Khrushchev" we decided to make a repair, which included the replacement of the old kitchen door. The interroom door is made of solid wood, and it was very pitiful to throw it away, even though it looked awful. Then it was decided to restore the old door with his own hands and thereby save on the purchase of a new one.
 The door was in a deplorable state
This is how our door originally looked. As you can see, her condition is rather pitiable and not at all aesthetic.
 Fittings are completely unpresentable
The door had old-style handles resembling a hospital room; a lot of paint stains, the layers of which were not counted; protruding trim, which simply disfigured the door, and, of course, completely uneven surface.
 There have been a lot of smudges
This door has been standing since its construction, namely since 1968.
First we unscrew the old handles. Then they removed the door from the hinges. To level the door surface at home, we decided to use a plane.
 To remove the paint, we used the planer
The plane removed the old layer of paint in prominent places quite well. With a plane, the protruding edges of the platbands were removed and the end surface was processed so that the corners of the door were smooth.
 Polished with emery paper
Then we used a large emery paper to grind the surface of the door leaf.
 So many chips removed
The result was a rather impressive amount of garbage and wooden chips.
 The door was set again
Next we returned the door to its place.
It is necessary to work with the plane carefully so that it does not work out too deep grooves.
 Putty on wood
is used for initial processing. Then putty on wood went on. . I recommend taking more volume, since we lacked 0.25 kg jars and we had to buy more.
 Acrylate putty was bought
In total, I took about 0.7 kg of putty.
 This is what the putty surface looks like
I applied wood putty with a soft spatula. In places with large grooves had to put more than one layer. After the putty has dried, we sand the door panel again with sandpaper.
As a result, the door acquired such a look.
 The surface is again sanded
The next step was to paint the door with white acrylic enamel.
 This paint was chosen for finishing painting
Enamel does not have a sharp harmful odor and does not turn yellow. by time.
 After dyeing, the paint was cut with a knife from the glass, but you can use painting tape
Paint marks that left on the glass, I removed using a clerical knife. It would be more practical to pre-tape the glass with adhesive tape, but unfortunately I did not.
 At the end, we fastened the handles
At the very end we fastened the new door handles. At this our home restoration was completed. The door has acquired a noble aesthetic look. I would be glad if our experience will be useful to you.
Search
Related Articles
How to properly lay laminate instruction with pictures + Video
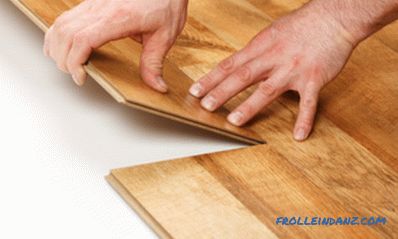
Due to its unique performance characteristics and excellent exterior data, laminate has become incredibly popular in the flooring market. In this article, we will show how to properly lay laminate f...
Wood trim: materials and tools
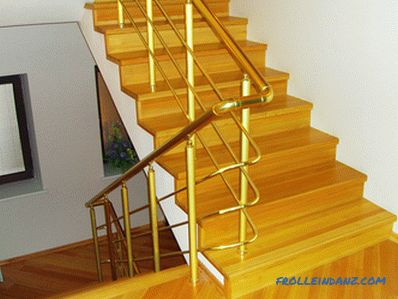
The concrete staircase in a house or apartment is remarkable in all respects: it has excellent strength, durable, and comfortable. Only one drawback is seen in this product - its appearance. From t...
Building a house from a profiled bar: construction

For those who want to build a small wooden house on one floor, profiled timber is the most popular option. Profiled timber houses are very popular due to their relatively low costs and ease o...
How to choose a punch for home
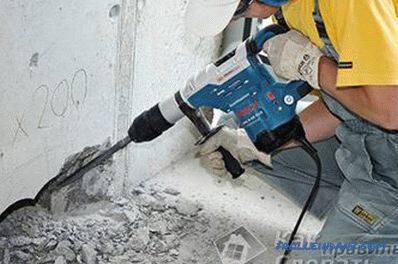
Perforators are widely used in construction work, both by professionals and apartment owners themselves. Often people do not distinguish the punch from the usual hammer drill, so the question of cho...
Paint for the ceiling in the apartment

Unlike walls and floors, the ceilings are empty, their entire plane is open and the slightest speck or unevenness of the surface is perfectly visible, especially when there is a side light falling f...