After the construction is completed, the owners often think about the question of how to sheathe a wooden house. However, attention should be paid not only to the choice of material, but also to the date of the work, which can be started only after the house shrinks, which will happen 2 years after construction is completed.
")
The plan for covering the wooden house with siding.
As an exception, those houses that are assembled from glued and profiled logs act. They can be finished almost immediately.
The lining of a wooden house implies the presence of not only the outer decorative layer of the material, but also insulation. Walls after plating can be compared to a cake that has several layers. Initially, the walls will be treated with special means that will protect the wood from rotting and exposure to pests. Then you need to put a vapor barrier layer, followed by the installation of a frame system that will hold the insulation, waterproofing and decorative finishing. Wooden house should be sheathed in the warm season.
Tools and materials for the cladding of a wooden house
When covering the house, the following materials and tools are supposed to be:
- special adhesive tape;
- antiseptic;
- vapor barrier;
- heat insulation;
- waterproofing;
- wood for the frame;
- nails;
- finishing .
Preparatory work before cladding
")
Tools for cladding a wooden house.
The need for antiseptic procedures is due to the fact that there will be no access to the walls after the completion of wall covering, therefore it is important to ensure the safety of the wood. Natural air circulation will be guaranteed by a vapor barrier, which can be bituminous roofing material, polyethylene or aluminum foil. Between the walls and the vapor barrier need to provide free space, which is achieved by arranging the frame. It should include 3 cm in thickness. They have to be nailed to the walls, arranged vertically in 50 cm steps.
In order to put the steam insulator, on the rails located above, below and on the side, you need provide holes for ventilation, their diameter should be equal to 20 cm.
Nails (or a stapler) will allow you to strengthen the vapor barrier to the frame, and you should have an overlap of 15 cm. Joints and fasteners should be glued with special tape.
House covering at the stage of warming involves the choice of material. Despite the fact that the foam has excellent thermal and sound insulation, as well as sufficient ease of installation and susceptibility to pests, it is impractical to use it as a heater for a wooden house. This can be explained by the fact that such material is not capable of passing air, which can cause the occurrence of wood rotting processes. In addition, it is not able to resist fire and is not environmentally friendly, which contradicts the naturalness of a wooden house.
")
The scheme for covering the house with decorative panels.
Penoplex, although it has a high level of thermal insulation, is also able to resist fire and is not subject to the formation and development of bacteria and fungus, but it is also vapor-tight. Moreover, it’s not easy to work with him. This is due to the fact that this material is difficult to cut.
But you can warm a wooden house with mineral wool. It is breathable, which has a beneficial effect on the condition of the wood. It is easy to work with it, but it is also environmentally friendly and does not burn. However, the process of plating with its use at the stage of insulation should occur with careful observance of technology, as otherwise the material may get wet and then lose all thermal insulation characteristics.
After the heater should be laid waterproofing, which should be turned uneven rough side inside.
Fastening of the film should be done with a stapler, sizing the joints and brackets with self-adhesive tape. On the installed frame system, you need to nail one more frame, which should have a board, 50 mm wide and 40 mm high. This lathing is necessary to create additional space for air circulation and for the base when fixing the finish.
Selection of exterior finish
Cladding can be made with wooden clapboard.
The advantages of wooden lining:
- environmental friendliness;
- wide range of textures and shades;
- relatively high resistance to damage.
")
House clapboard plan.
Minuses of wooden lining:
- need for maintenance;
- not so long service life;
- destruction by moisture, sun and pests.
If you still haven't decided what to sheathe a wooden house, you can consider another option - vinyl siding.
Pros of vinyl siding:
- durability;
- low price;
- low weight;
- ease of installation;
- wide color range;
- ease of care.
Vinyl siding cons:
- low strength;
- unnatural look.
Sheathing of a wooden house is also possible with varieties of the already listed types of finishes, among which there are panels made on the basis of PVC. They are a kind of vinyl siding, which suggests that the material has almost the same characteristics. However, the walls of the wooden house, paneled PVC, look more aesthetically pleasing and elegant. This skin can imitate marble, stone or brick. Sheathing the walls of a wooden house with PVC panels, you can combine this material with vinyl siding.
Features of mounting vinyl siding
When sheeting a wooden house with vinyl siding, you need to follow some important rules, the first of which says that the material is capable of resizing with temperature differences. This necessitates the provision of a groove between the products. Its width should be equal to 10 mm. In addition, the panels must be able to move freely within the perforations. Therefore, do not nail the nails too tightly. Thus, the gap between the fastener head and the surface of the product must be equal to 0.9 mm. Siding panels need to be fixed from the center to the edges. The fastener should be placed exactly in the center of the perforation holes. It is important to install fasteners exactly perpendicular to the wall surface.
A tree house can be sheathed with any of the listed materials, it is only important to determine what your priority is: quality, price, appearance of the finish or ease of installation. Then you can tilt your choice towards a certain material. However, the quality of finishing does not always depend only on the characteristics of the finishing coating, this factor is also influenced by the quality of the work.
Didn't find the answer in the article? More information on the topic:
-
")
How to restore the parquet correctly?
How to restore parquet: types of damage and surface defects. Technology of floor restoration, manual scraping, polishing, processing and varnishing parquet flooring.
-
")
How to fix the wall panel correctly?
Instructions on how to fix the wall paneling. Basic tips and advice when working with different surfaces. The need to use crates. Performance of installation works.
Search
Related Articles
Do-it-yourself porcelain stoneware - detailed instructions
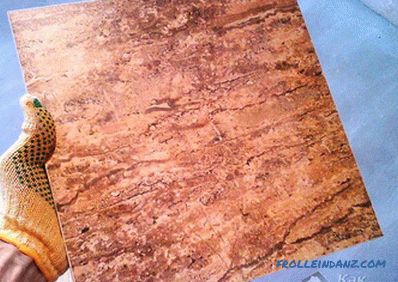
Among the materials used as a floor covering, we should mention ceramic granite. This floor will have good resistance to physical impact, while having an attractive appearance, which makes this fini...
House made of brick with his own hands
As you know, every man must do three things in his life. One of them is to build a house. This is a very crucial stage, which requires certain knowledge and skills. In order to realize your dream, y...
Cellular polycarbonate - technical details in detail
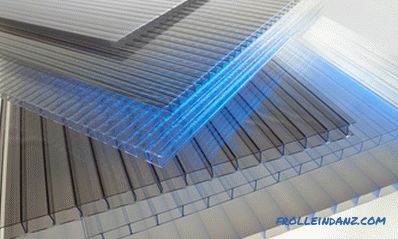
Polymeric materials are widely used in the construction of buildings and structures for various purposes. Cellular polycarbonate is a two- or three-layer panel with longitudinal stiffeners located b...
The house of wood - which is better than a bar or log for construction

Houses built of wood, with the advent of new building materials, still do not lose their relevance. Comfortable for living, they bring us closer to nature. Similar in appearance to each other, woode...
How to impose a house facing brick
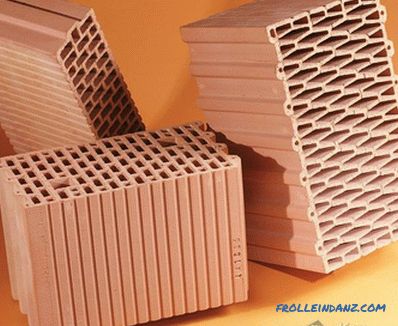
The exterior of the house is important not only in terms of aesthetic appearance. It is a very important element in terms of functionality: additional protection of the building against negative...